Within the 8th week, we explored the concept of CNC machining, and explored the many different features that CNC machining has to offer. In addition, we experimented with and learned how to use several different devices that use CNC modeling. Some of the machines that we used included: the ShopBot, the Shaper, and the monoFab SRM-20 milling machine.
Assignment: To design an object using CNC and create an object by molding and casting.
Design Phase
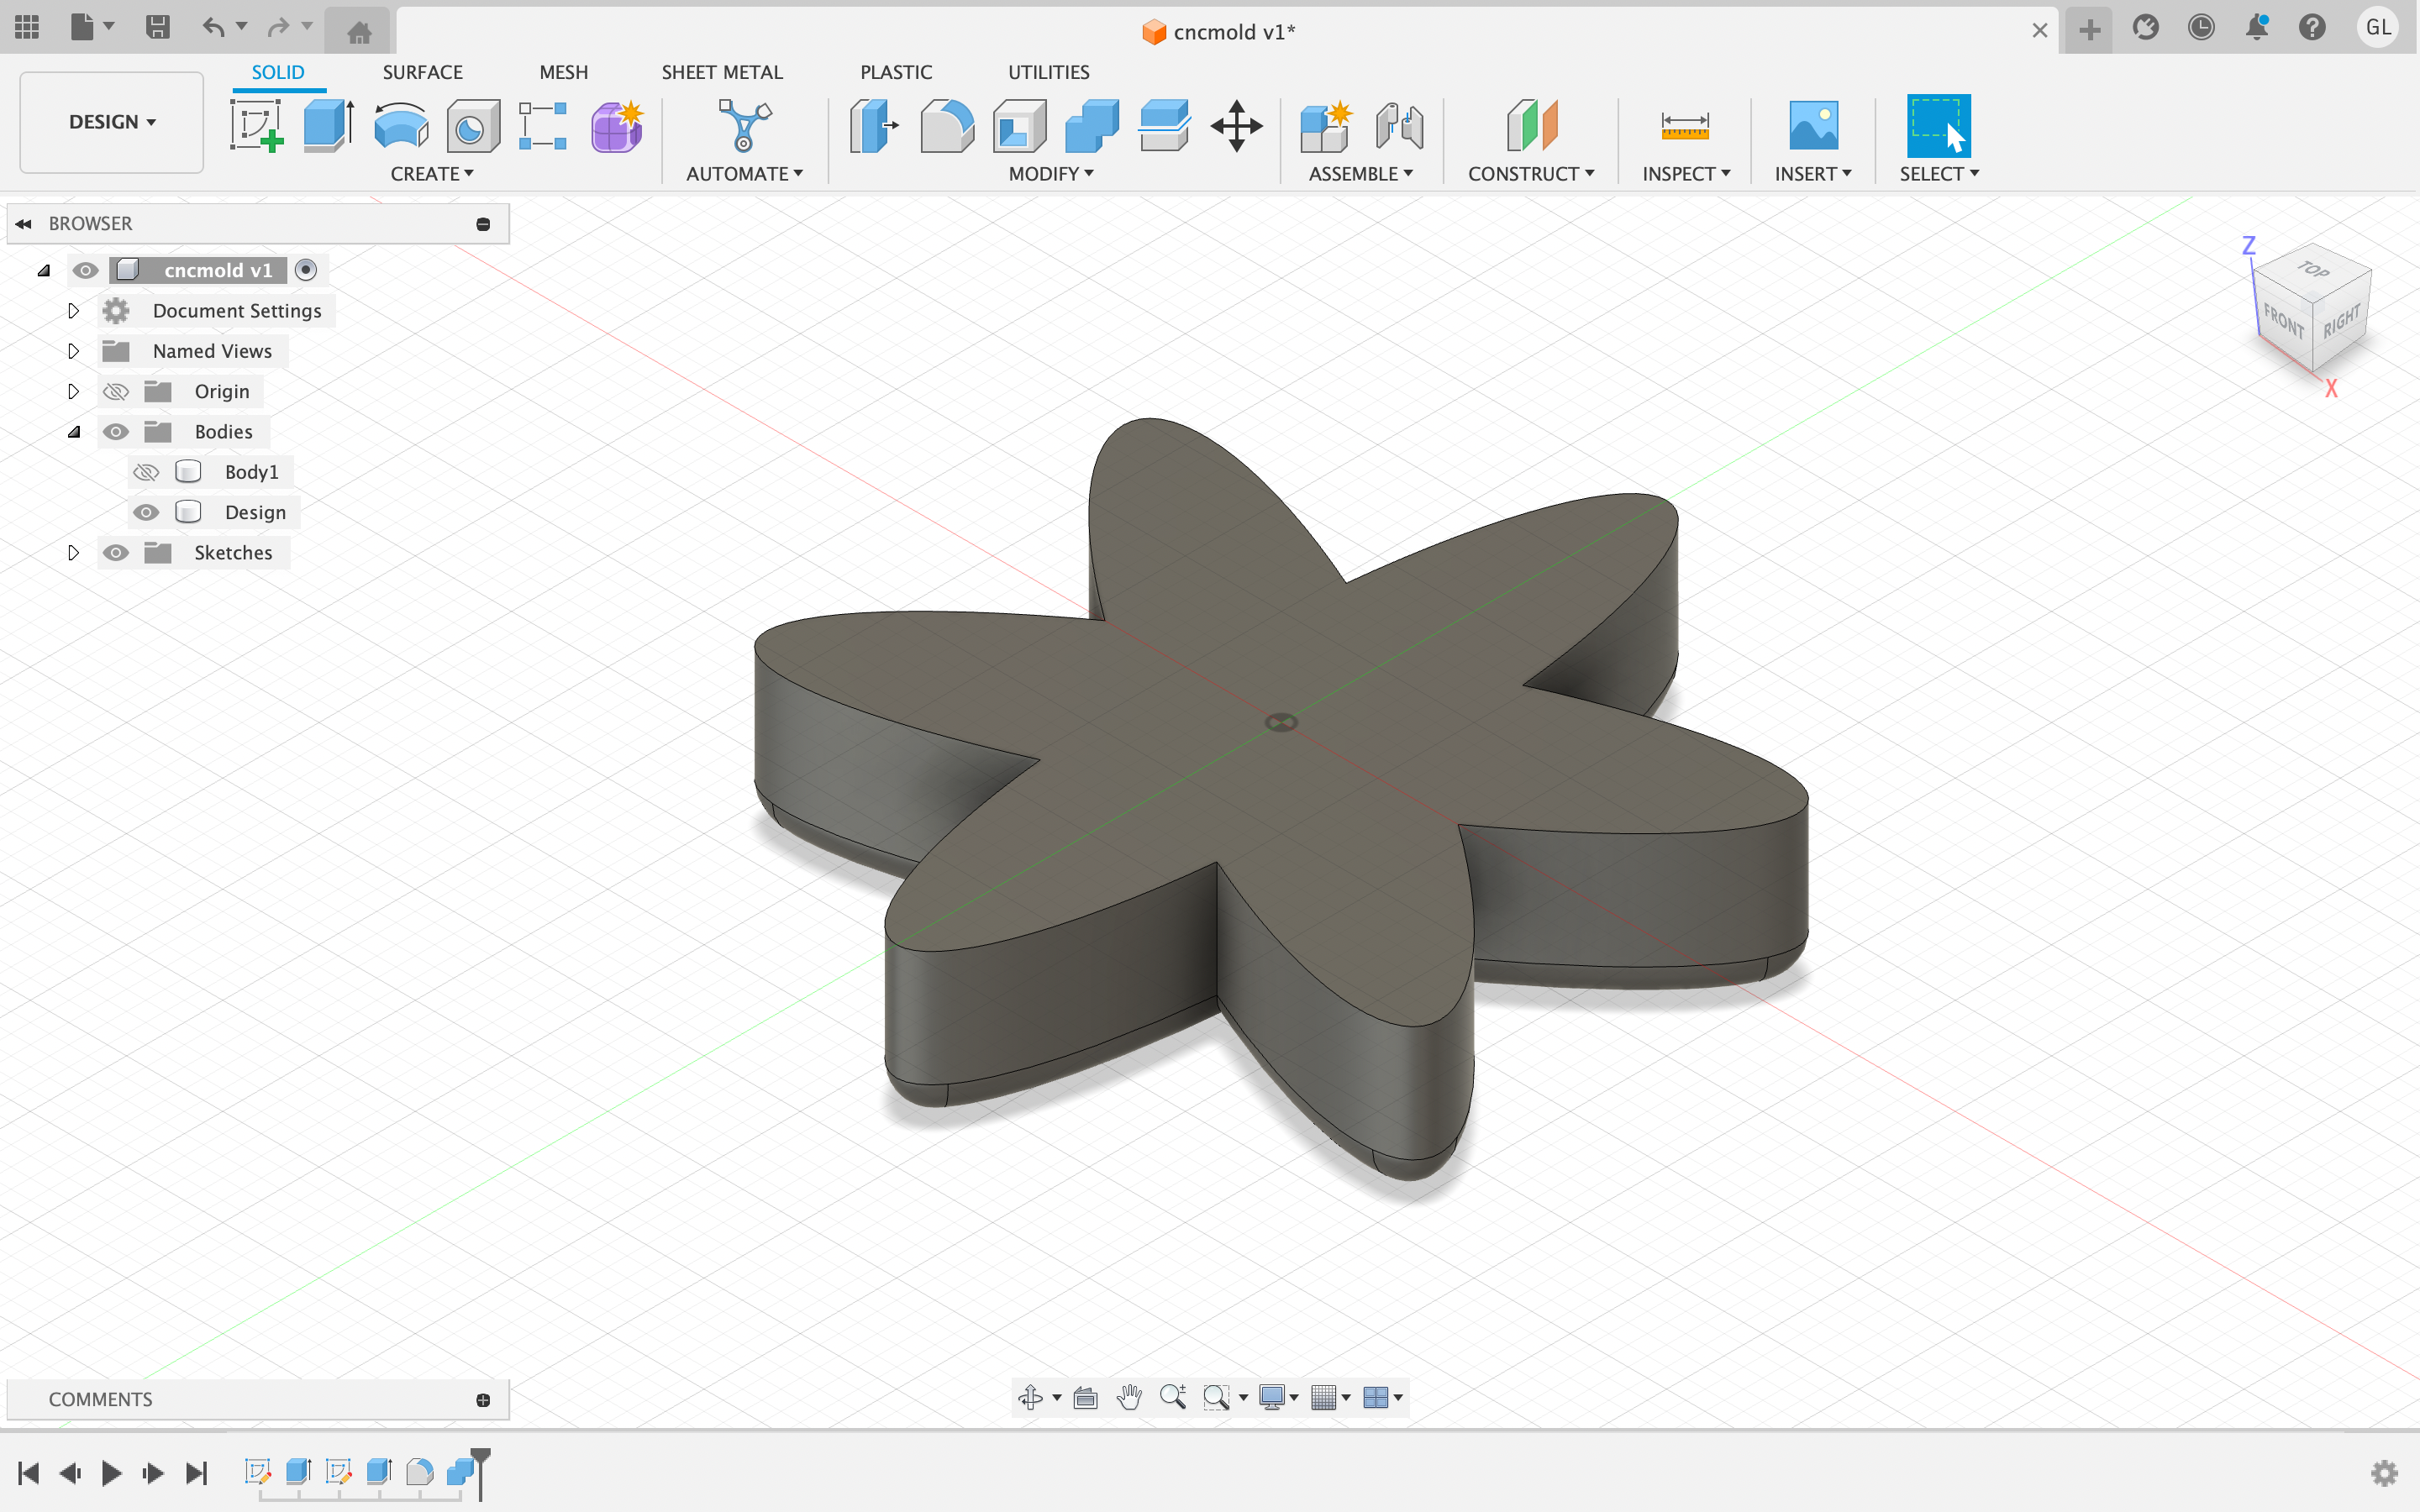
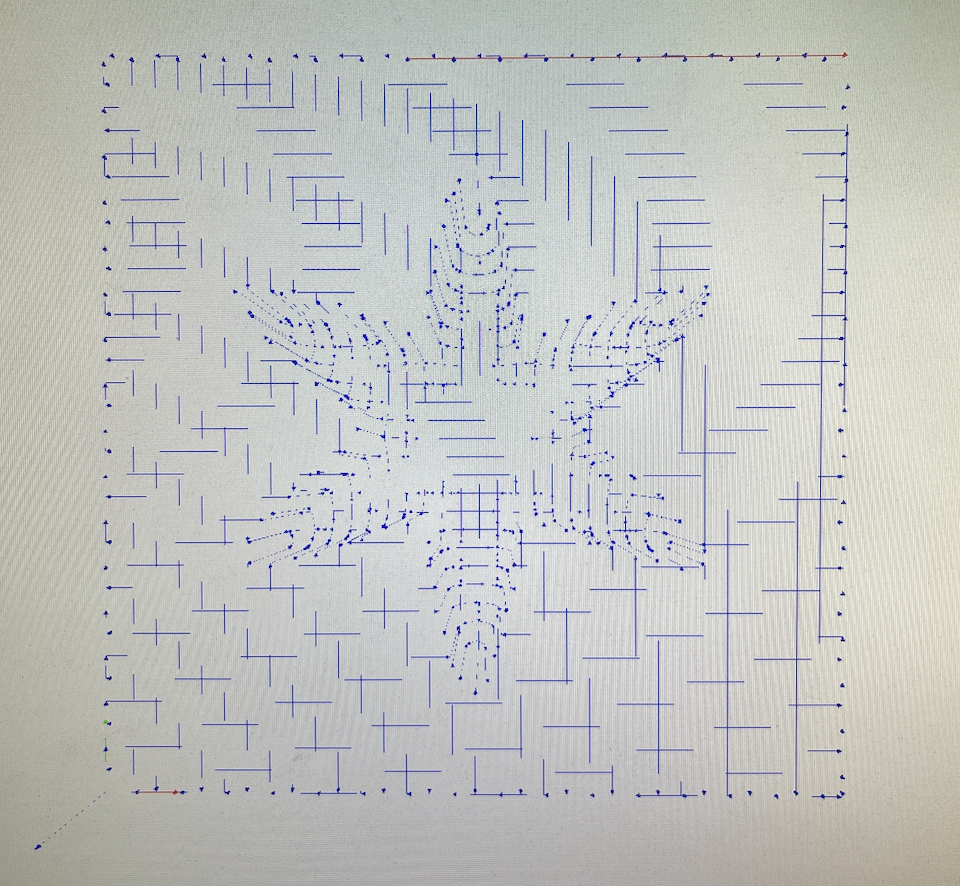
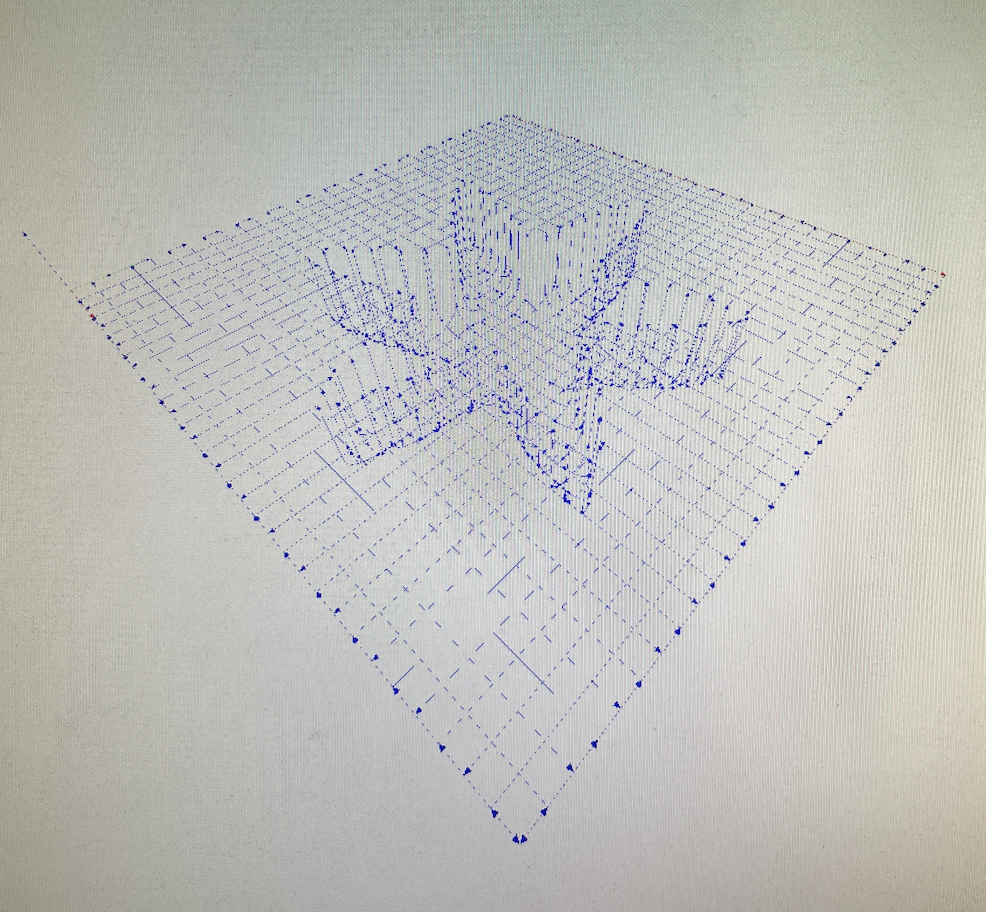
My plan was to create a mold for the molding/casting project using the monoFab SRM-20 milling machine. Using a wax block as my medium, I wanted to use the milling machine to create a mold for an interesting shape. So, first I used Fusion360 to create this shape, which would later be implemented onto the CNC mill.
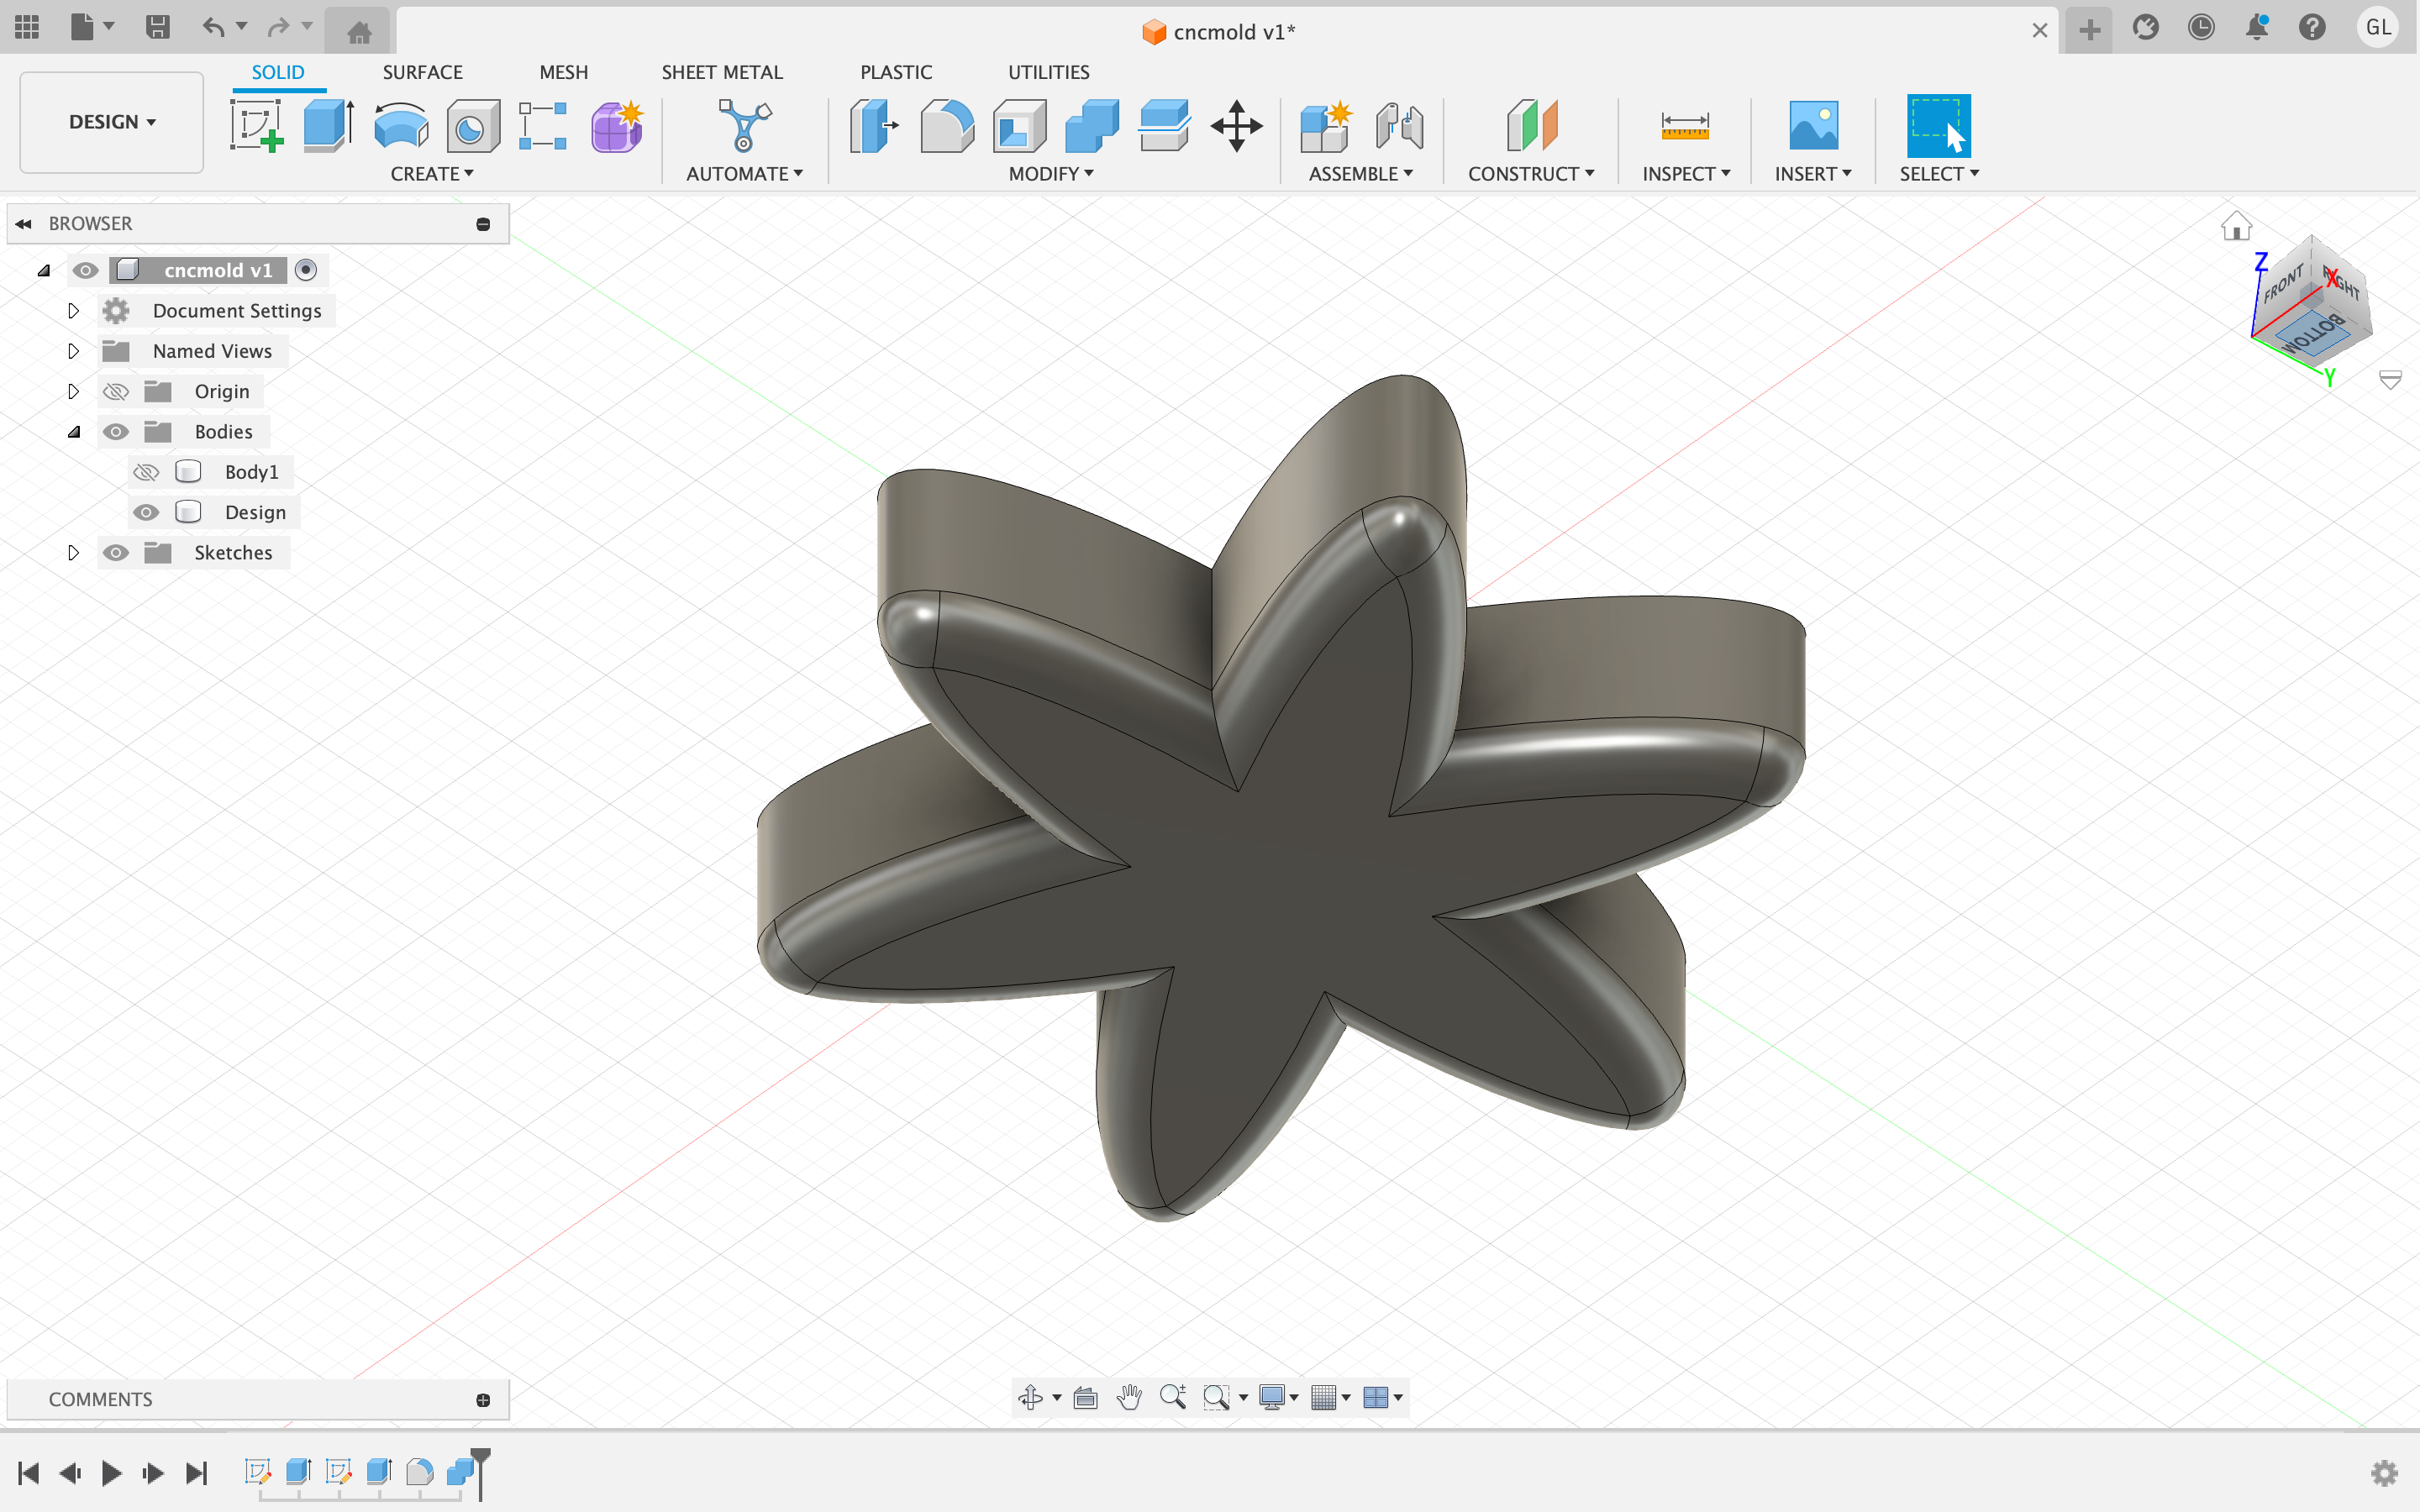
First, I created a body of a object; using the eclipse tool and the circular pattern tool, I created the 2D design of the object. After this, I extruded it to a certain degree, and then added filleted edges along the bottom side of the object.
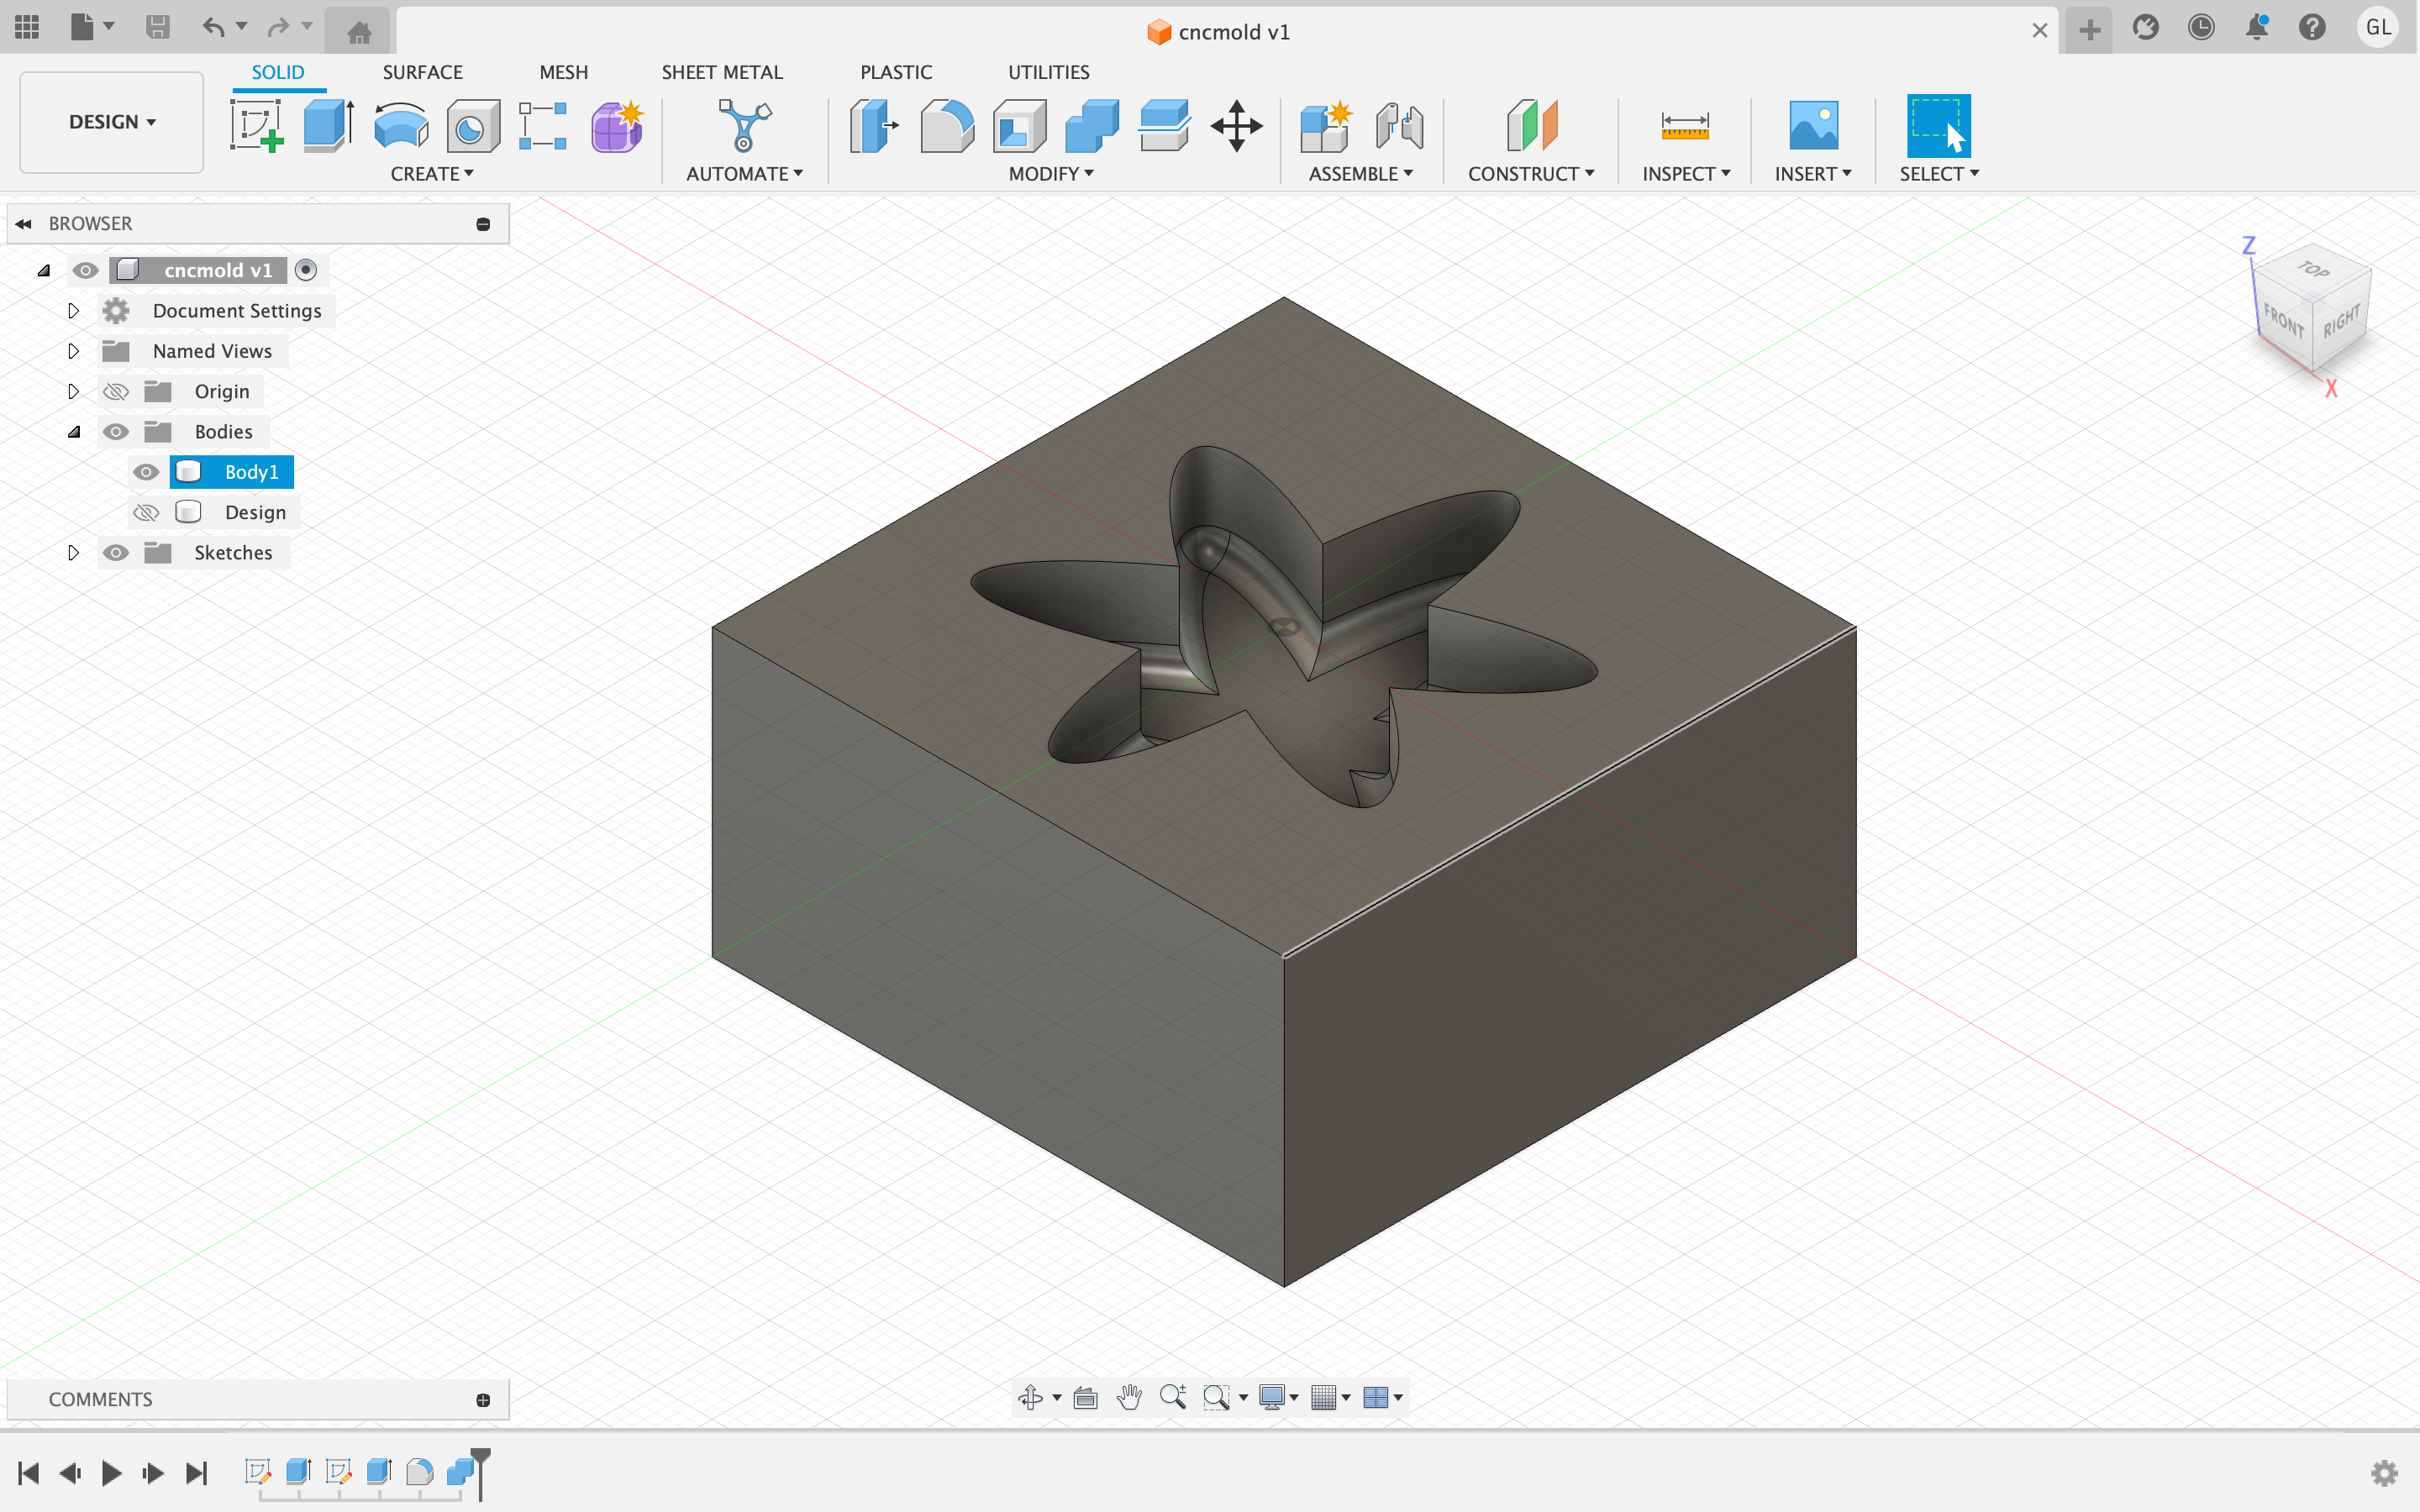
After creating 3D model of my intended object, I created another body (box) representing the wax block that I was going to mill out of. Then, using the extruding tool, I cut out my intended object from the block, which would later then be used for the mold.
CNC Milling: Roughing Pass
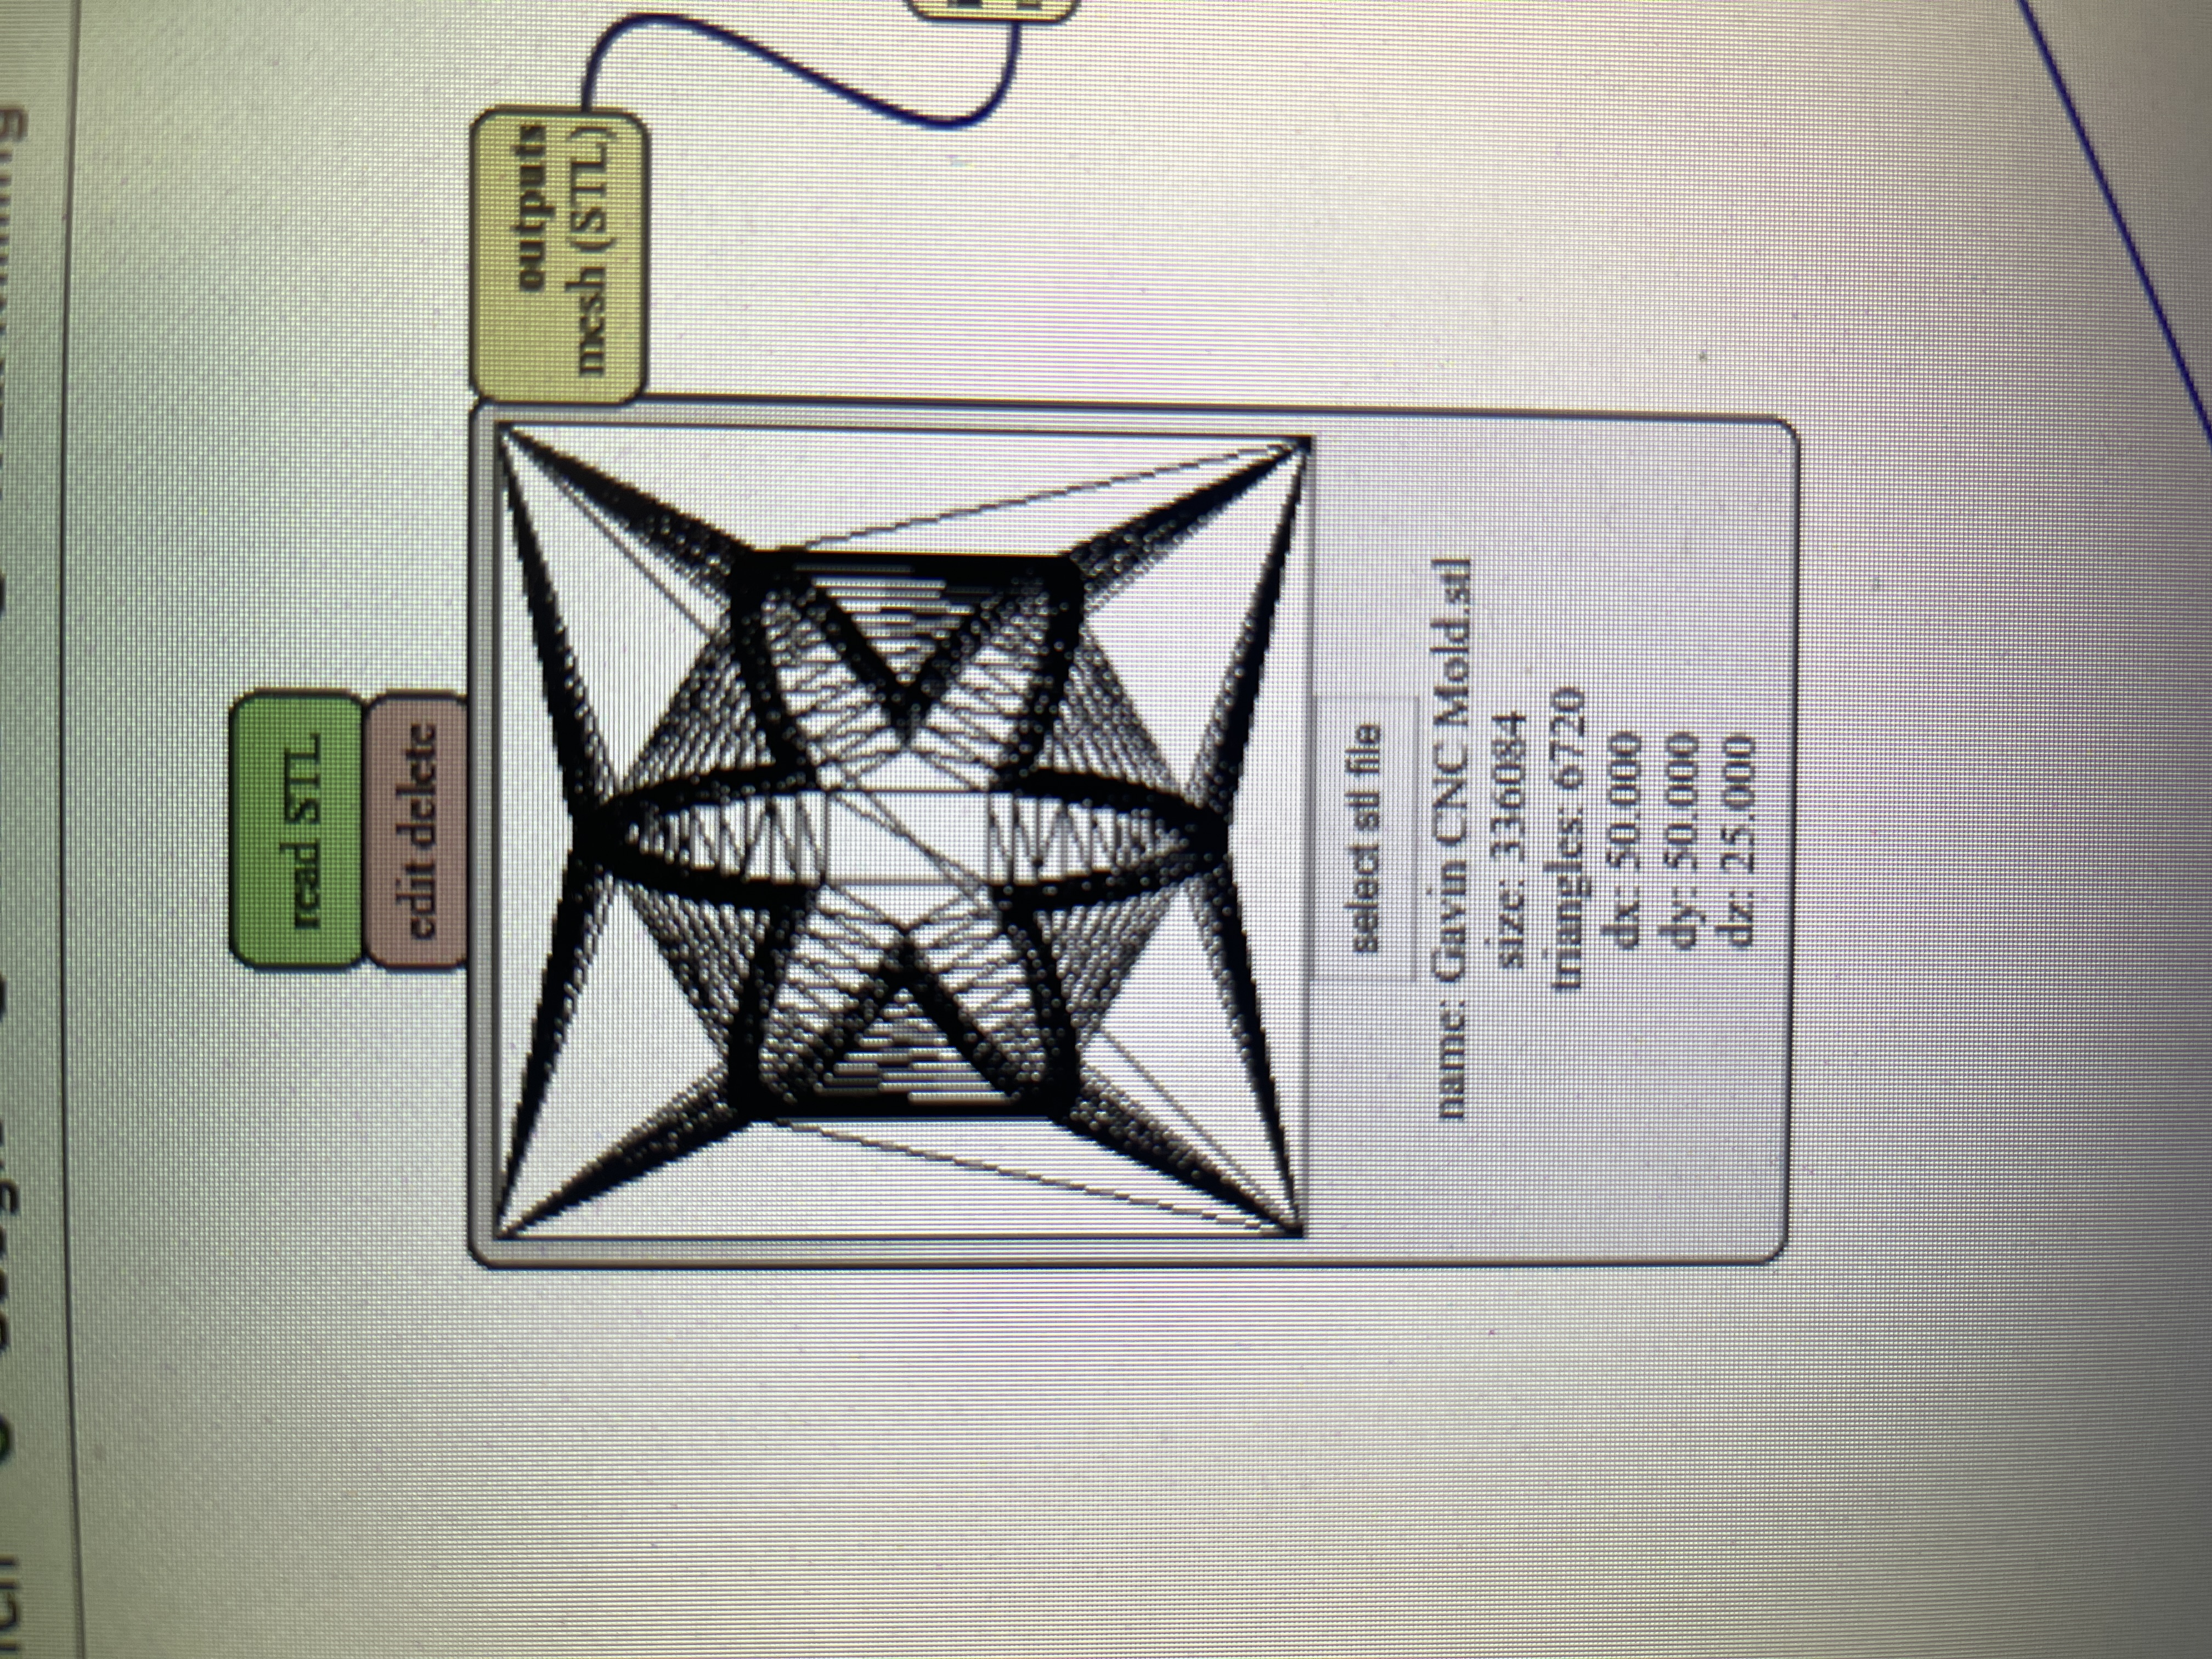
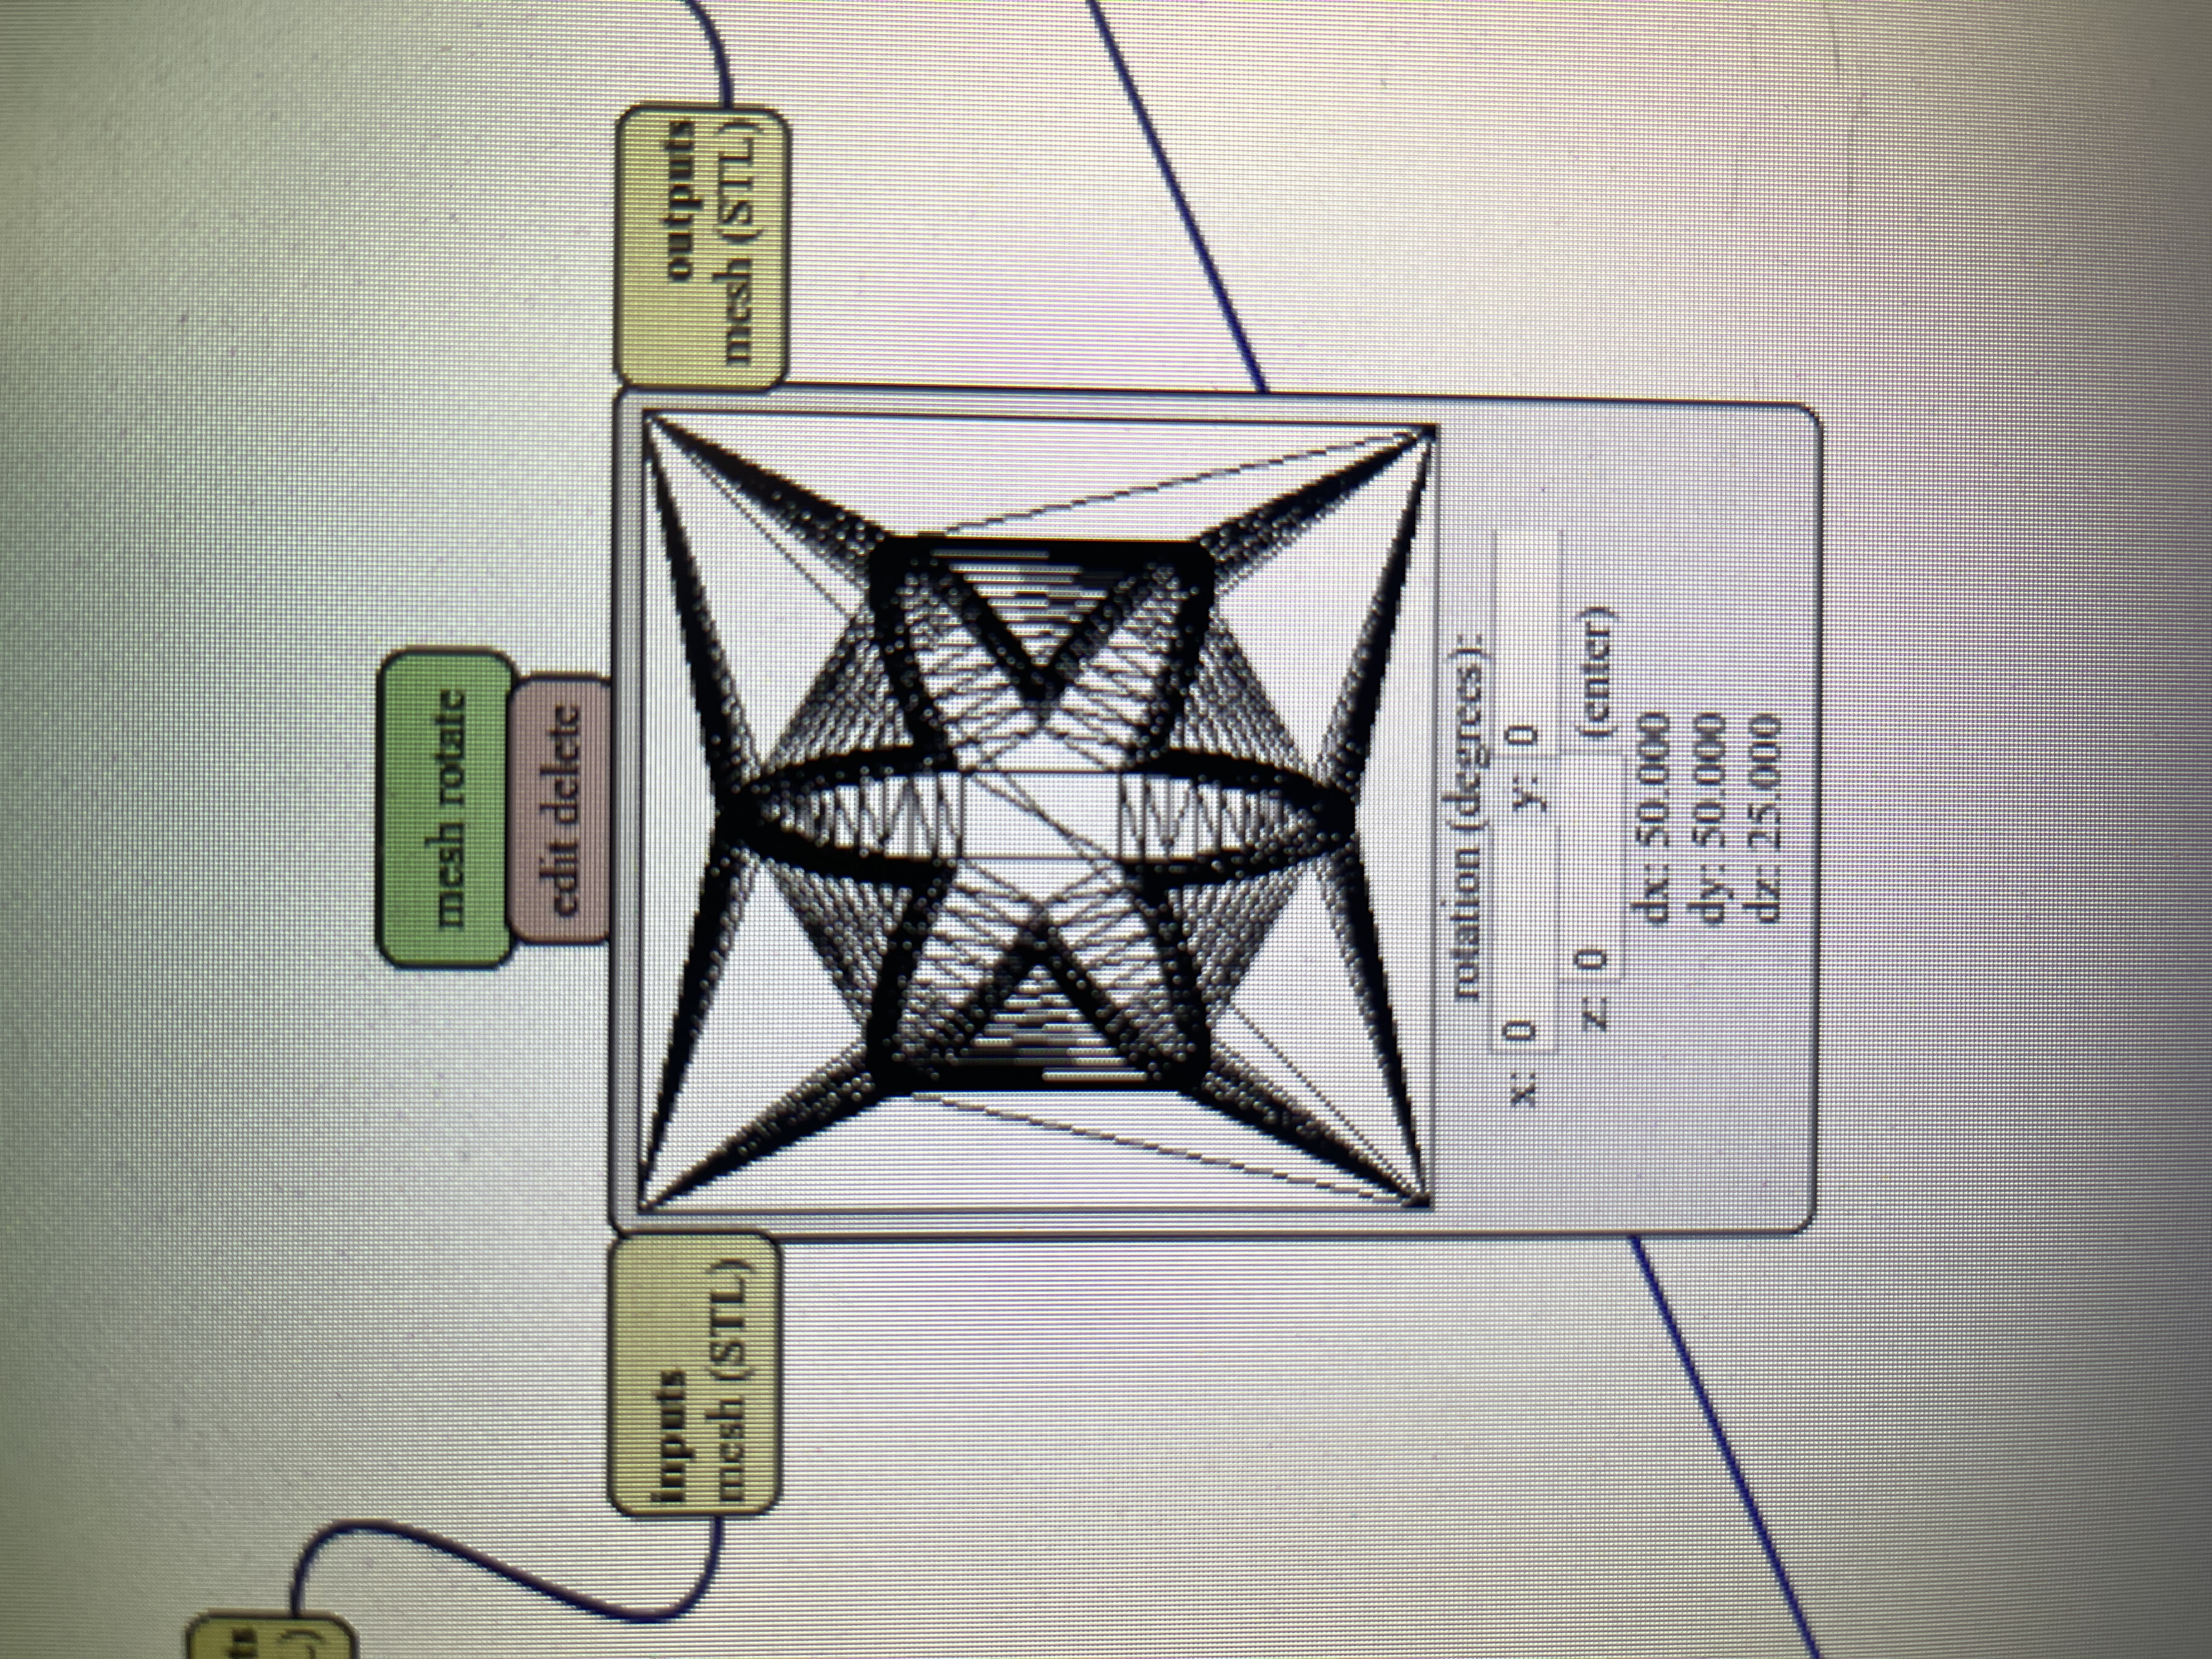
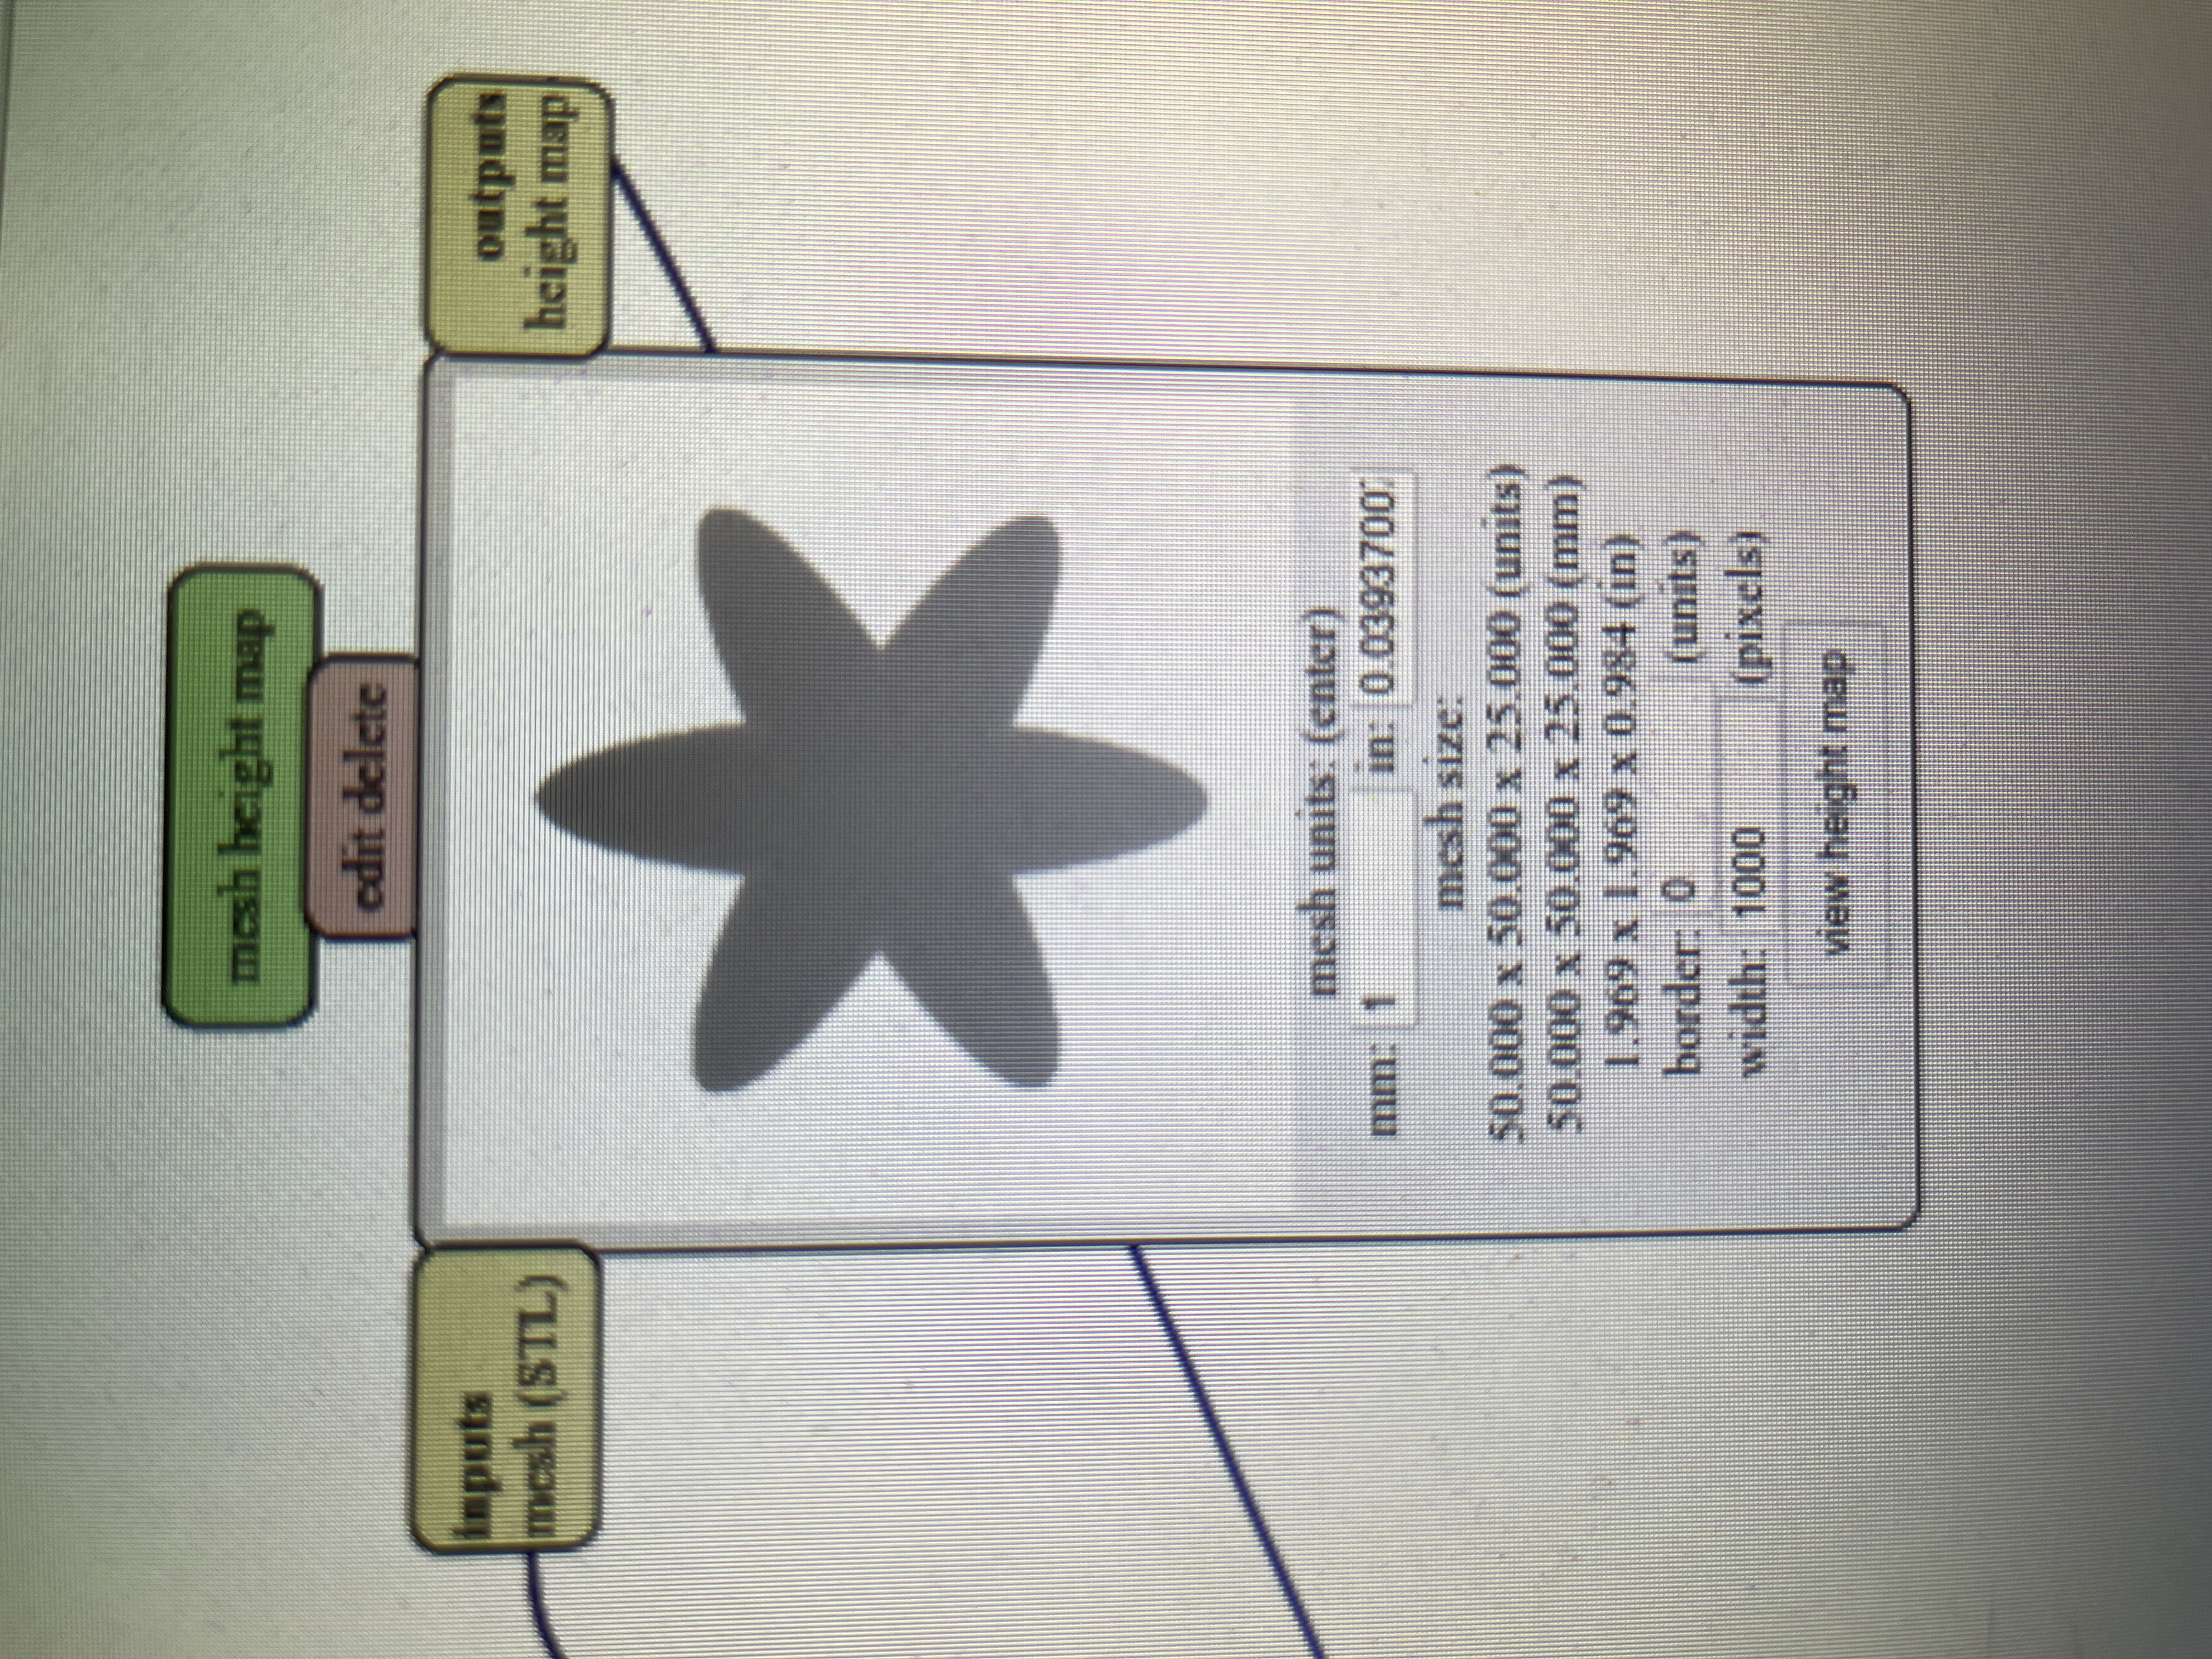
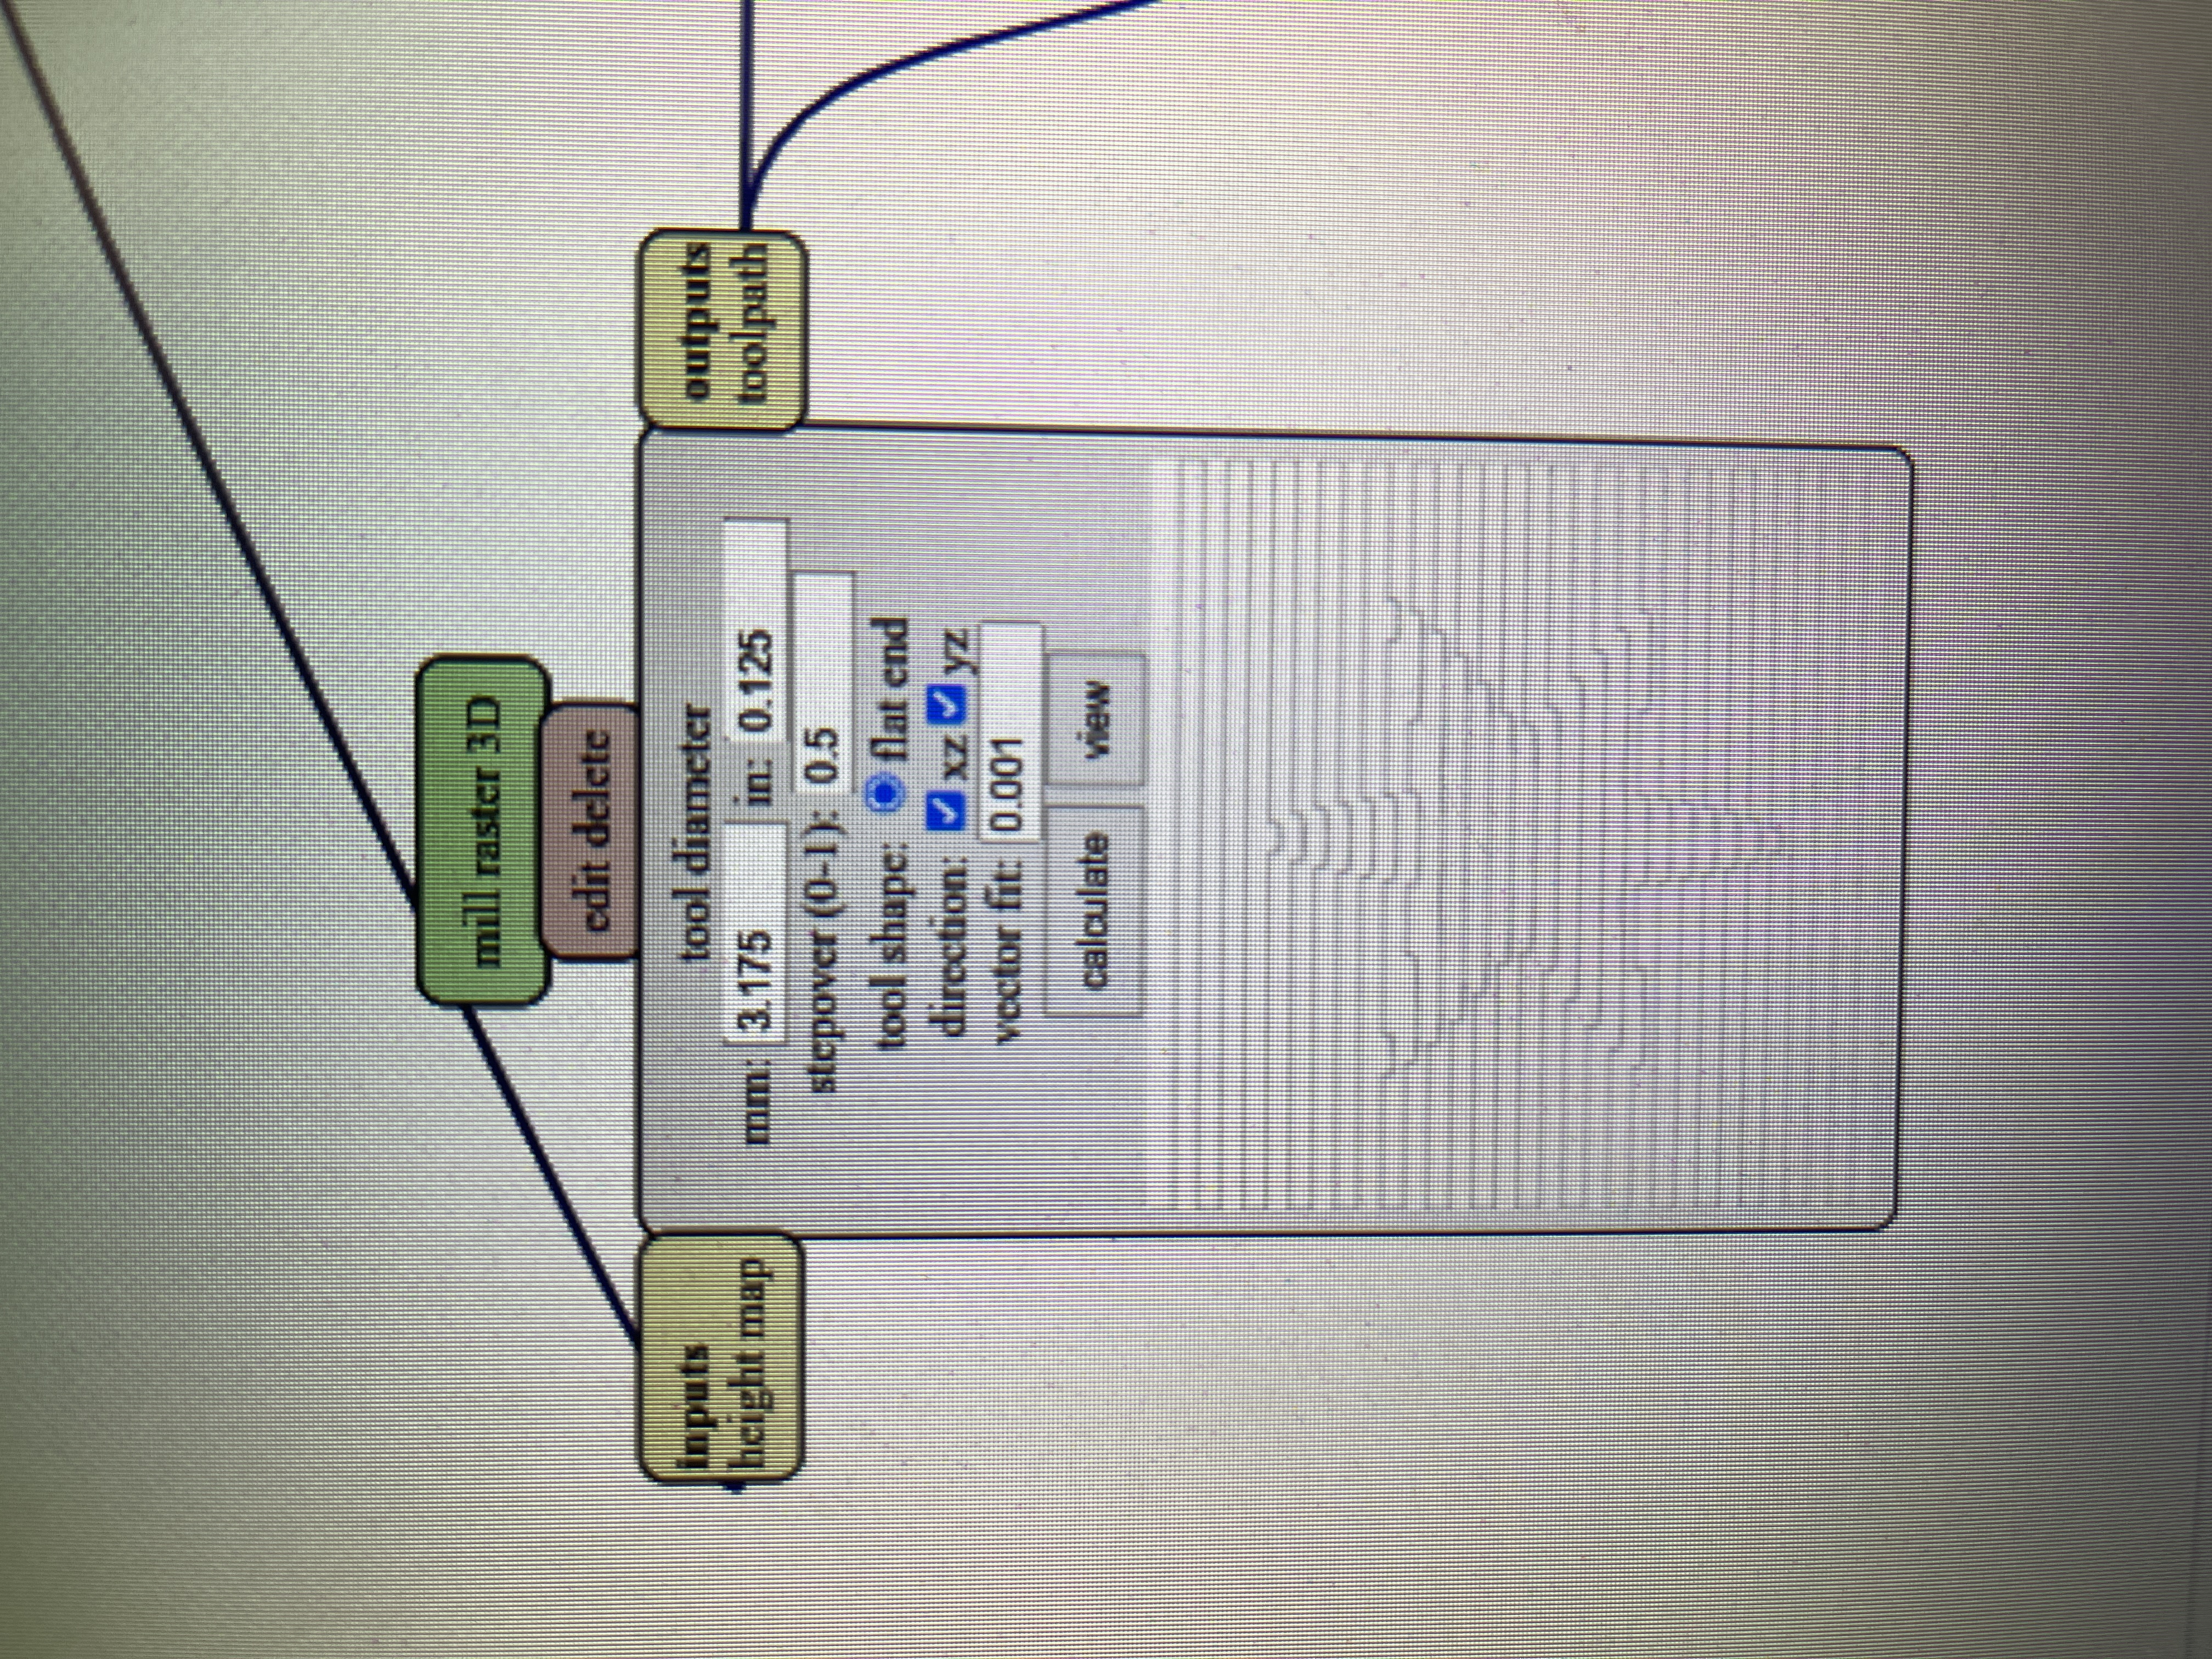
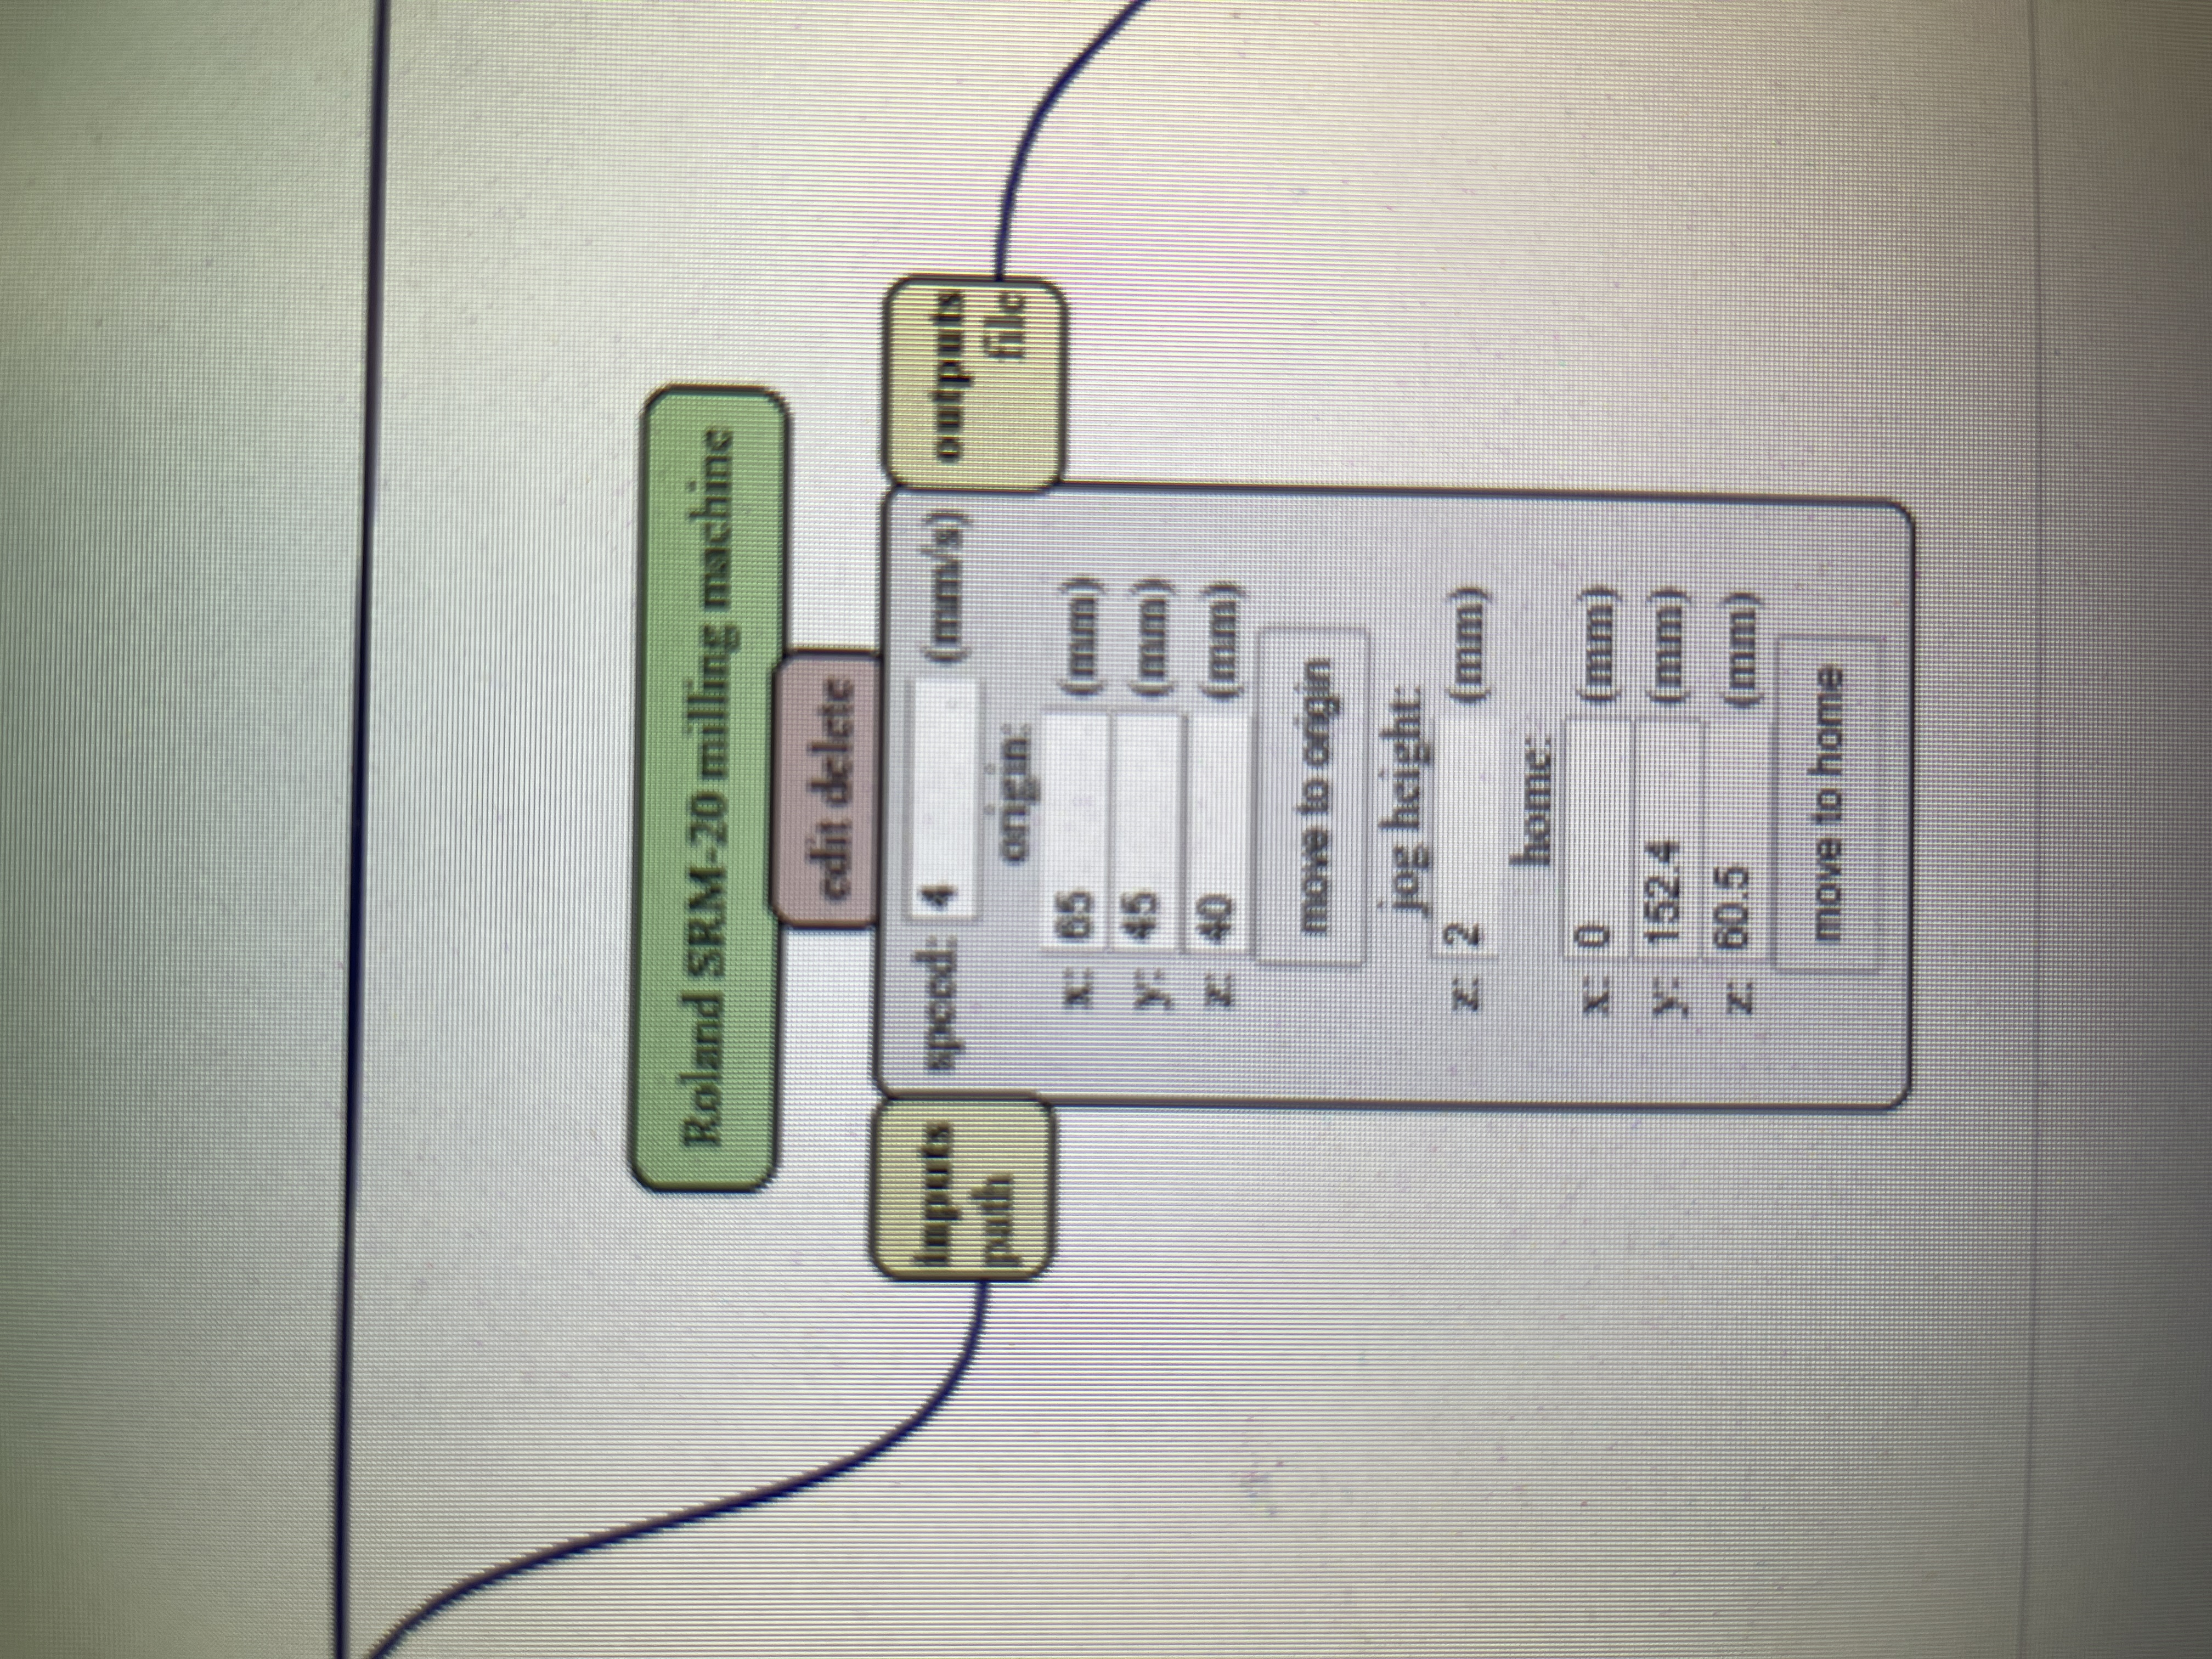
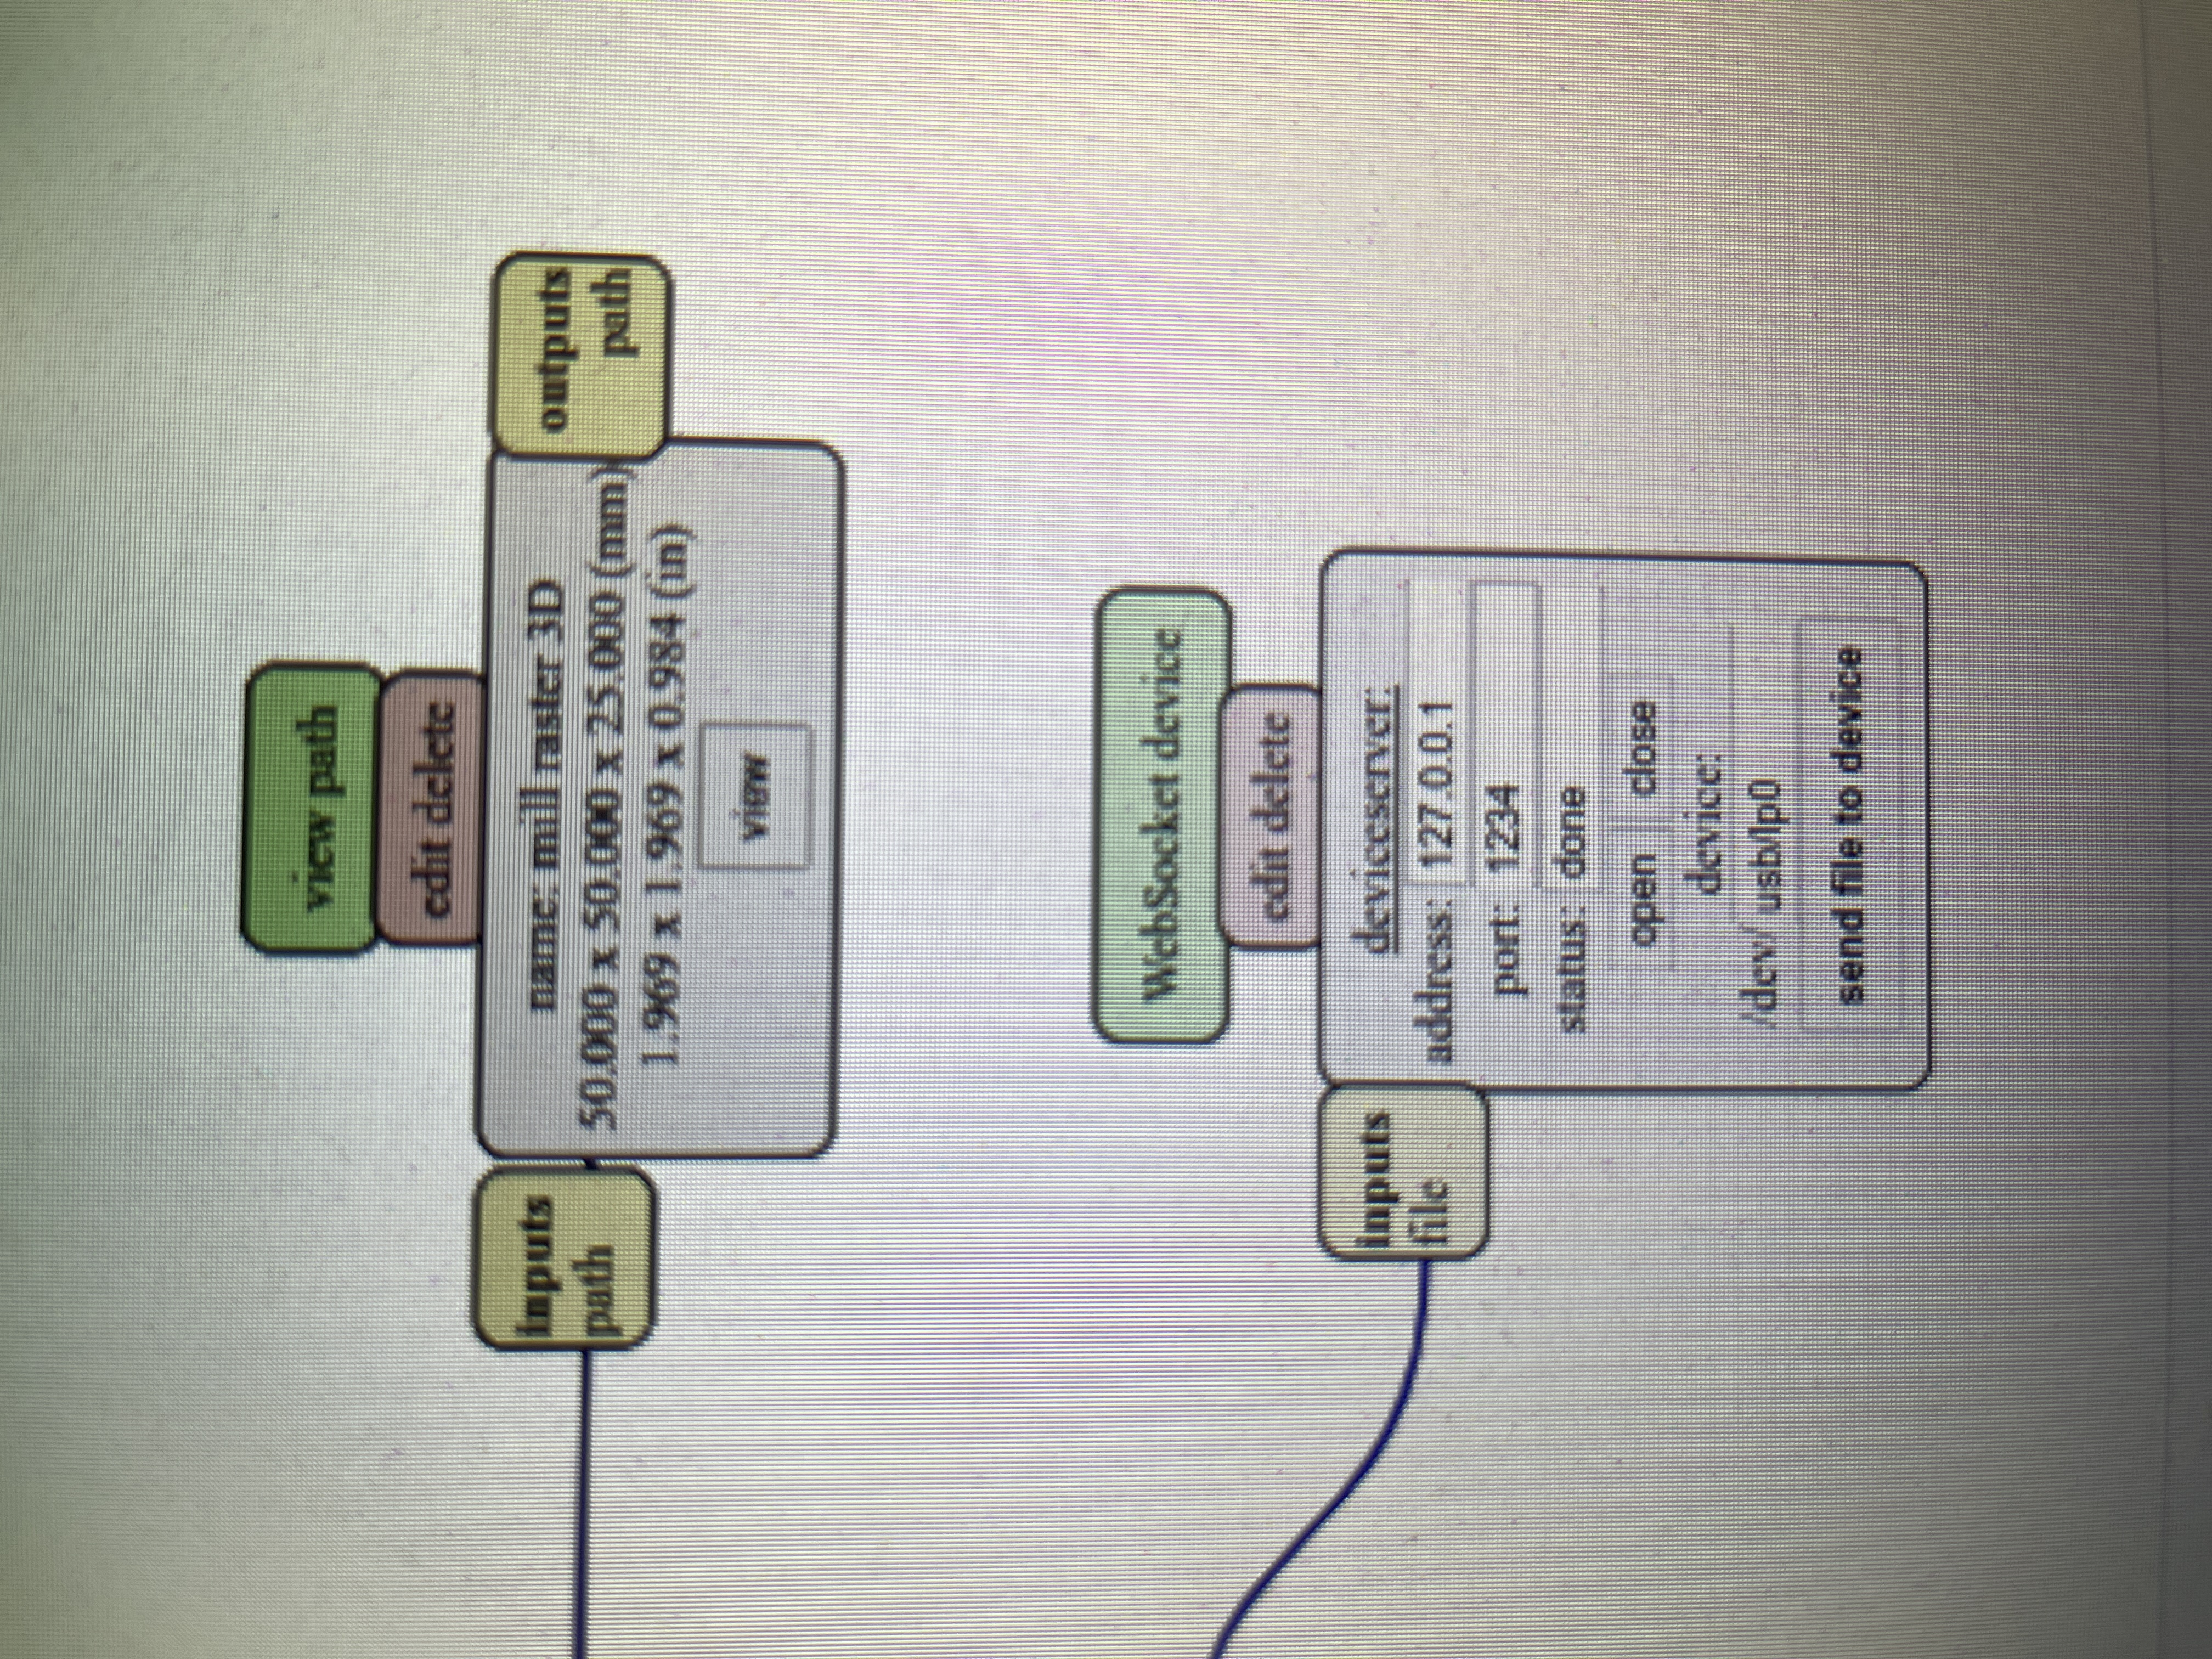
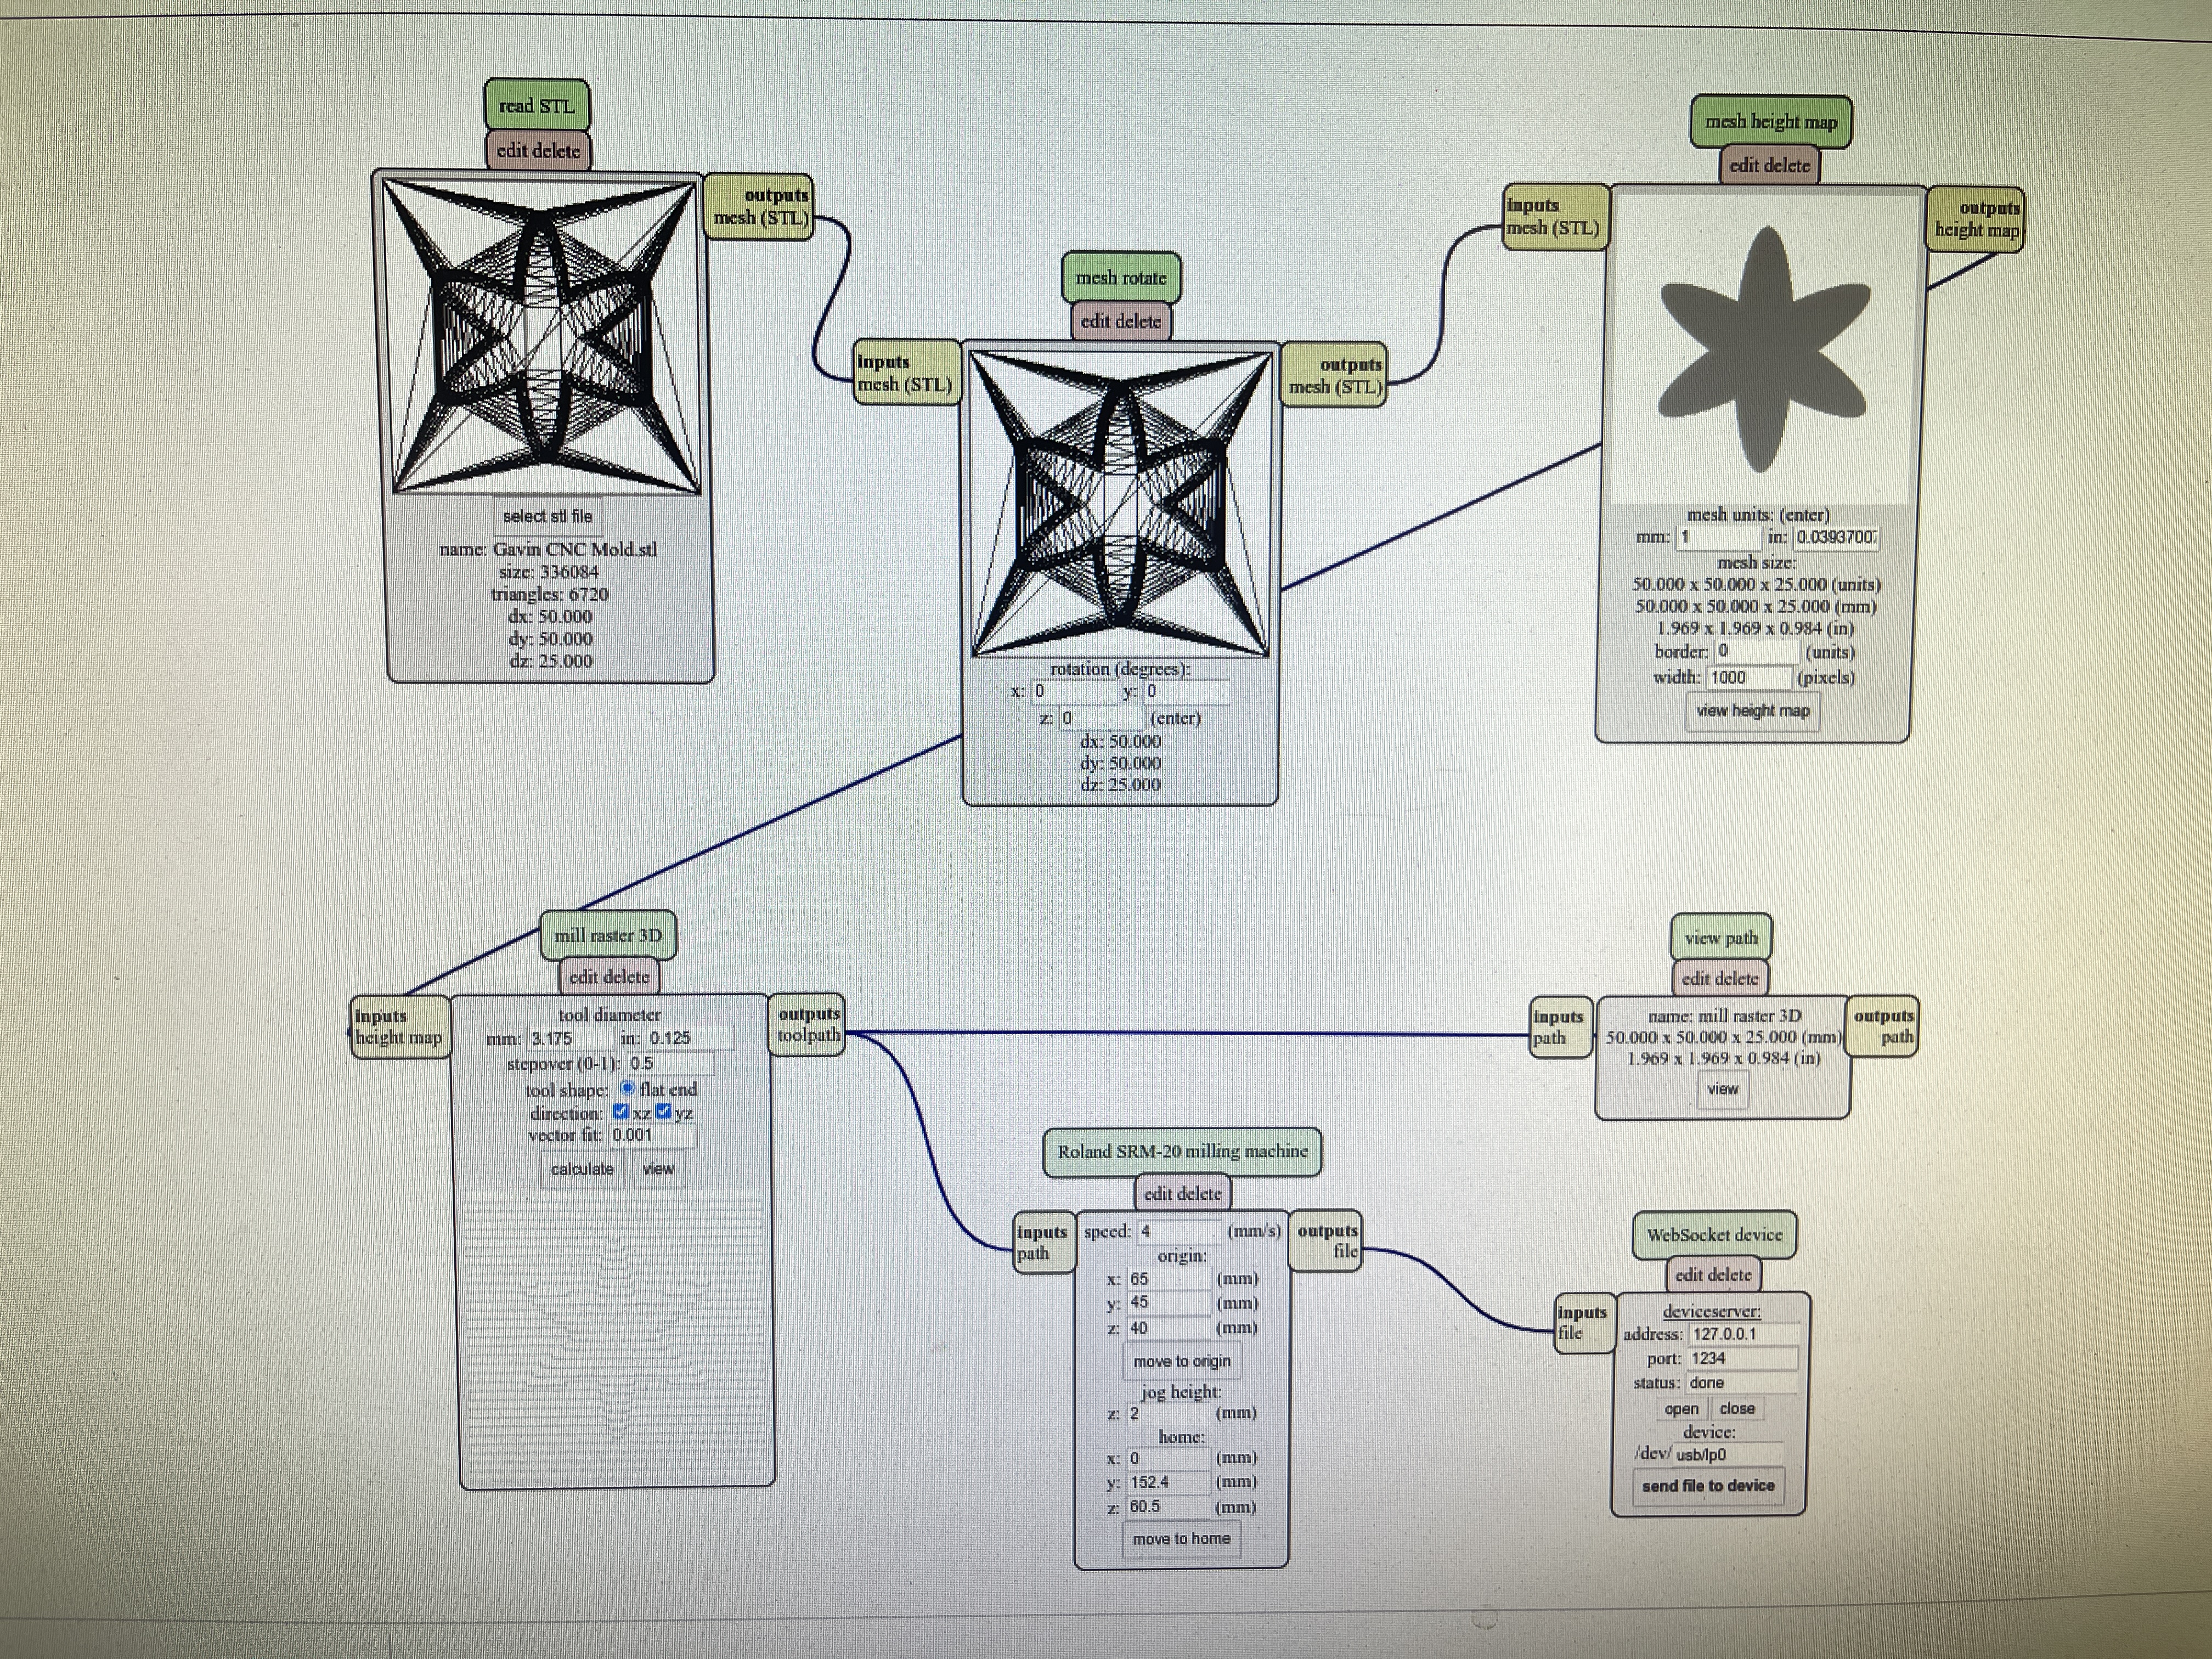
Once I created the STL file for the object, I needed to start milling the mold onto the wax block. So, I installed the STL file into a USB and used the monoFab SRM-20 milling machine to start the first step in the milling process: the roughing pass. Below are the setup configurations that I used for the roughing pass:
Finishing Pass
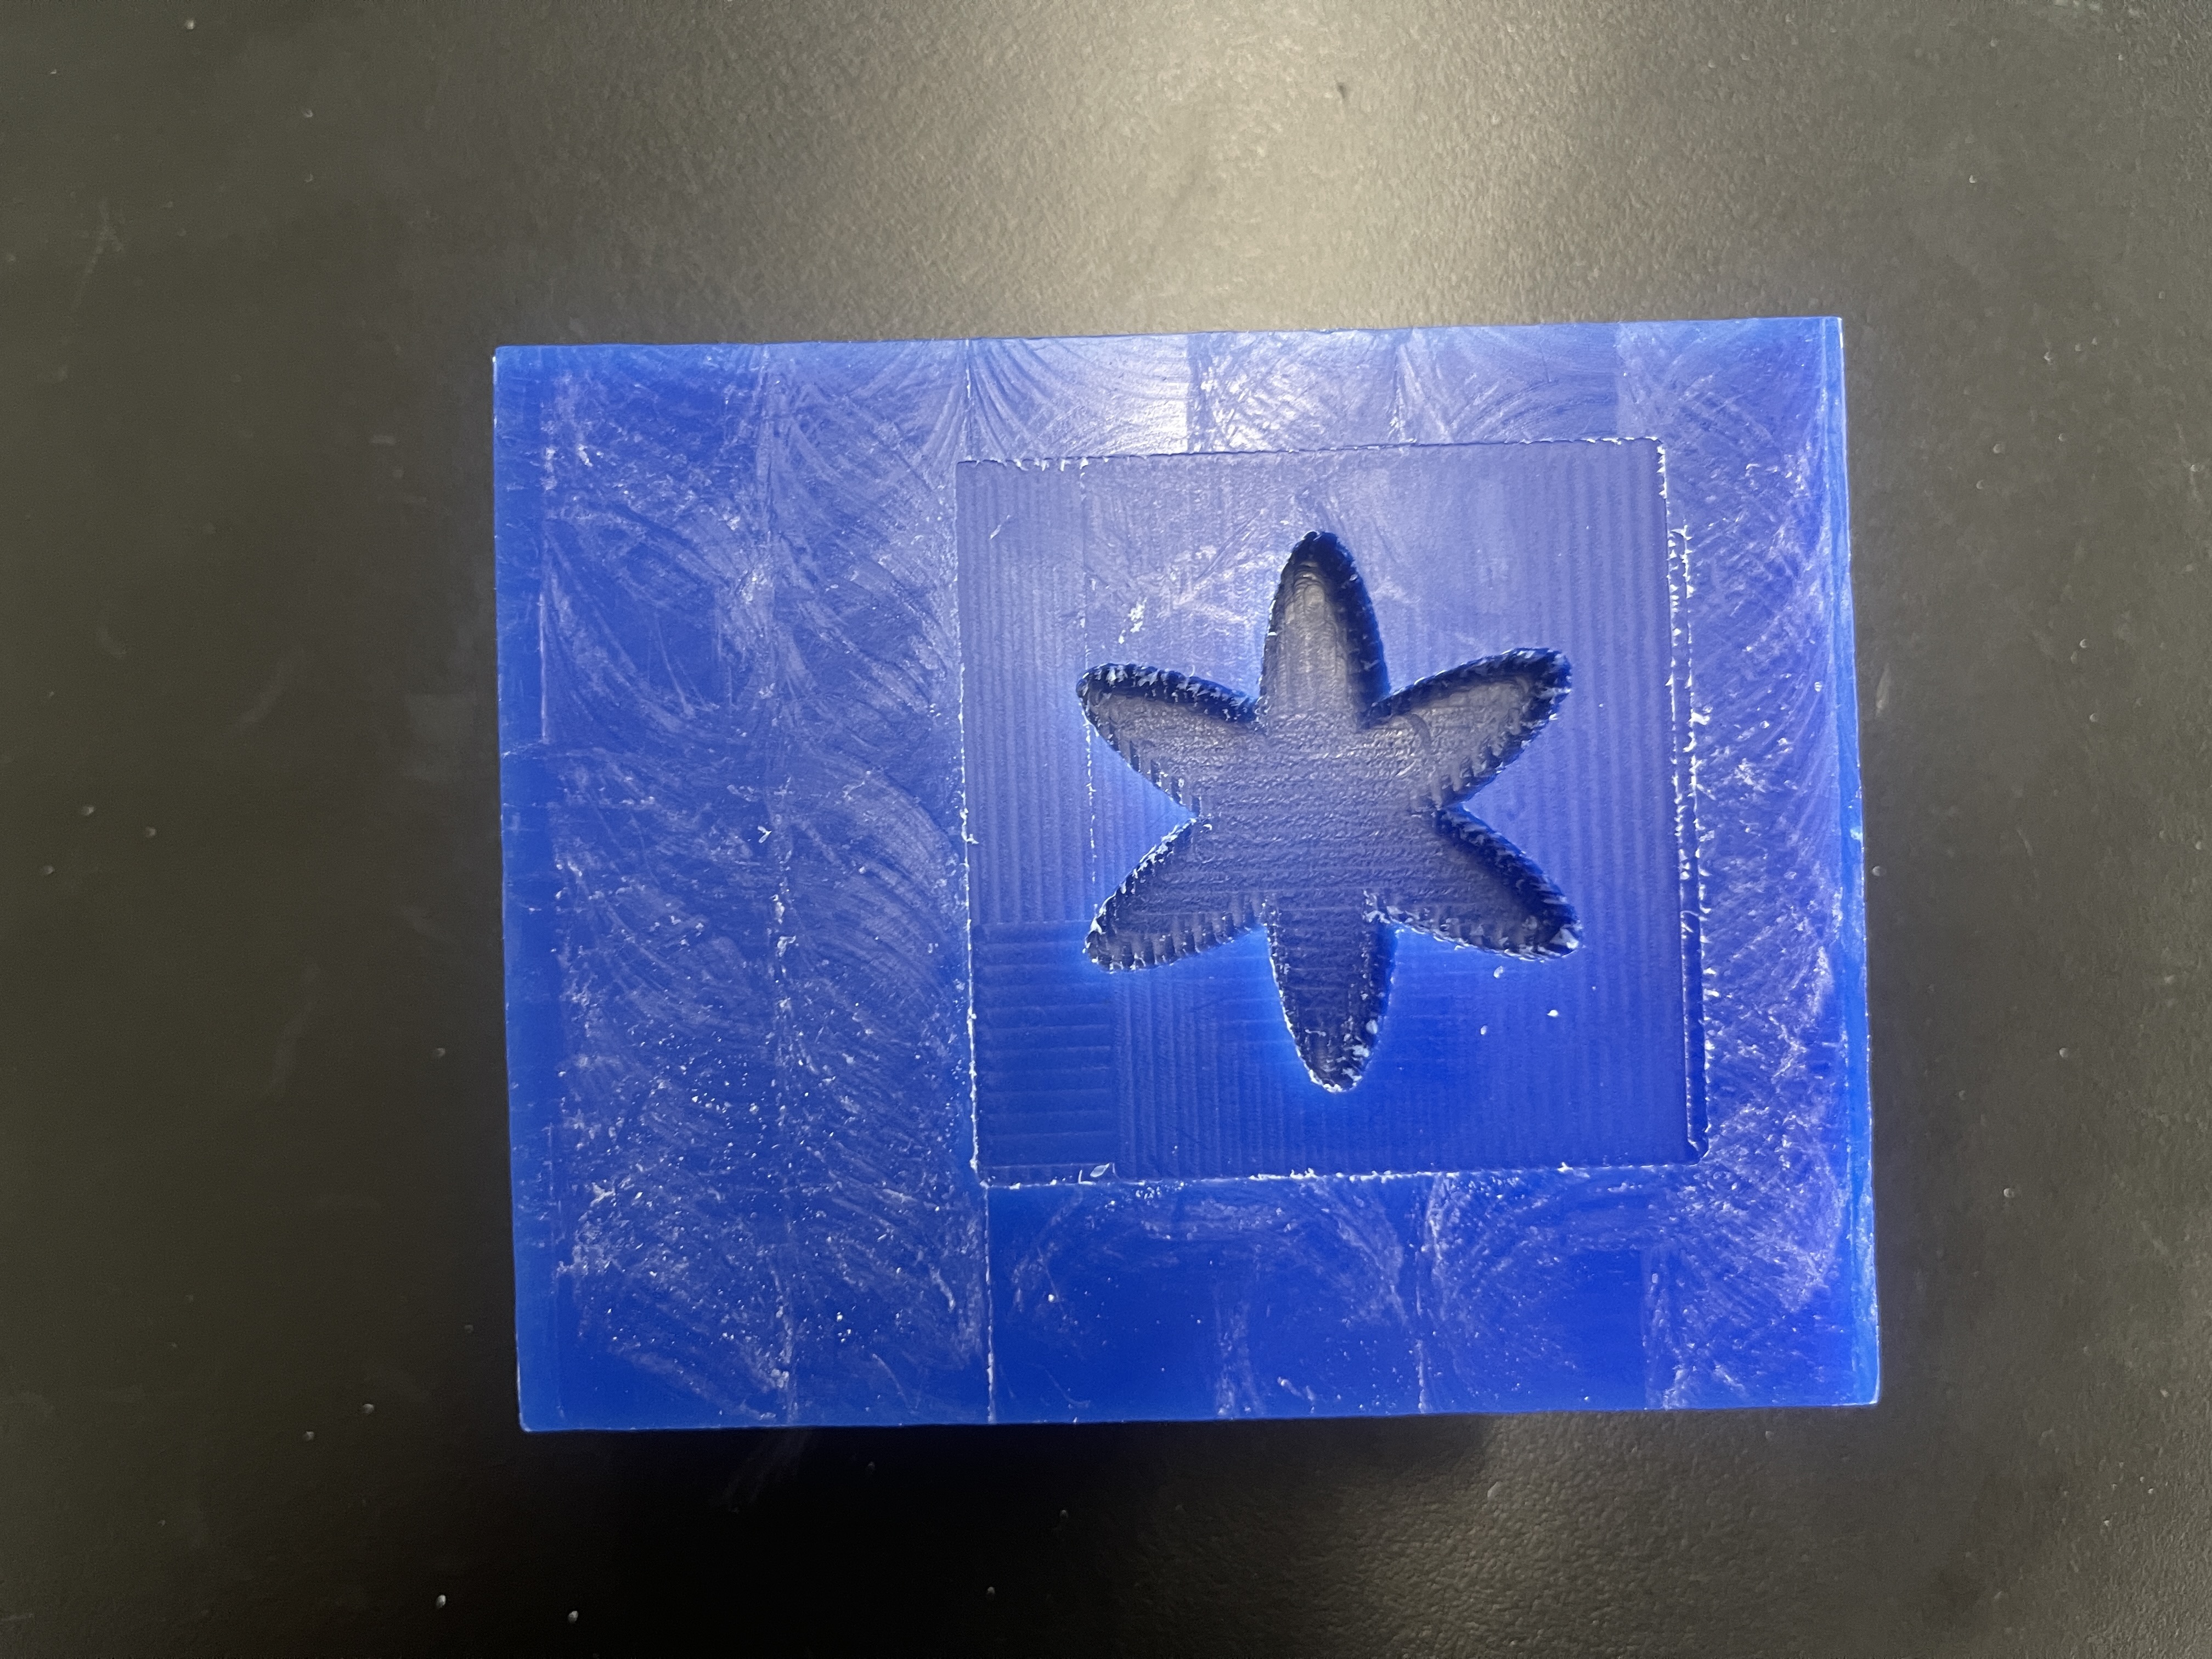
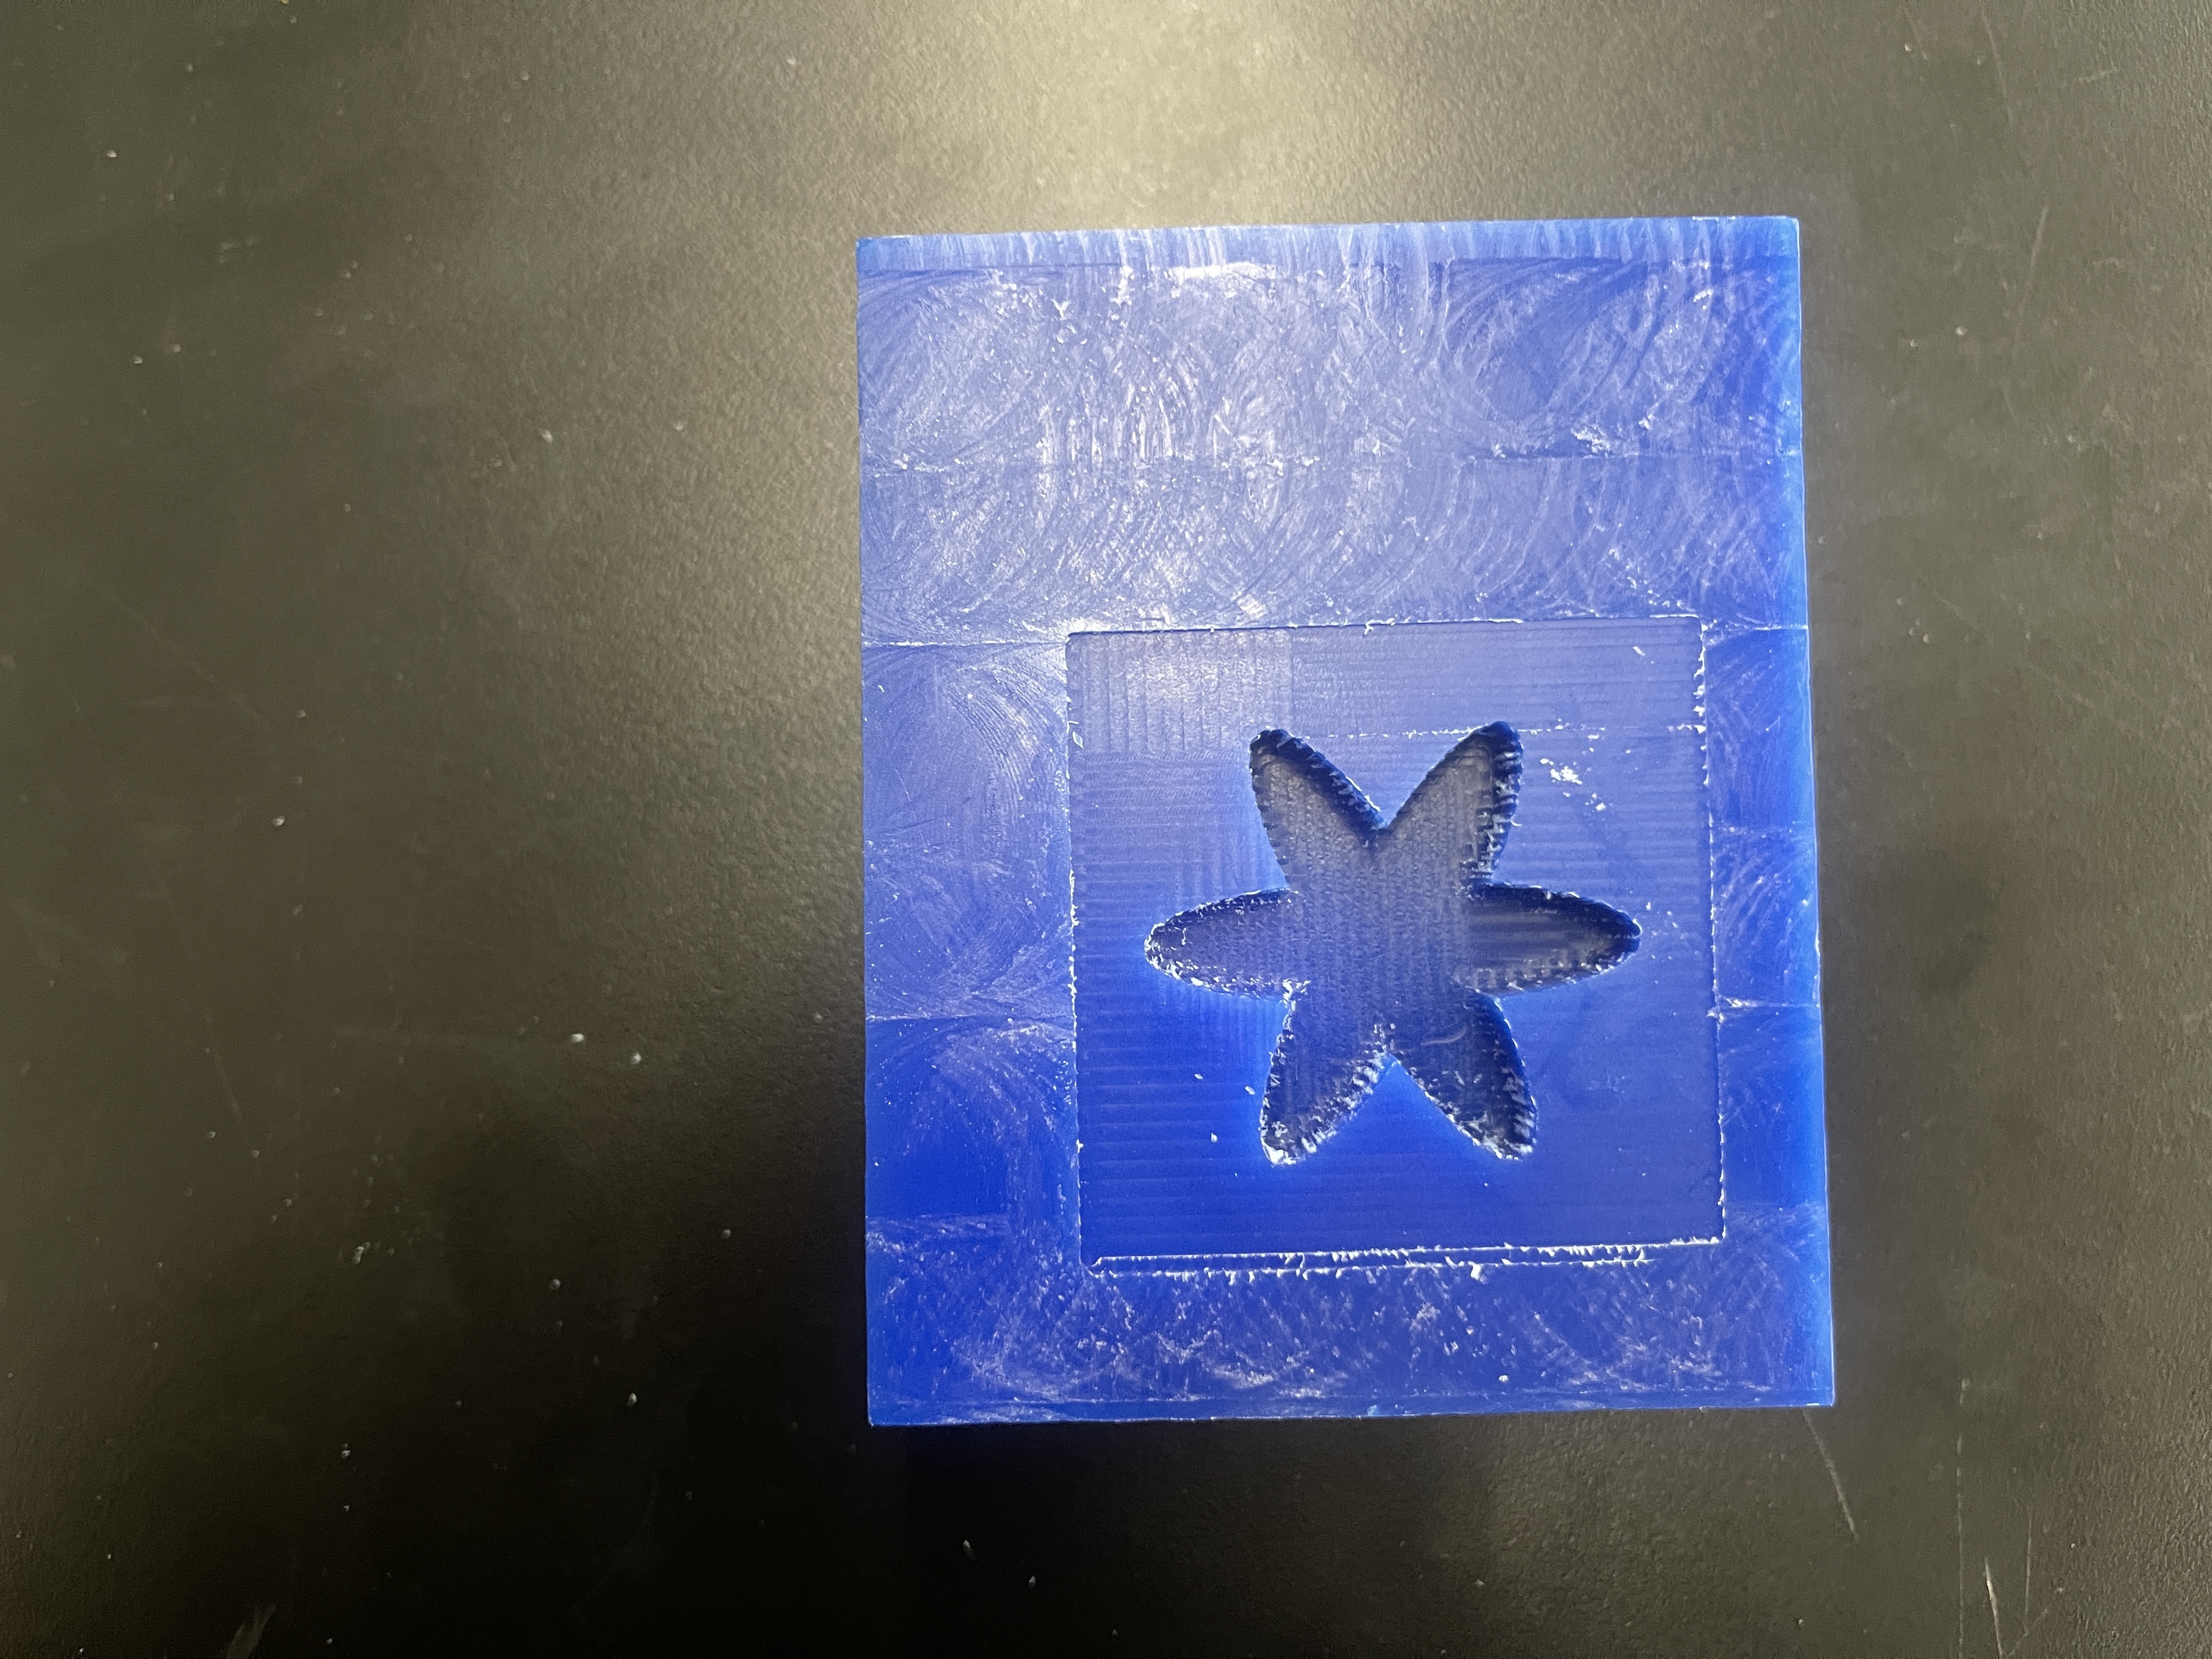
After completing the roughing pass of the milling process (using the 1/8th inch drill), I then utilized a smaller drill of approximately 1/16th of an inch for a drill. This allowed me to create a more detailed shape on the wax block, with finer edges. Additionally, this smaller drill allowed for the filleted edges on the bottom side of my object.
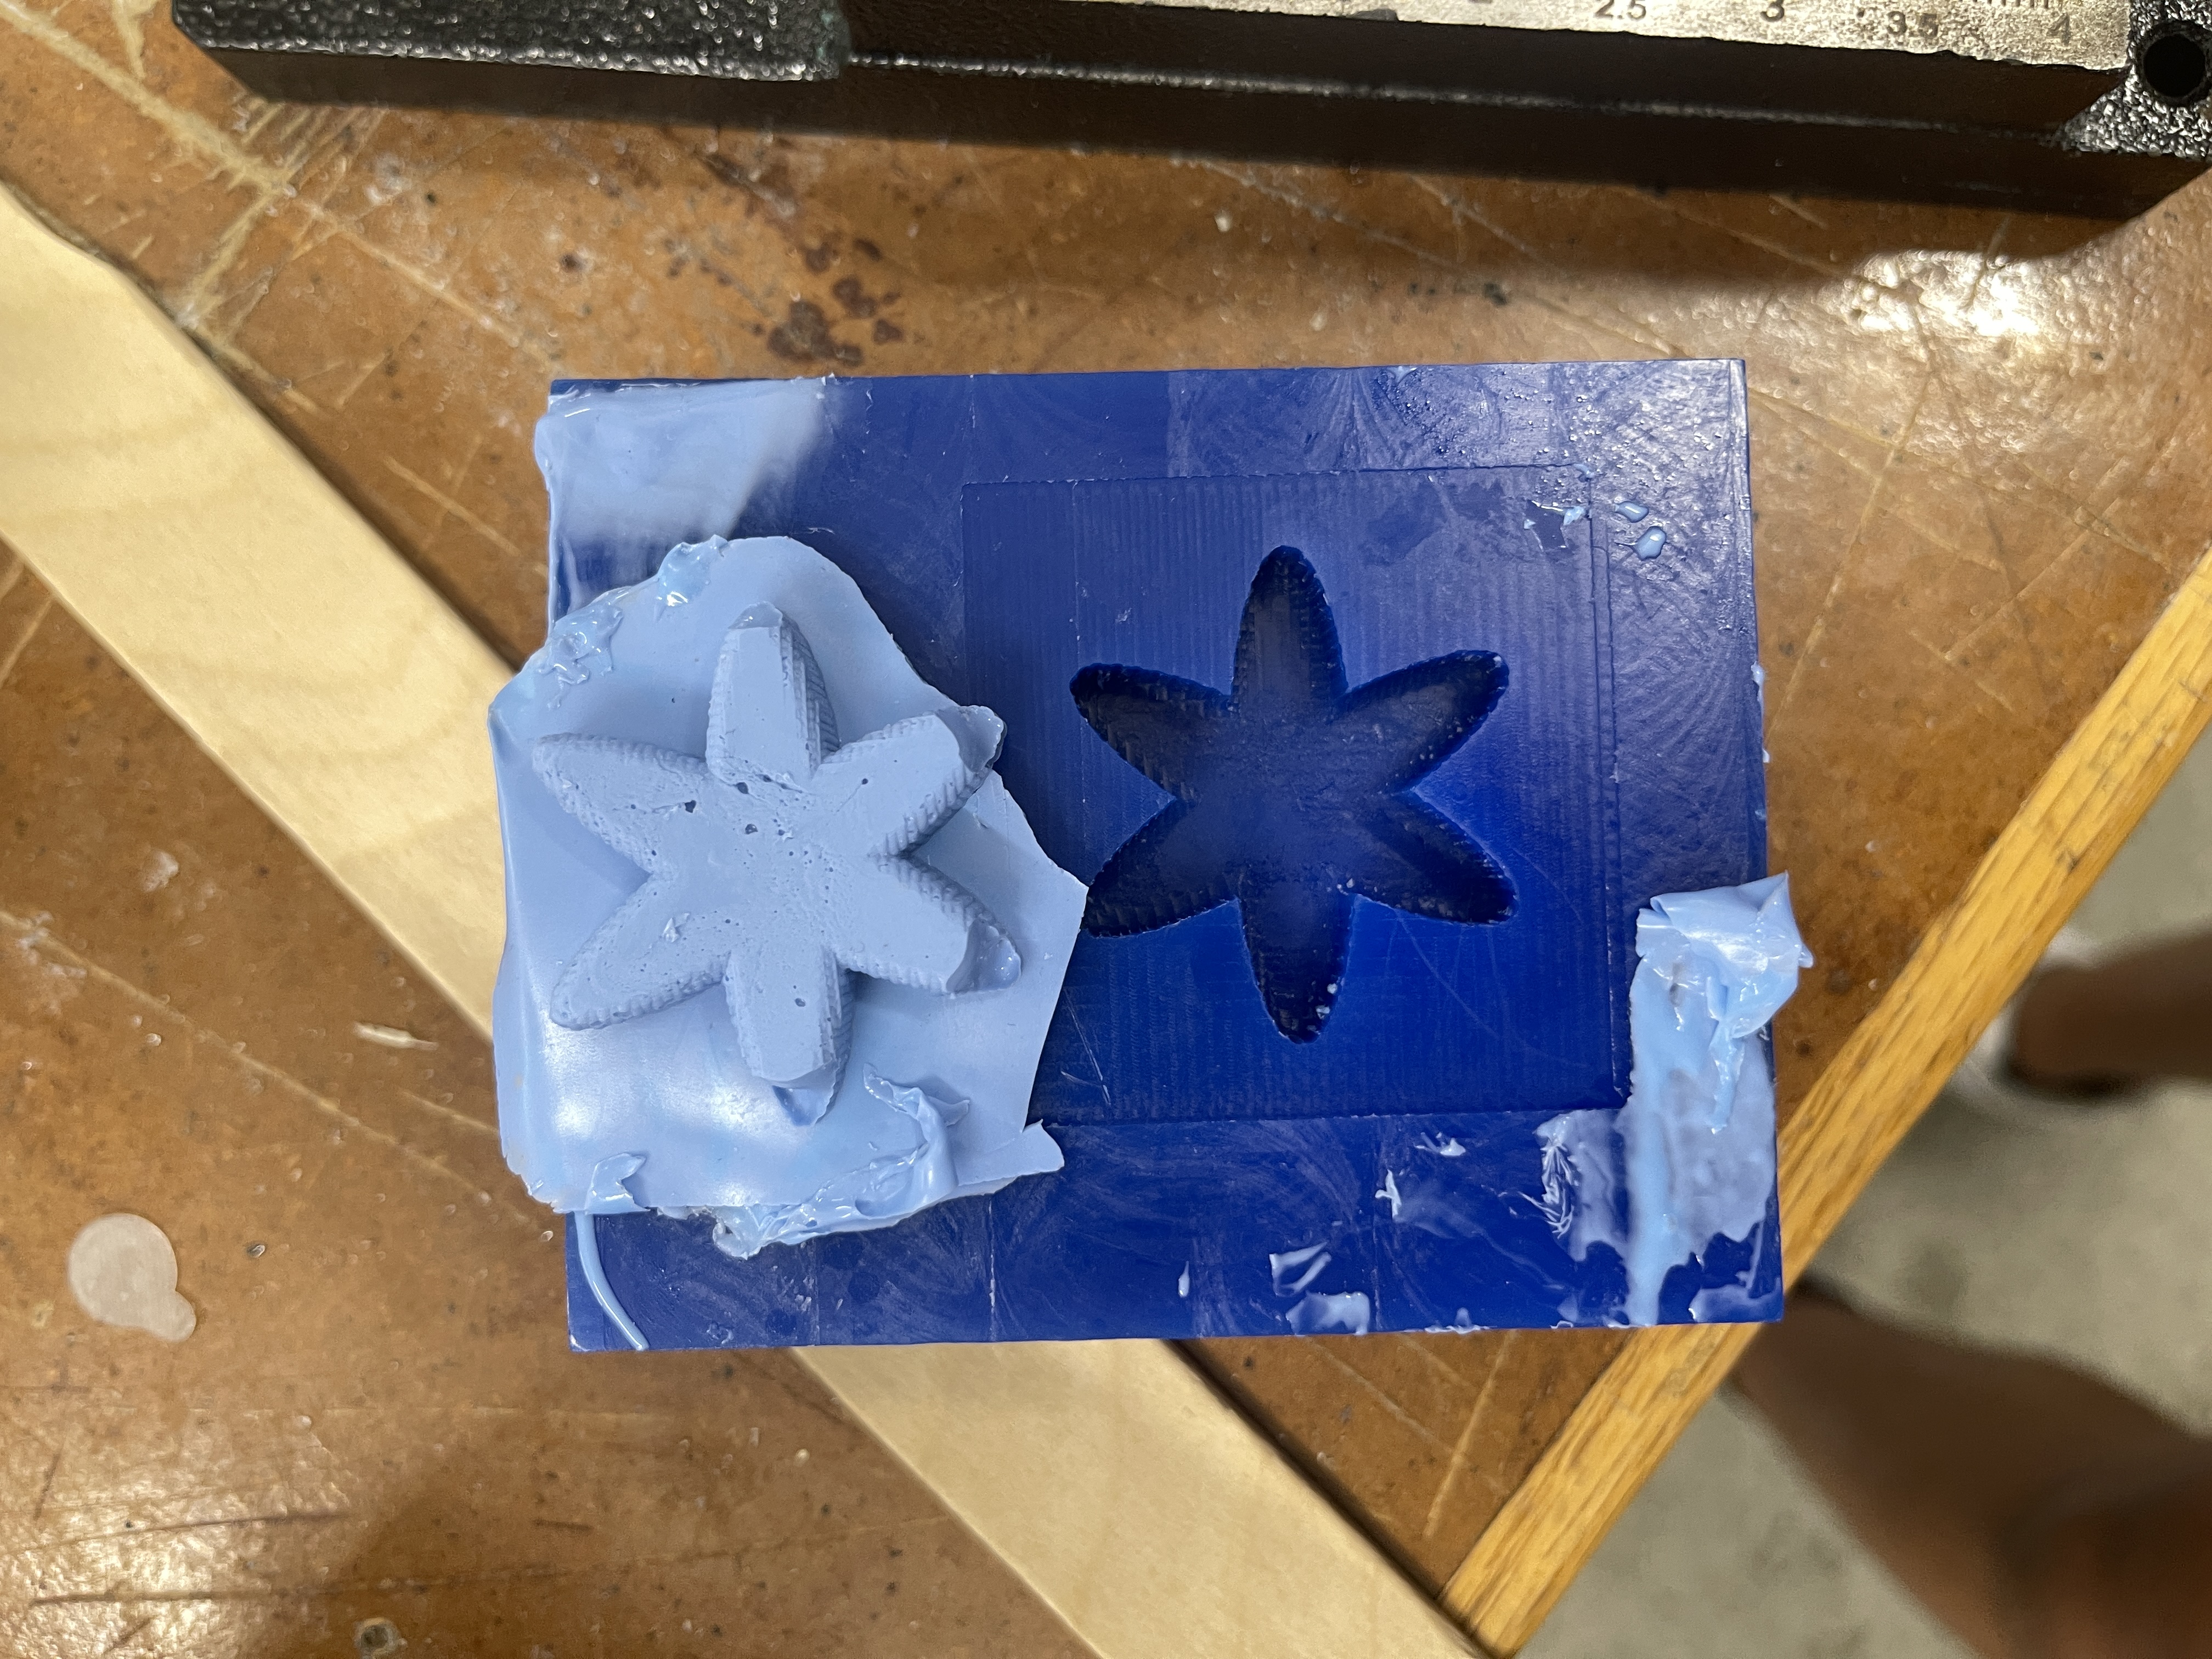
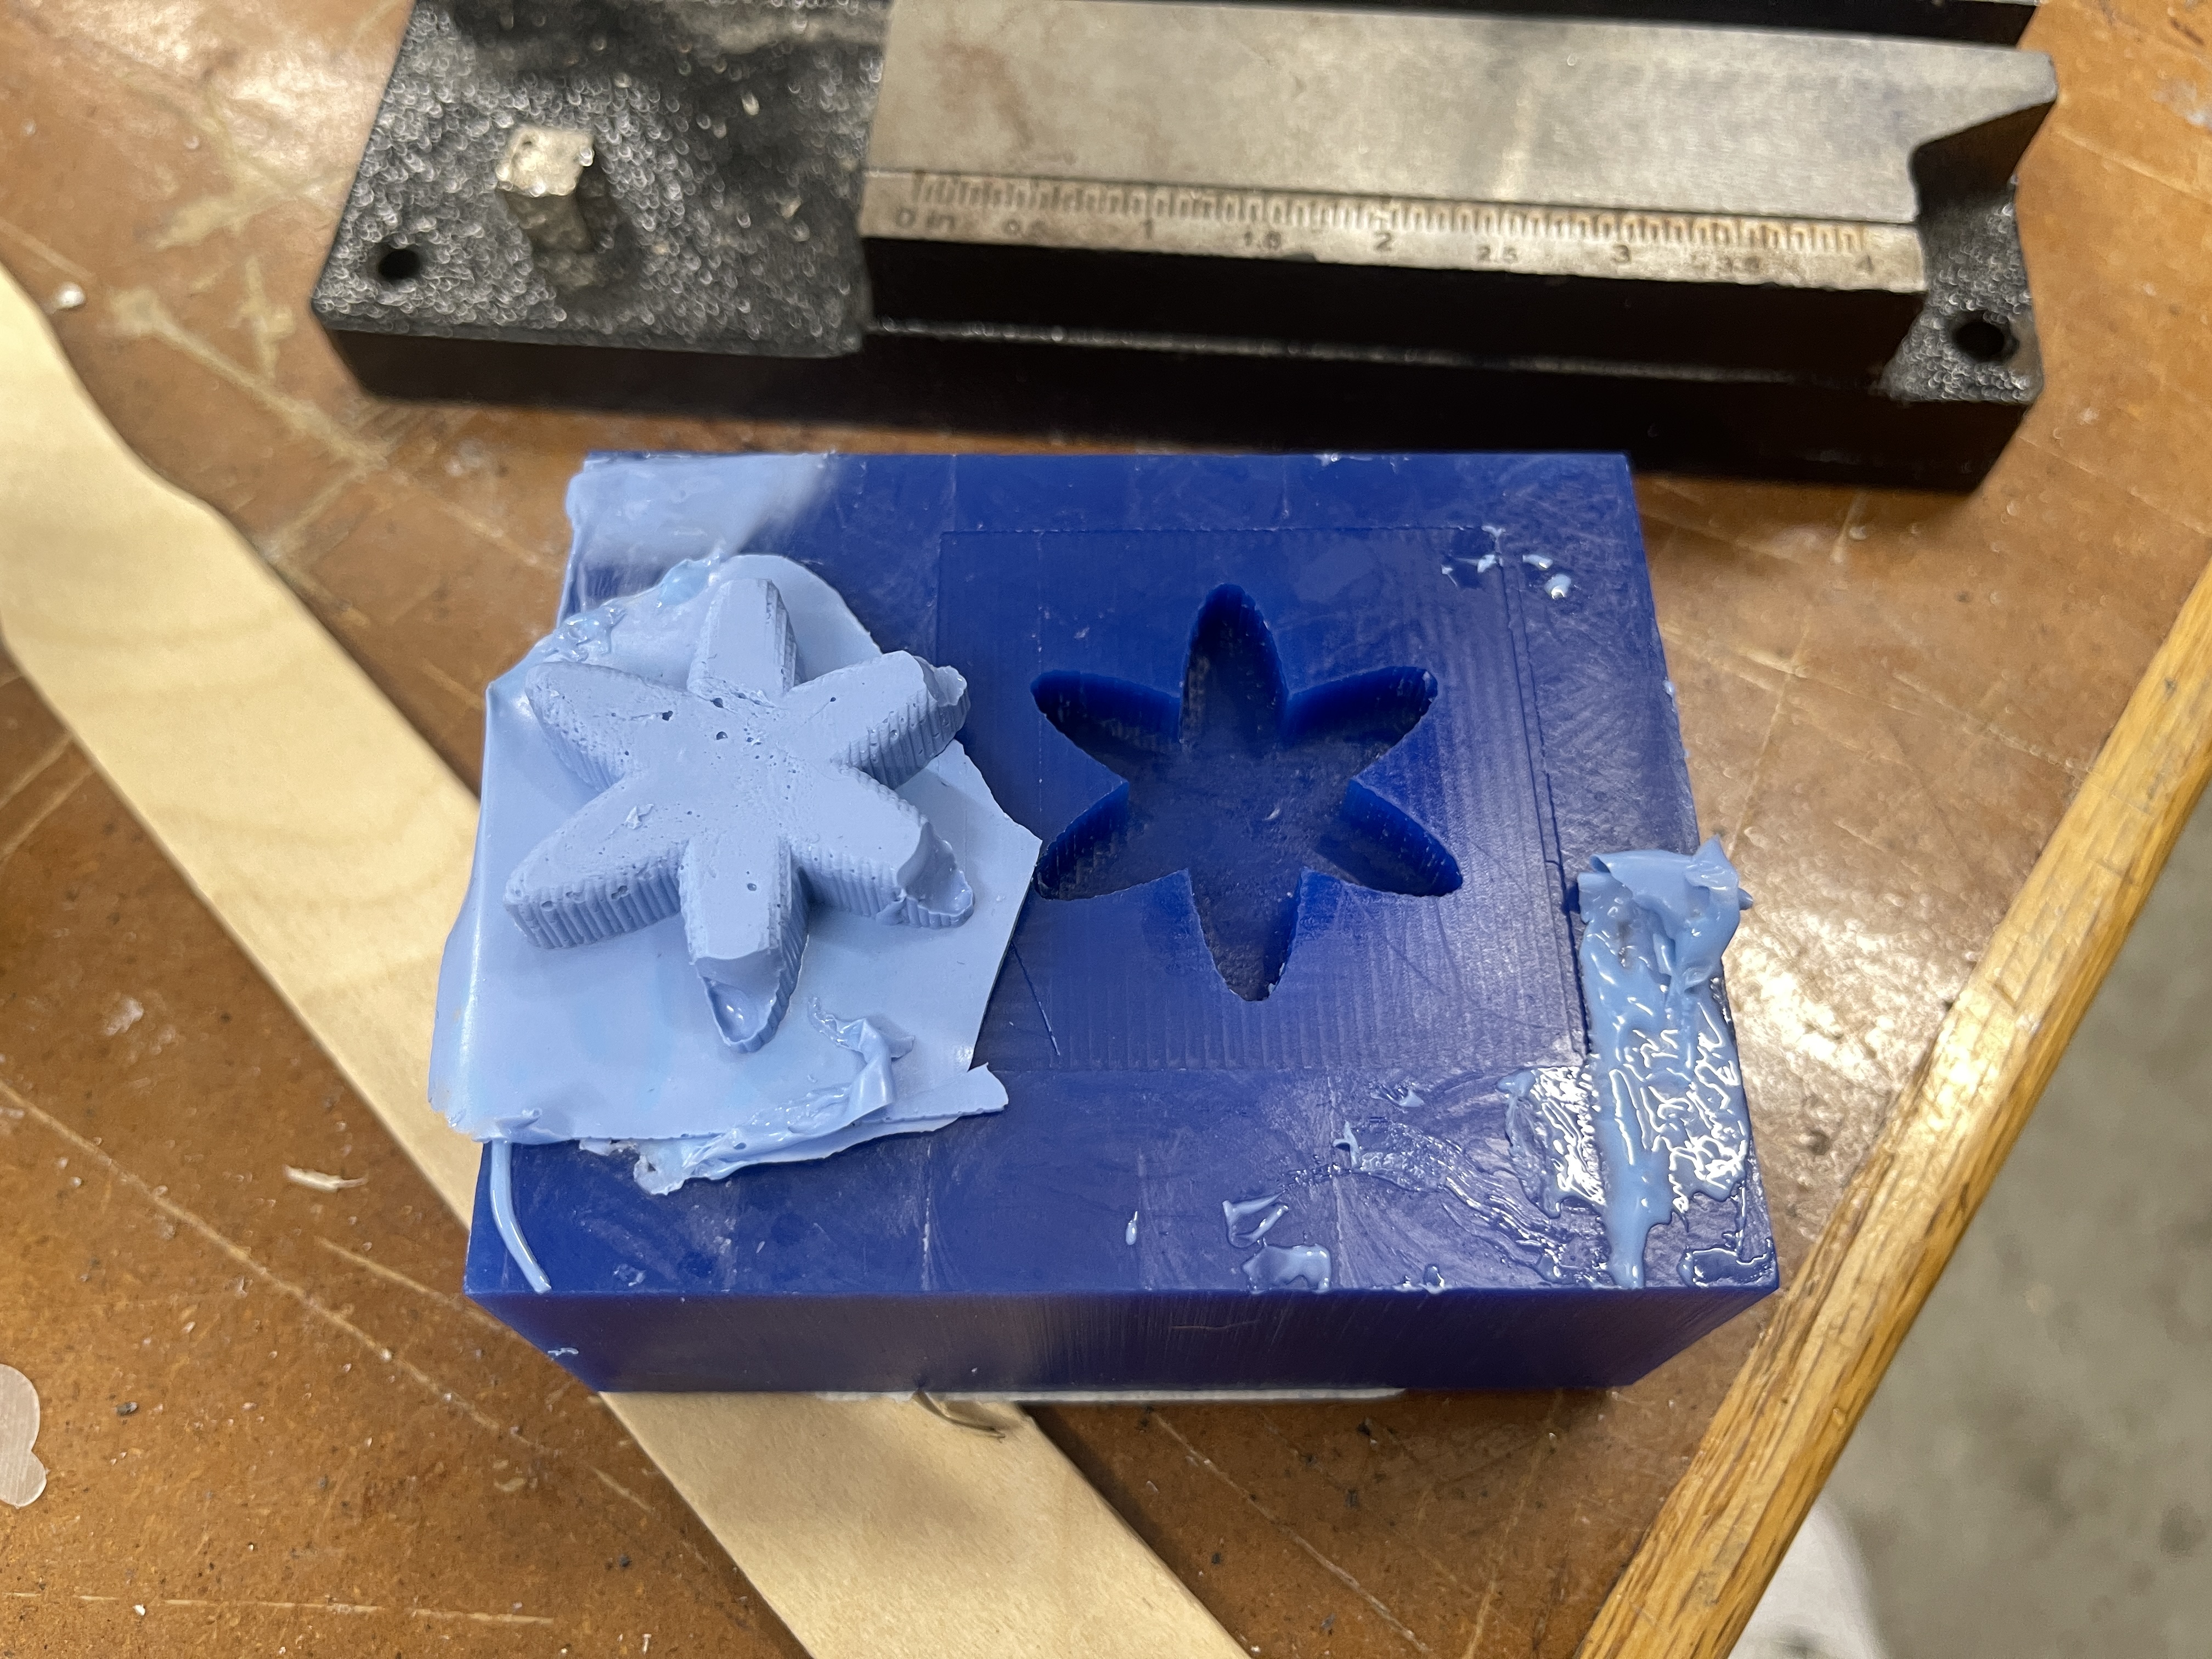
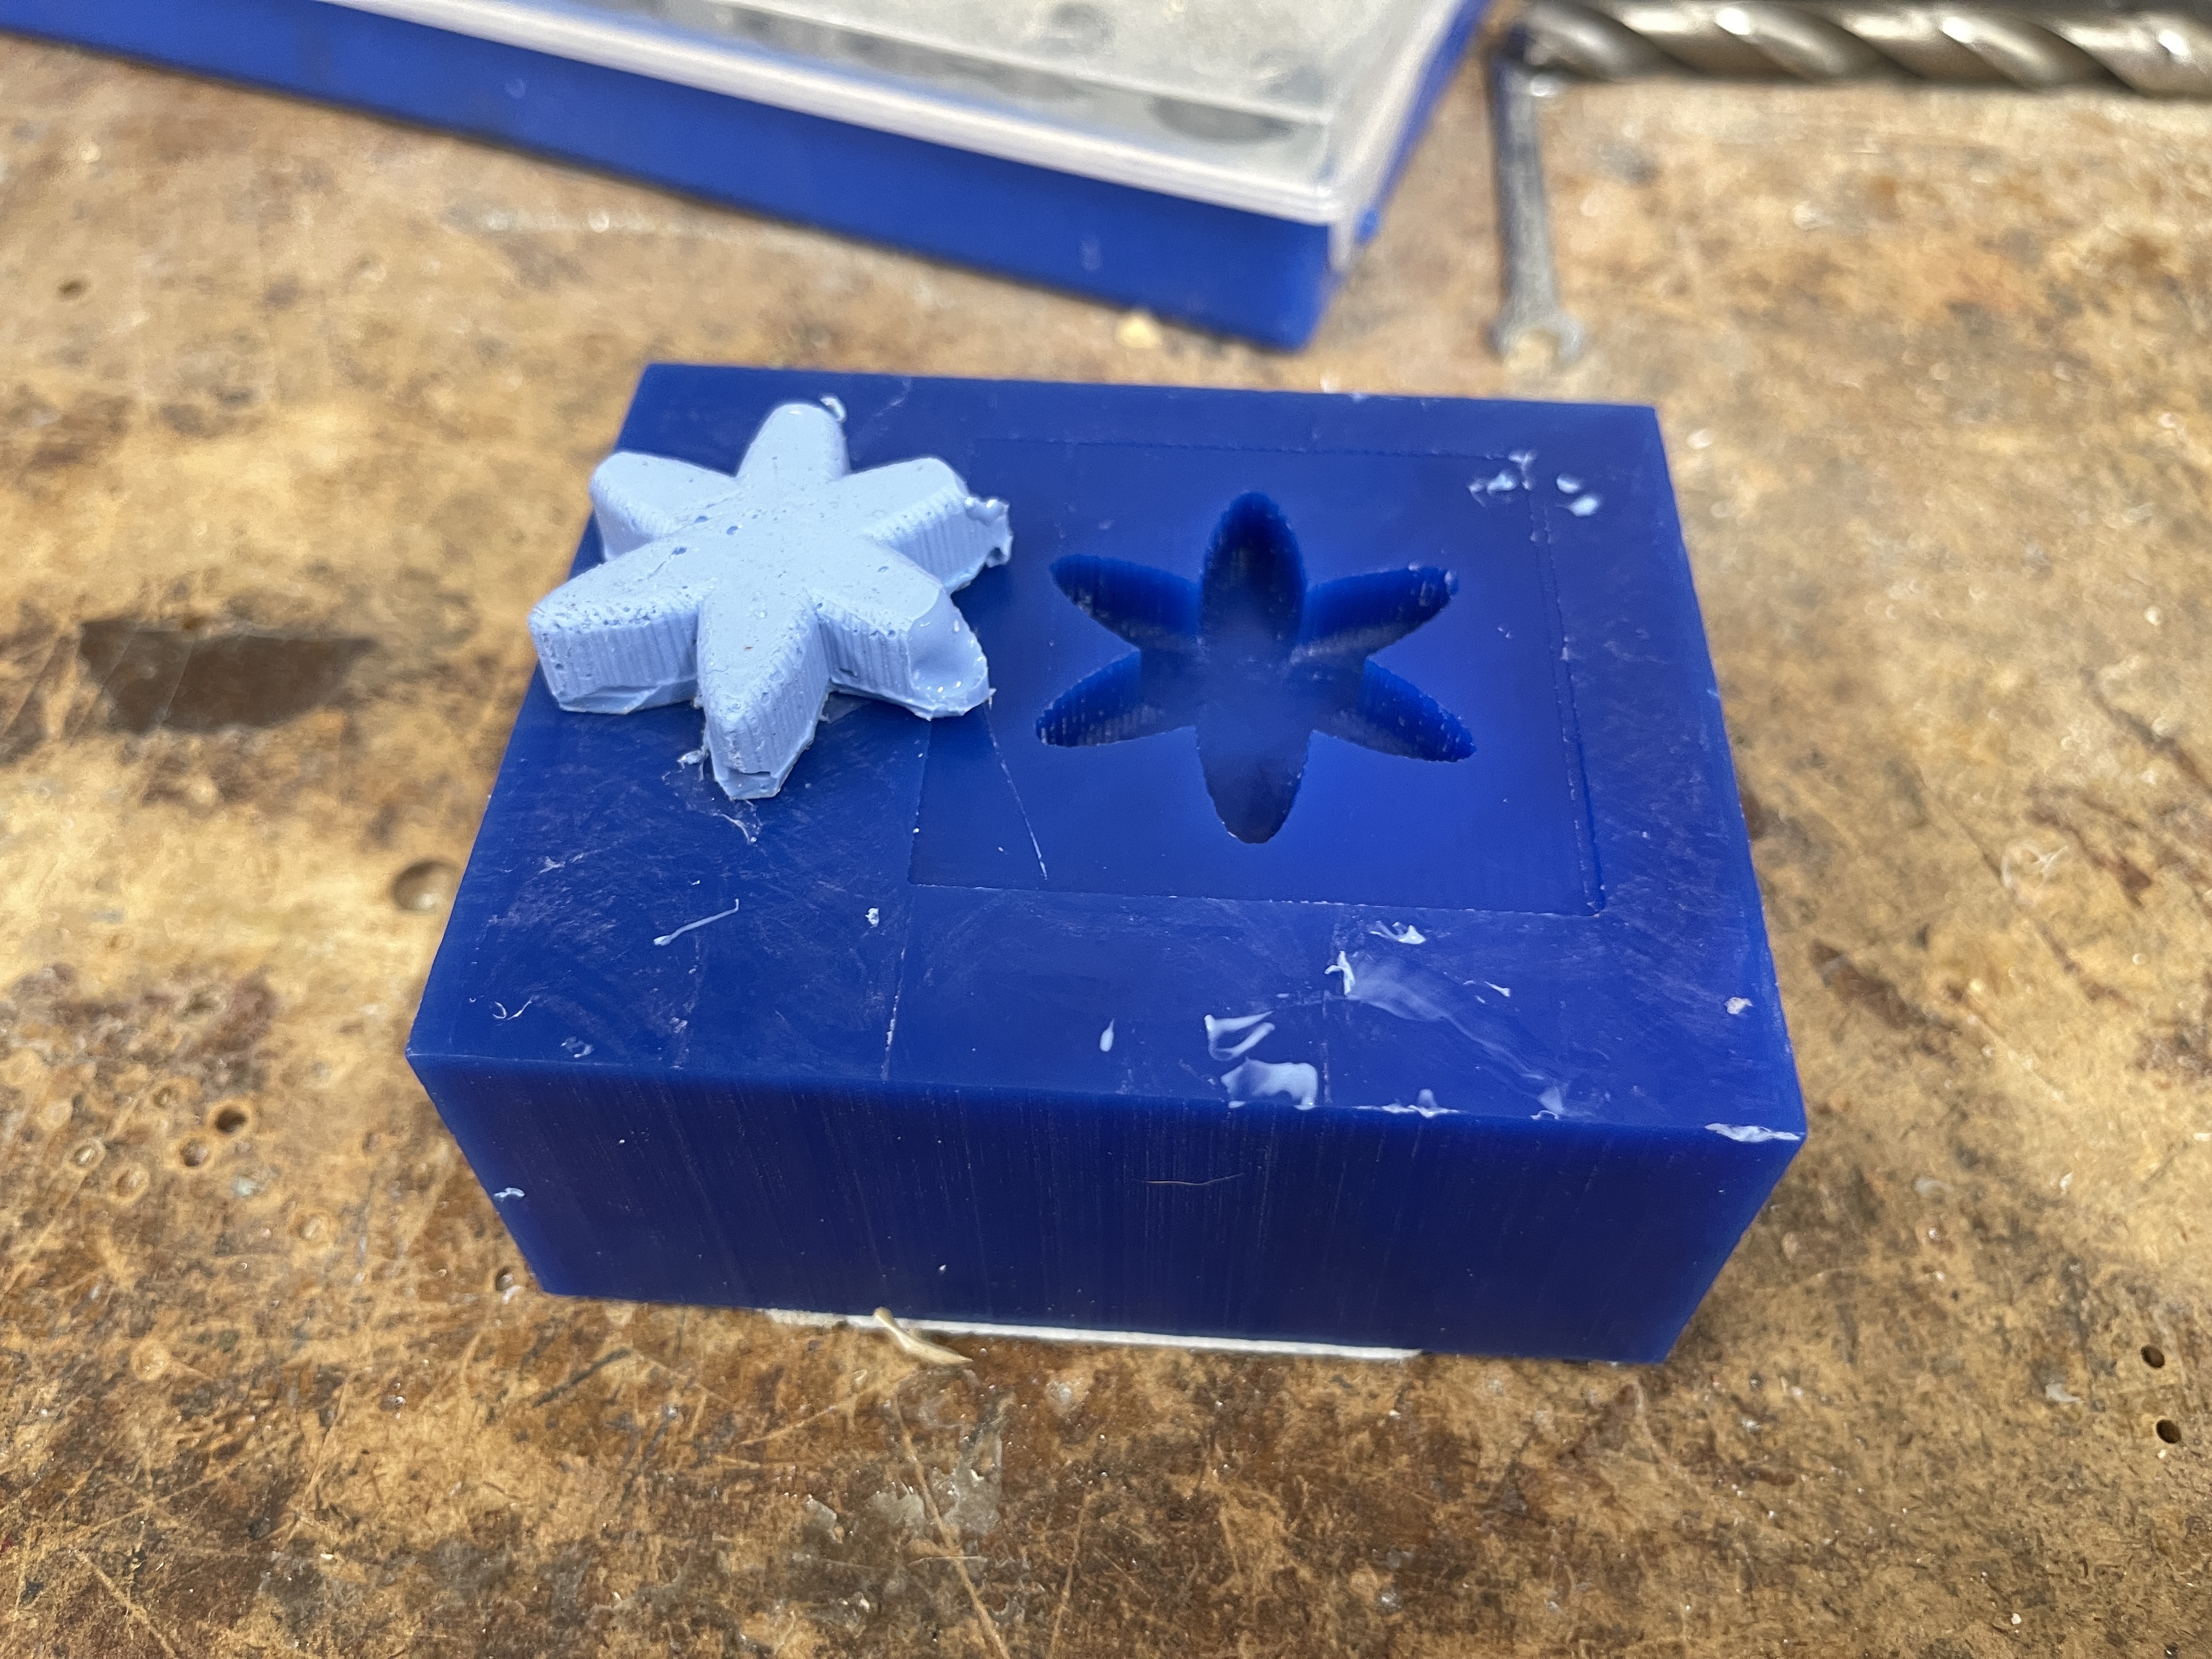
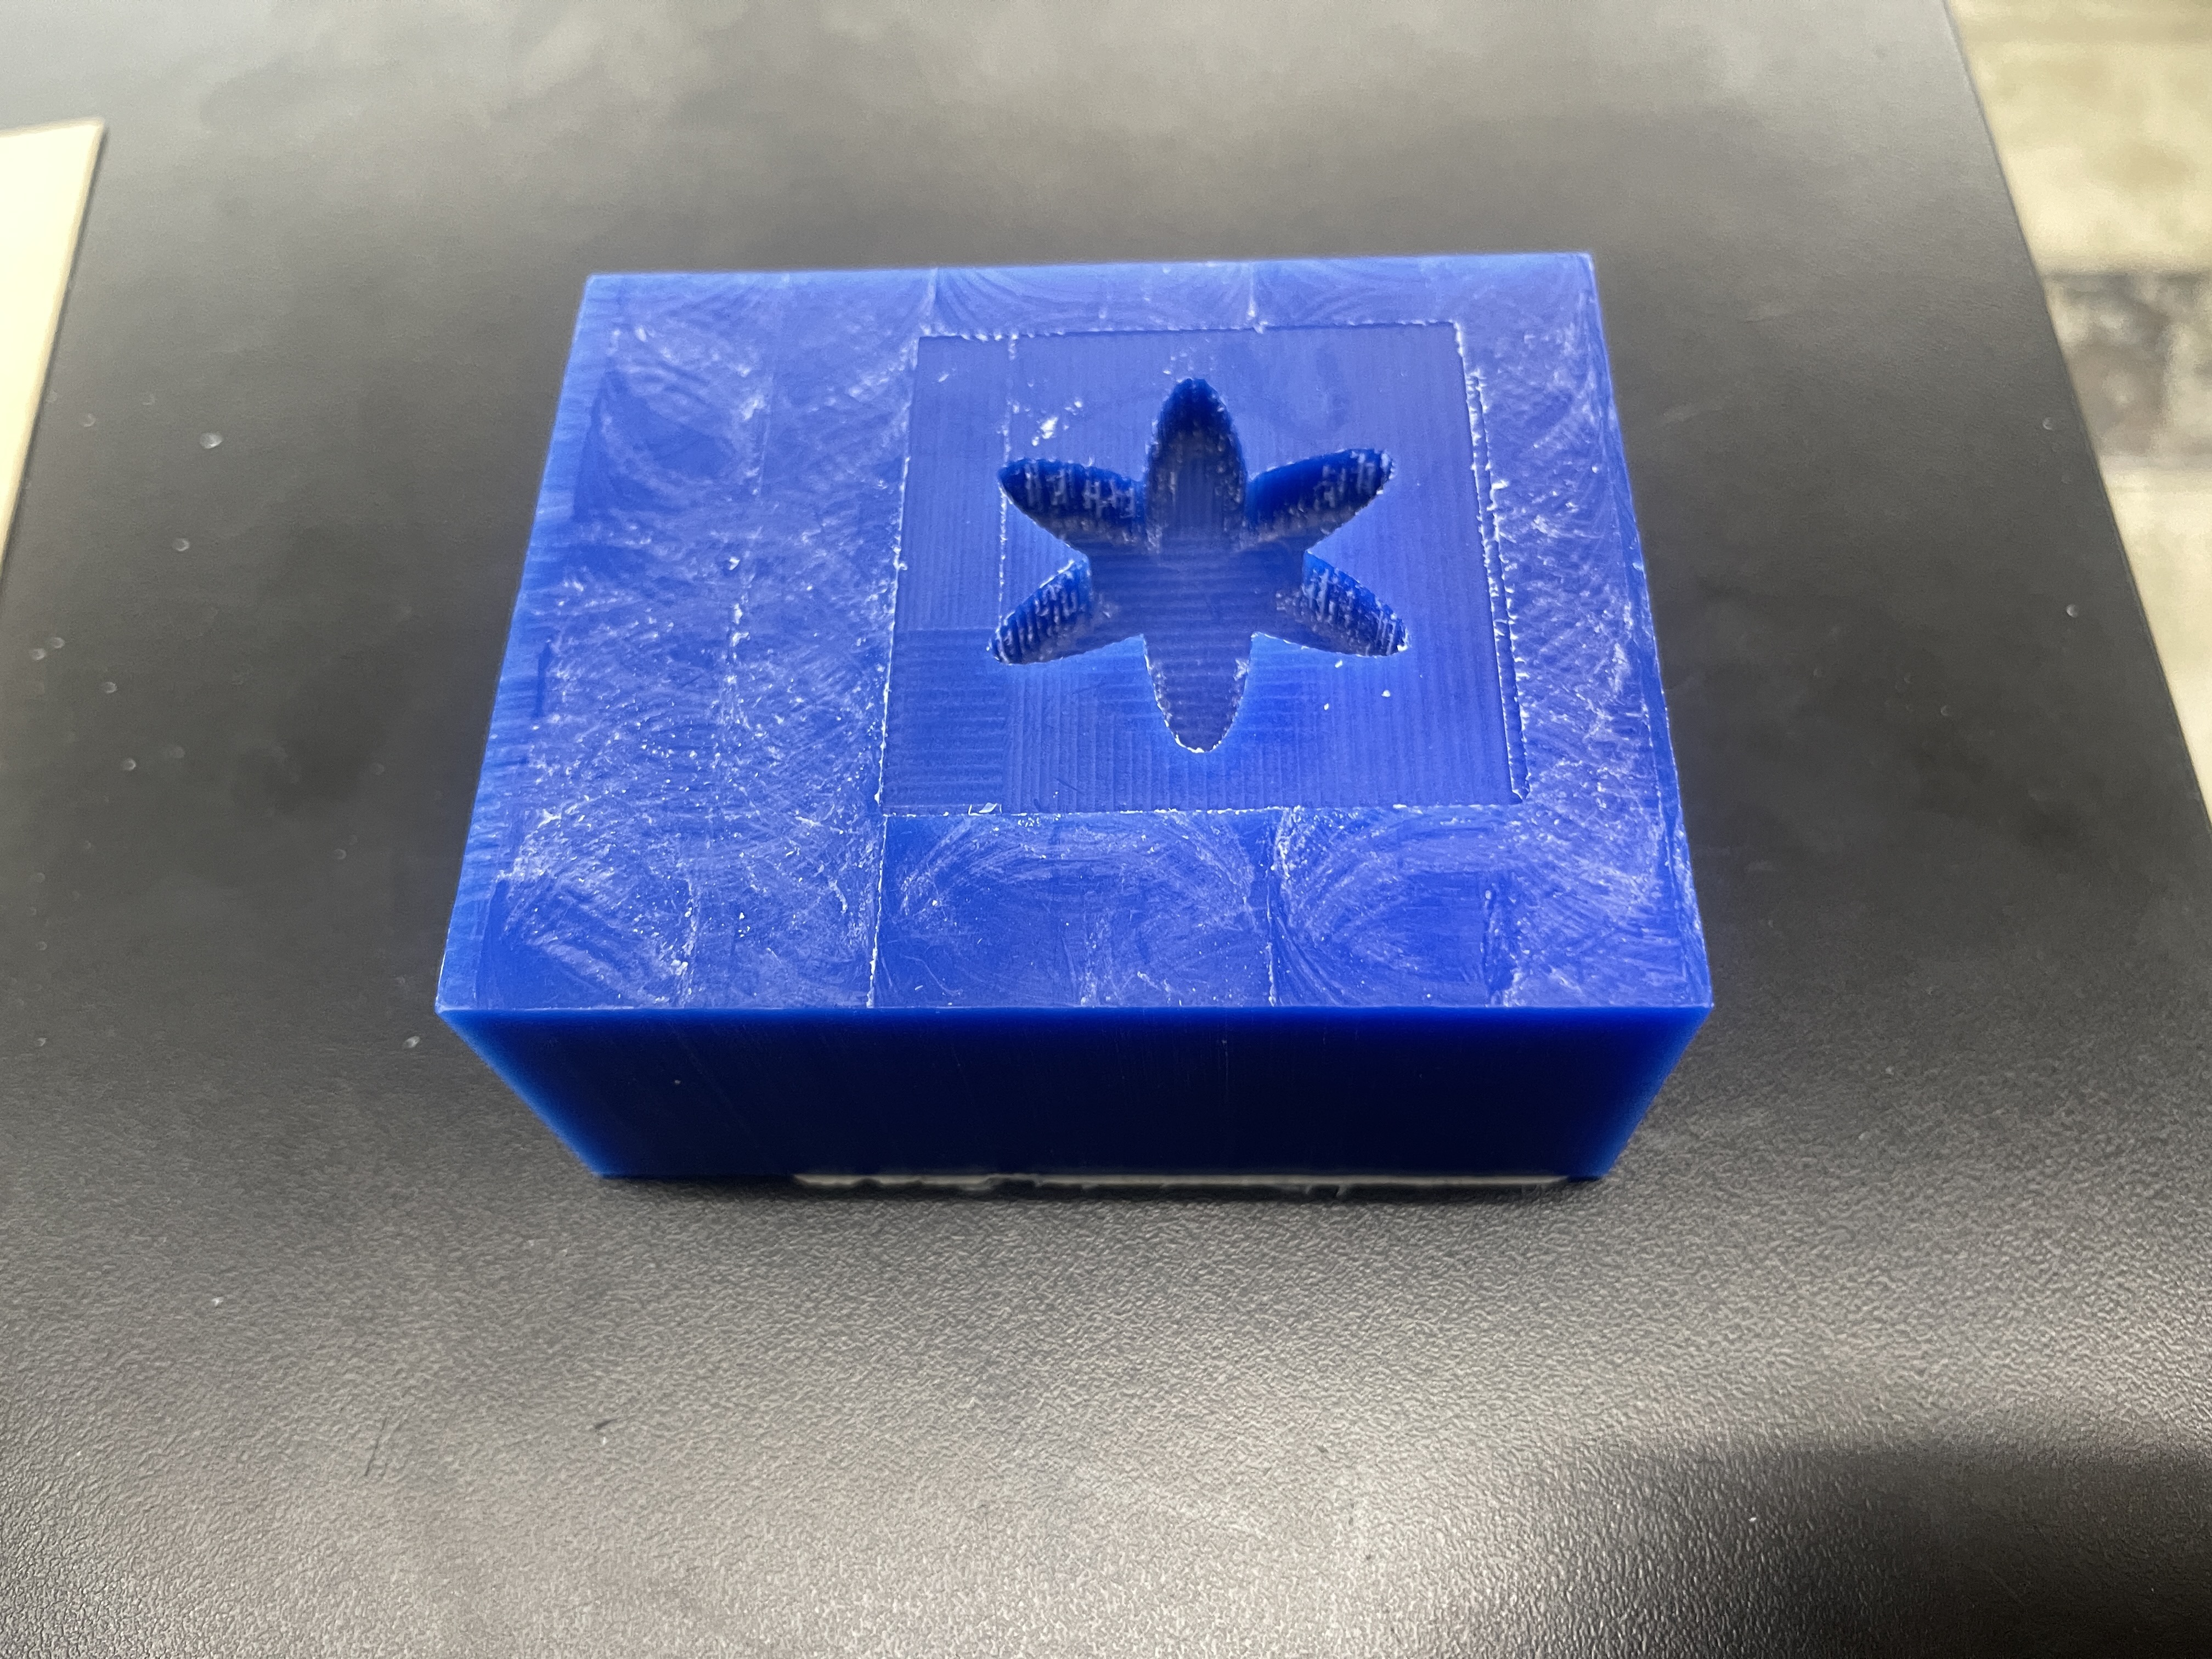
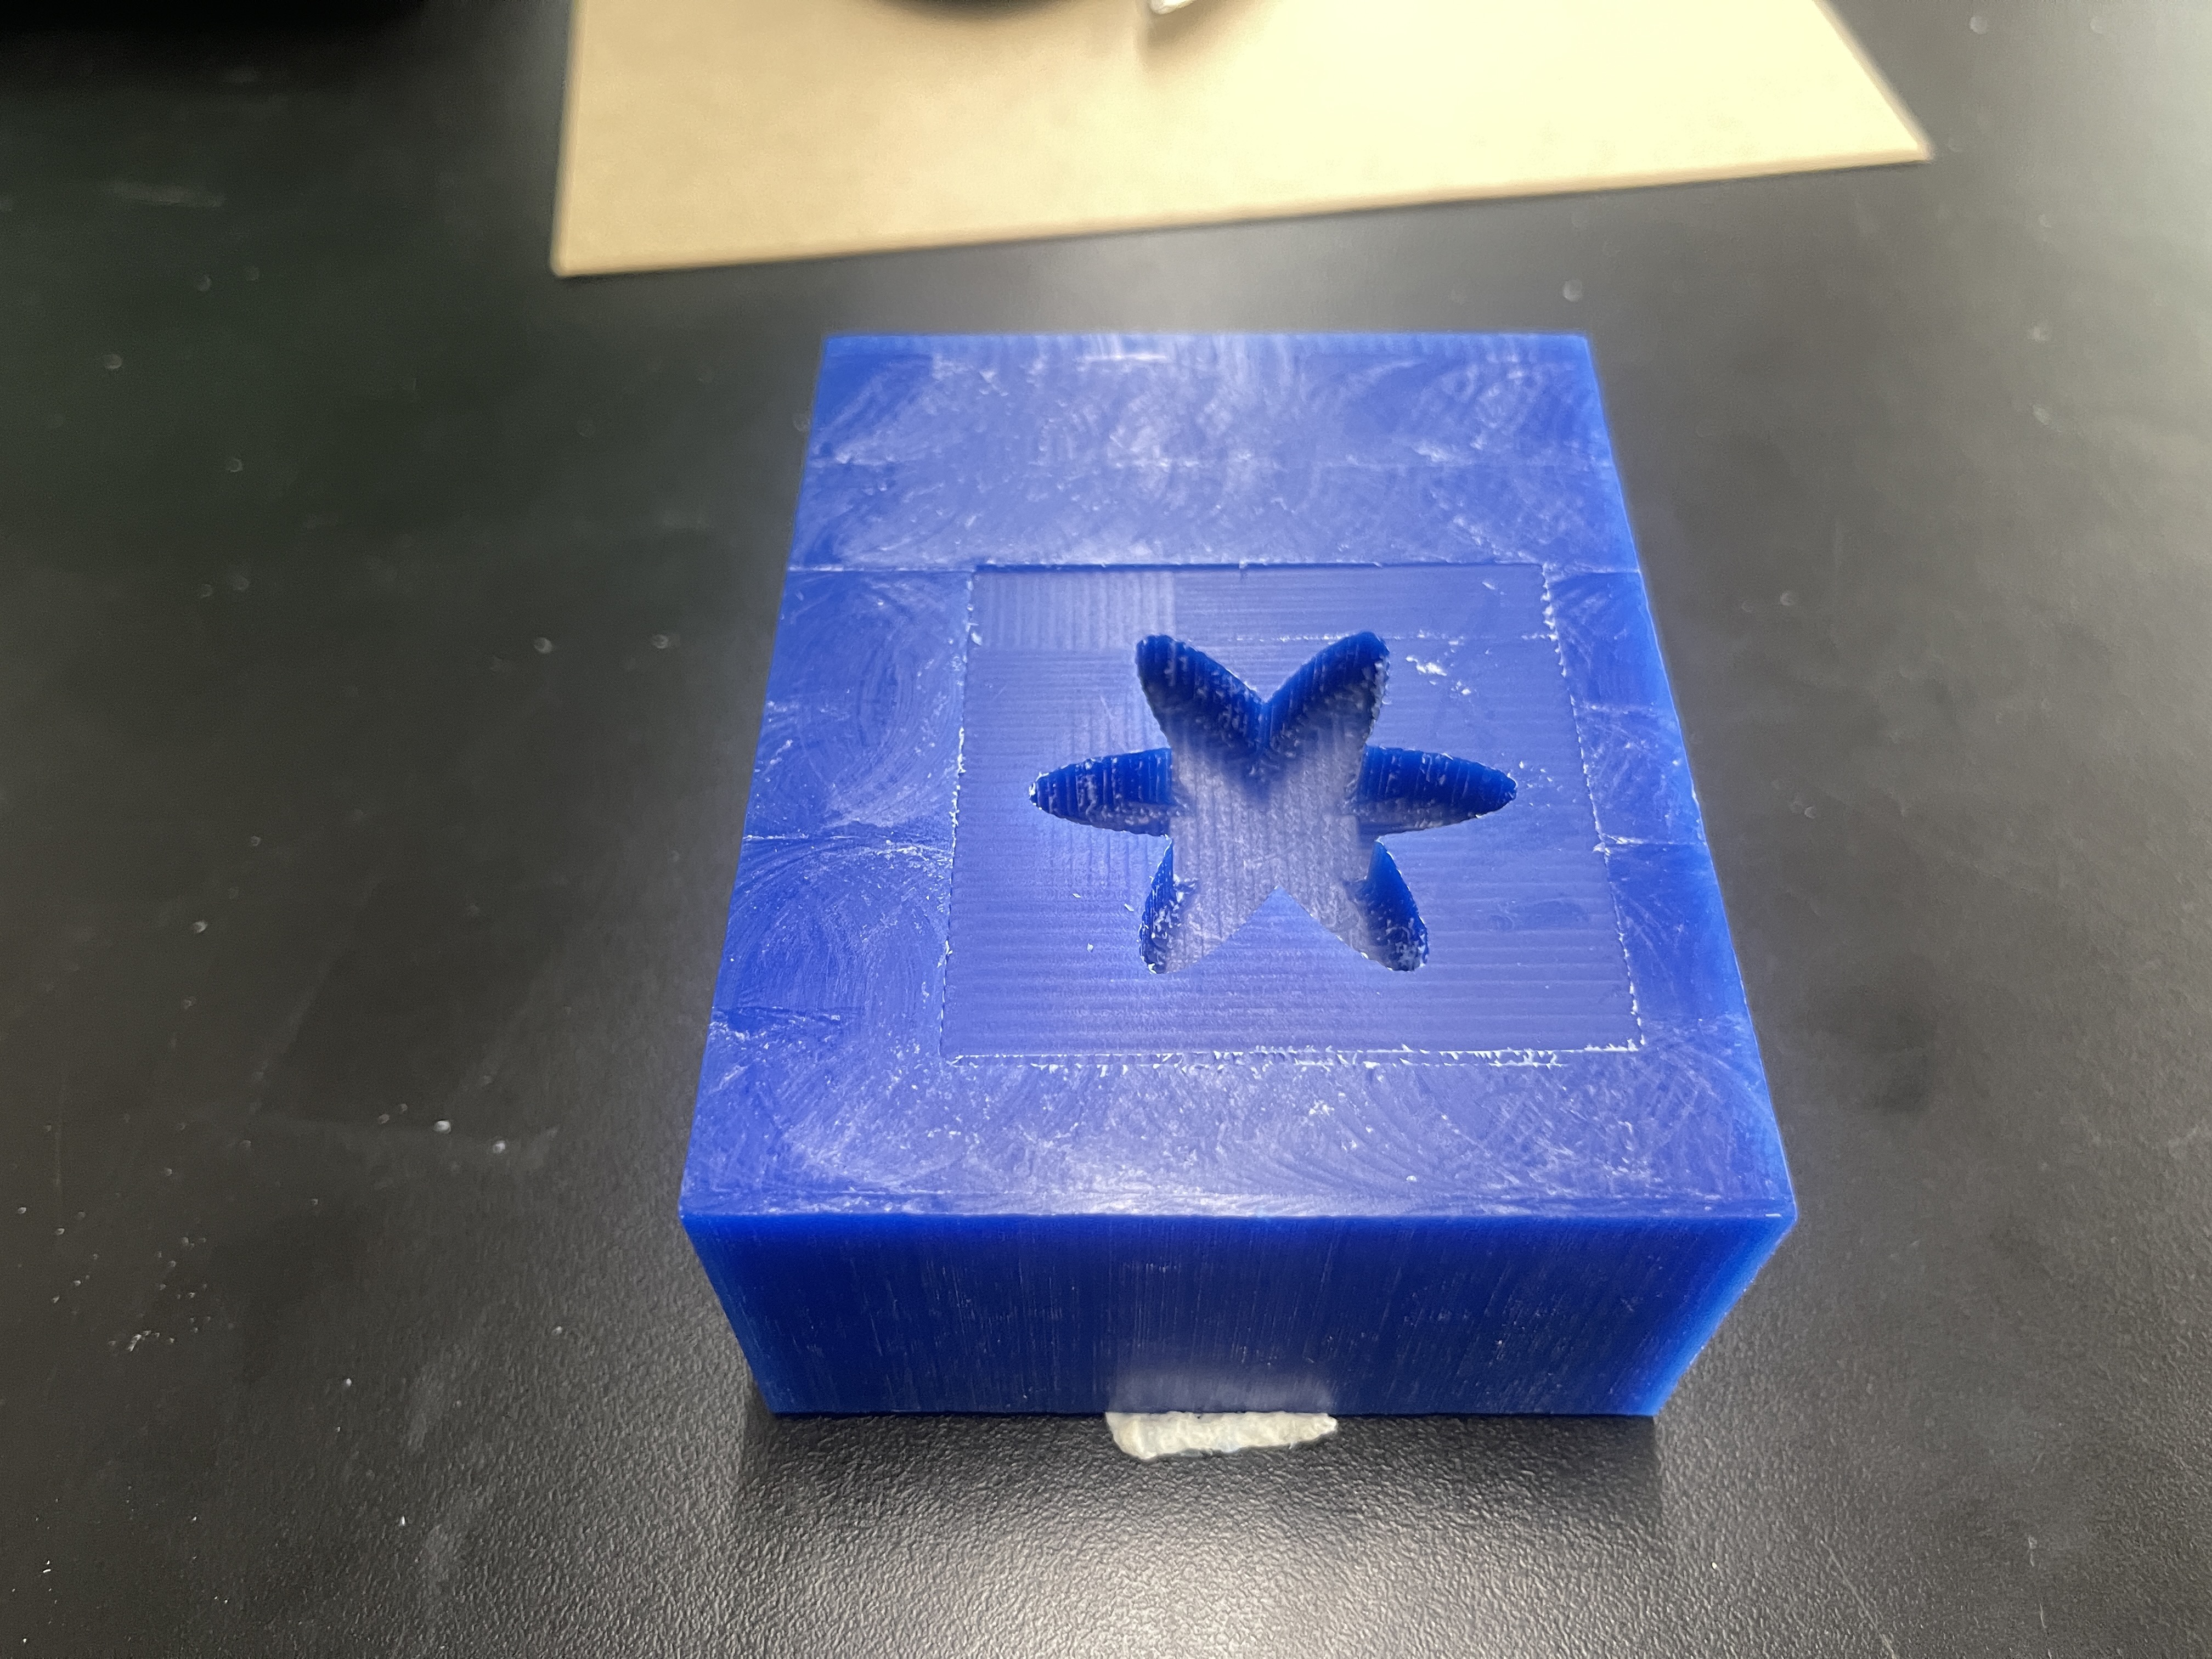
Here is the final mold (after both the roughing/finishing phase):
Casting Phase
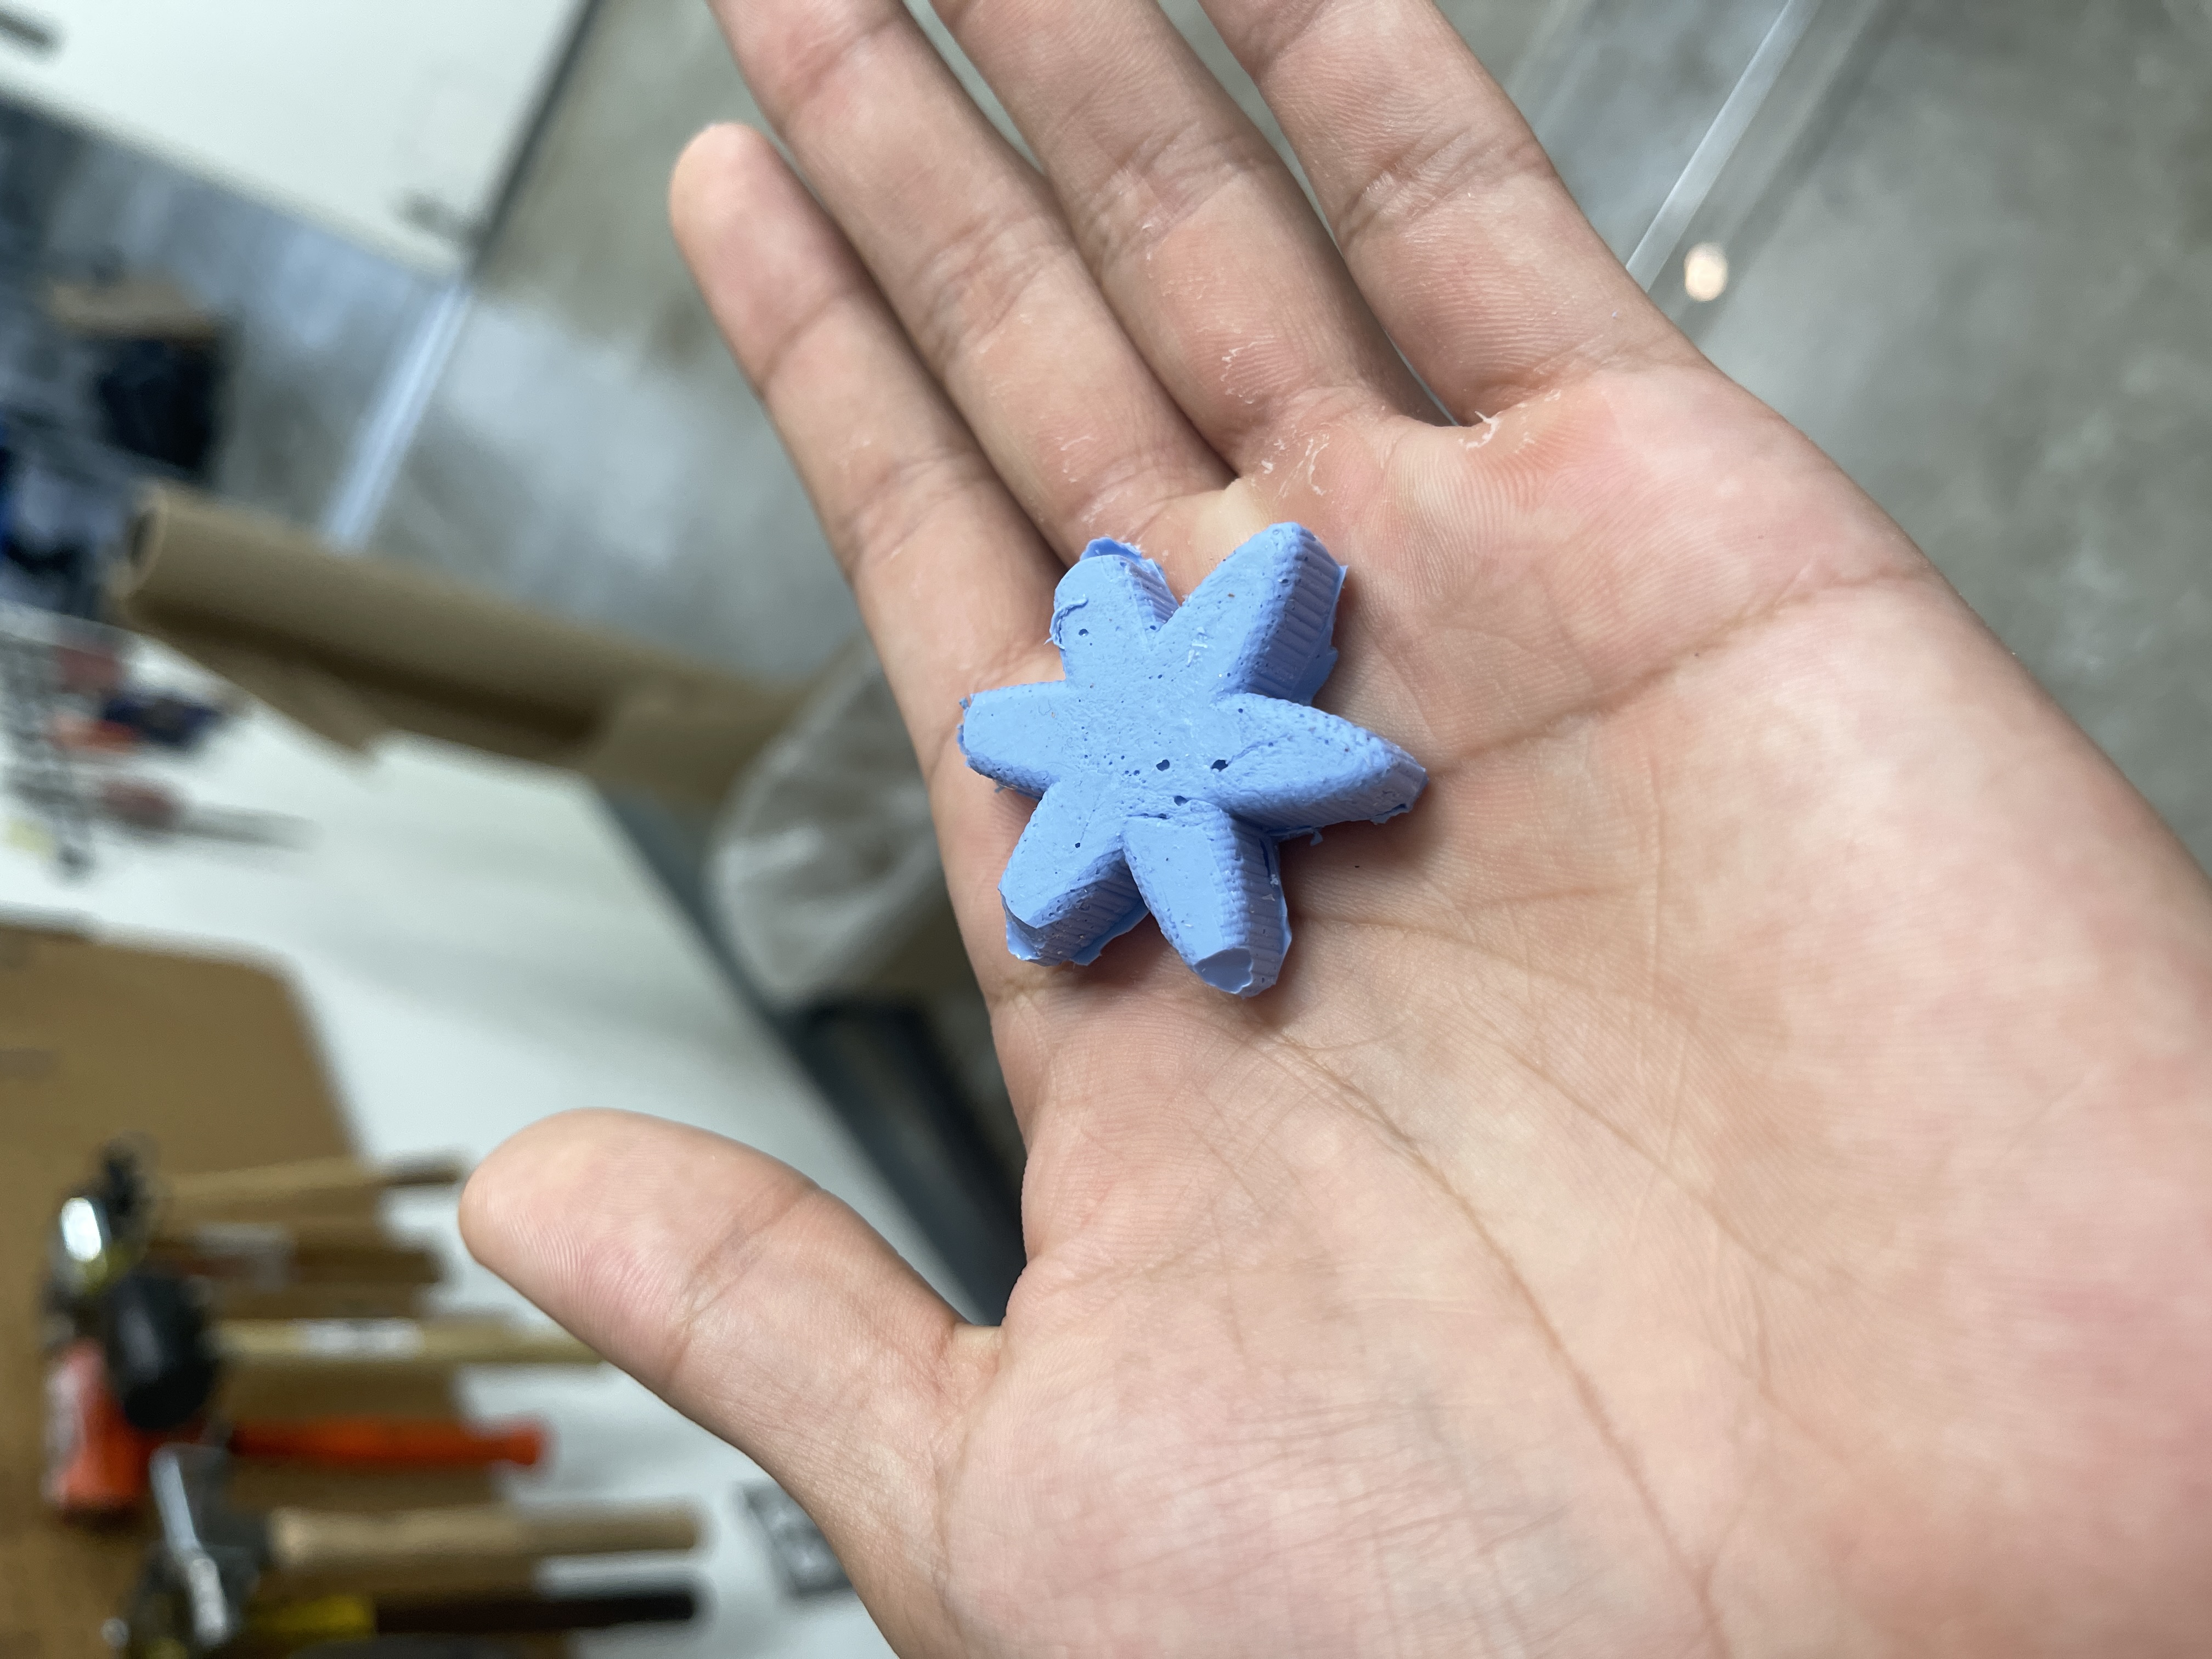
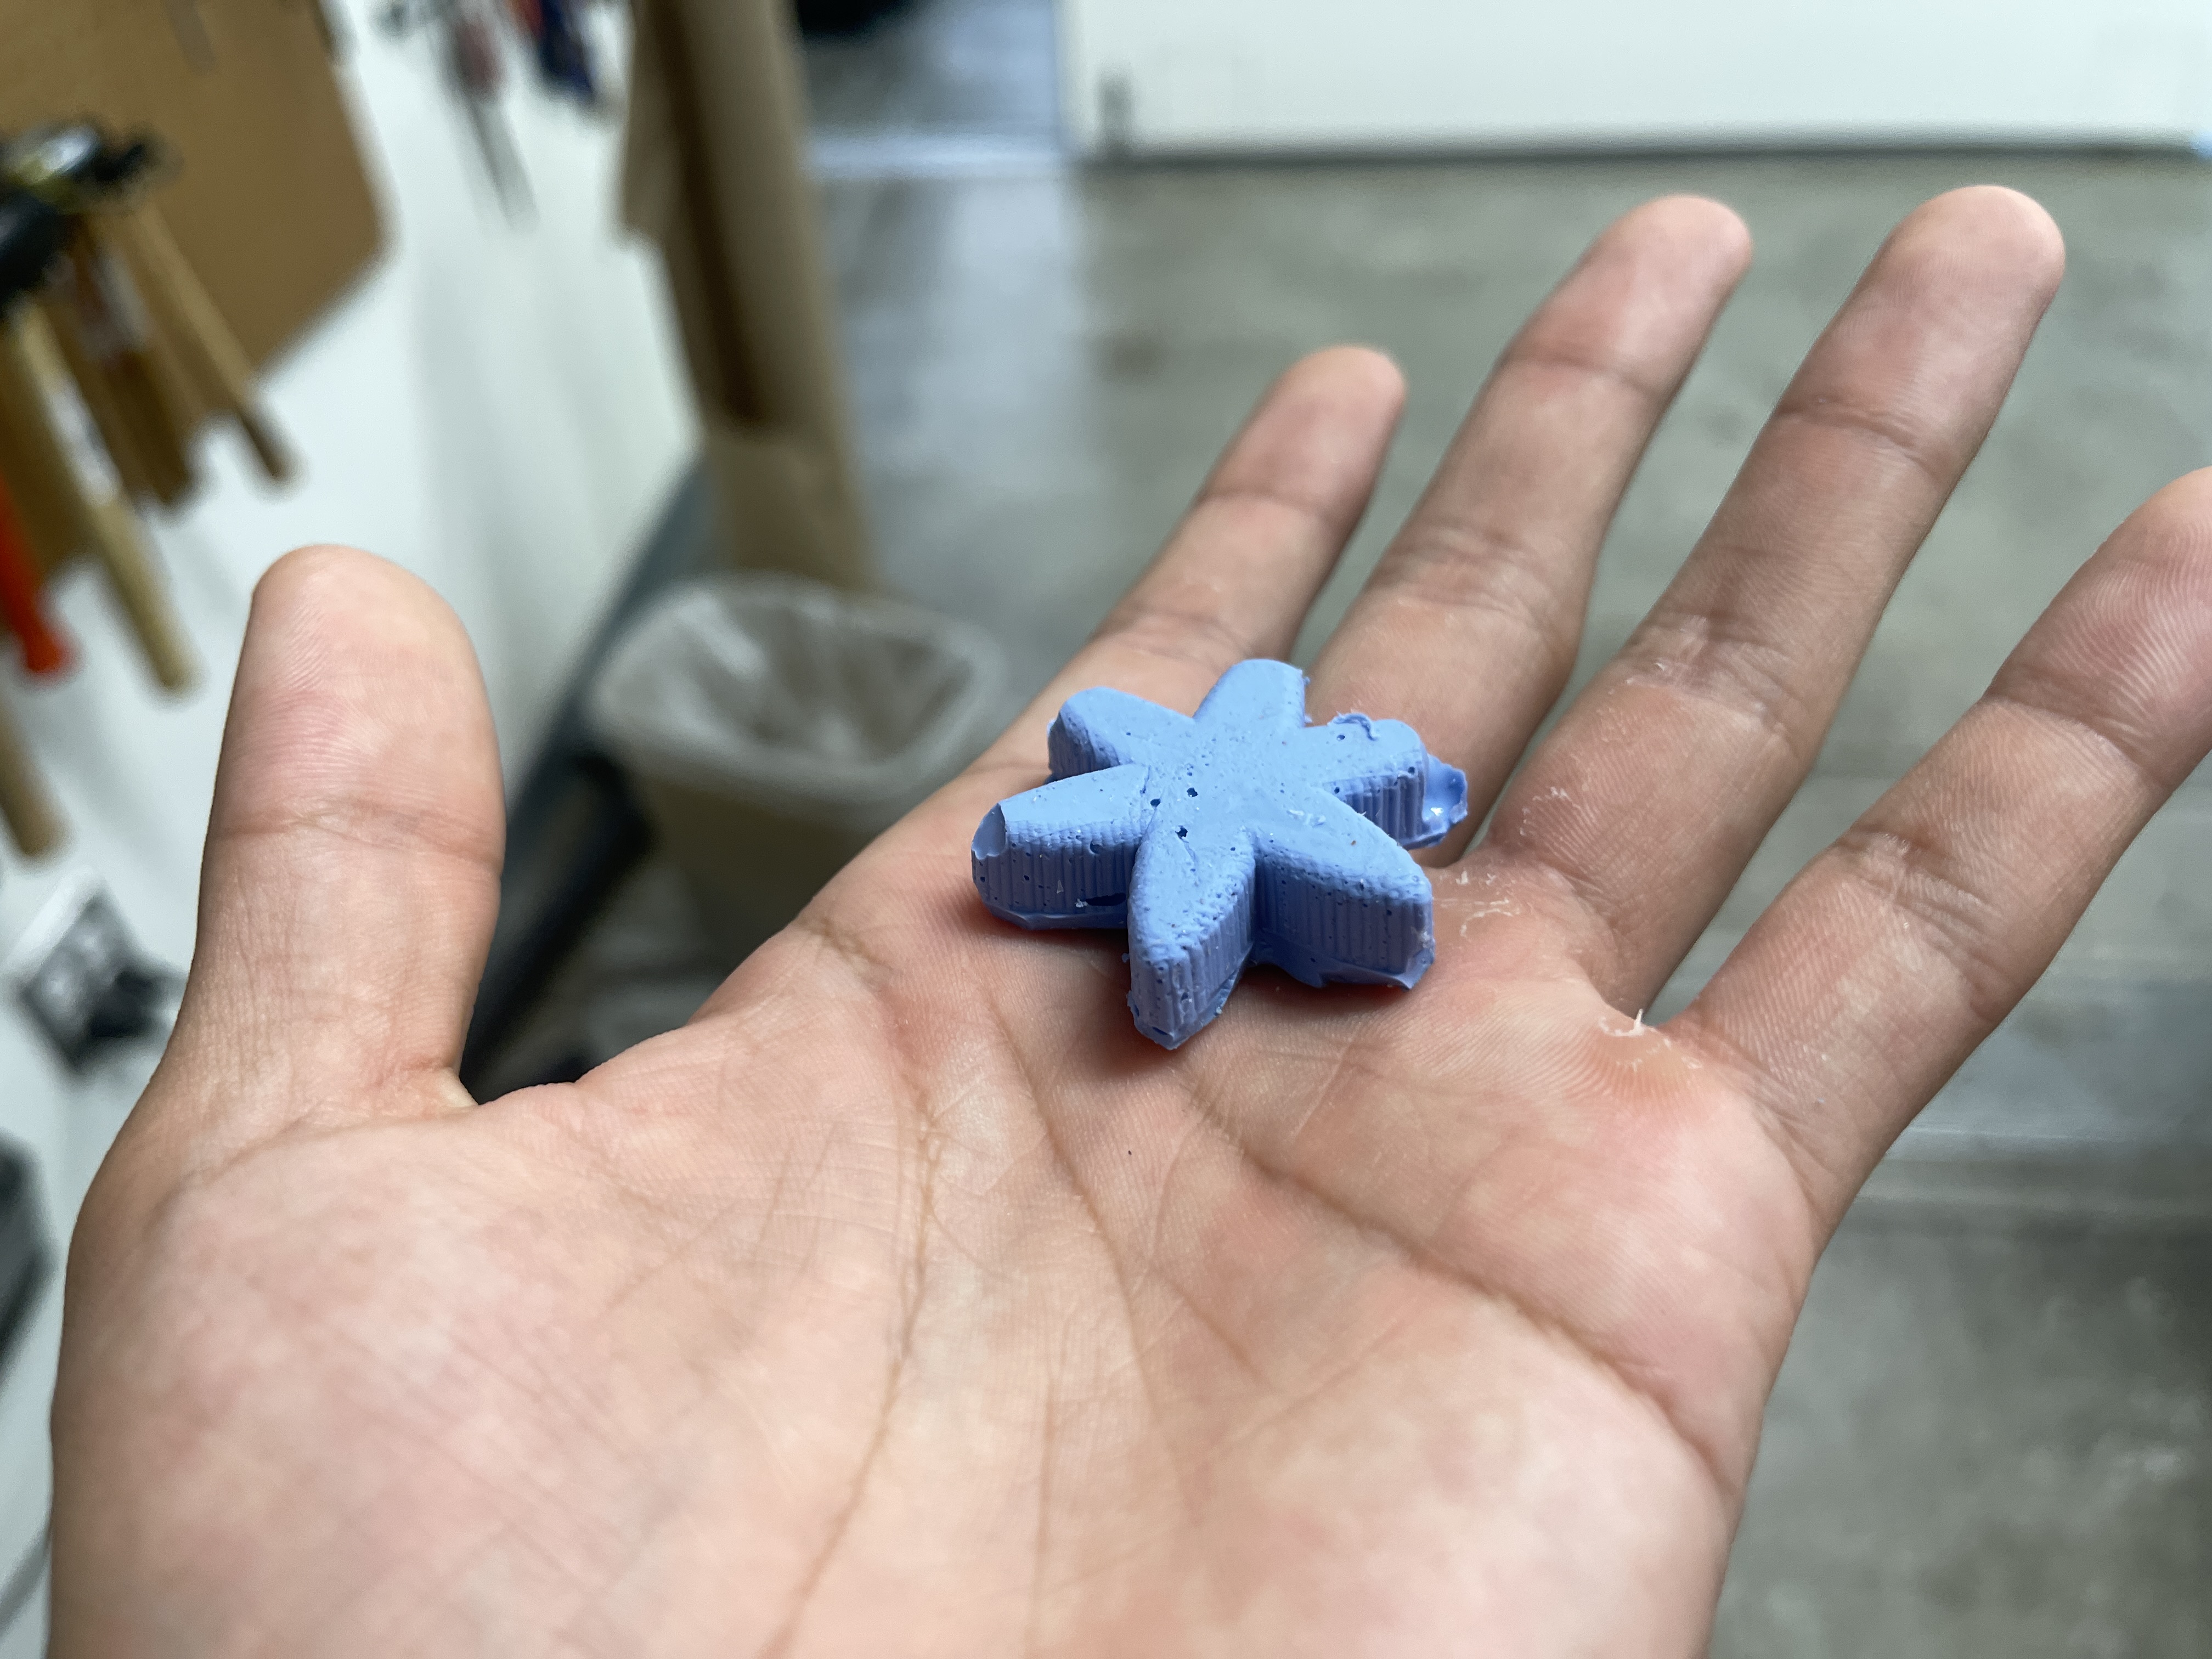
Once I successfully milled out the mold, I mixed the two casting solutions together, and used a popsicle stick to pour the final casting solution into the mold. After approximately 6 hours The waiting period was filled with anticipation, but finally, the fully cured cast was unveiled, showcasing the intricate details of the mold with a sense of pride and accomplishment. Throughout the casting process, ensuring that no air bubbles were trapped within the casting material proved to be a significant challenge. Despite my best efforts, the intricate design of the mold made it difficult to reach certain areas and dislodge any potential air pockets. To address this, I employed various techniques, such as gently tapping the mold and using a vibrating table to encourage the bubbles to rise and escape. Additionally, I carefully inspected the mold from different angles to detect any hidden air pockets that might have formed. It required a combination of patience and meticulous attention to detail to minimize the presence of air bubbles and achieve a flawless final result.
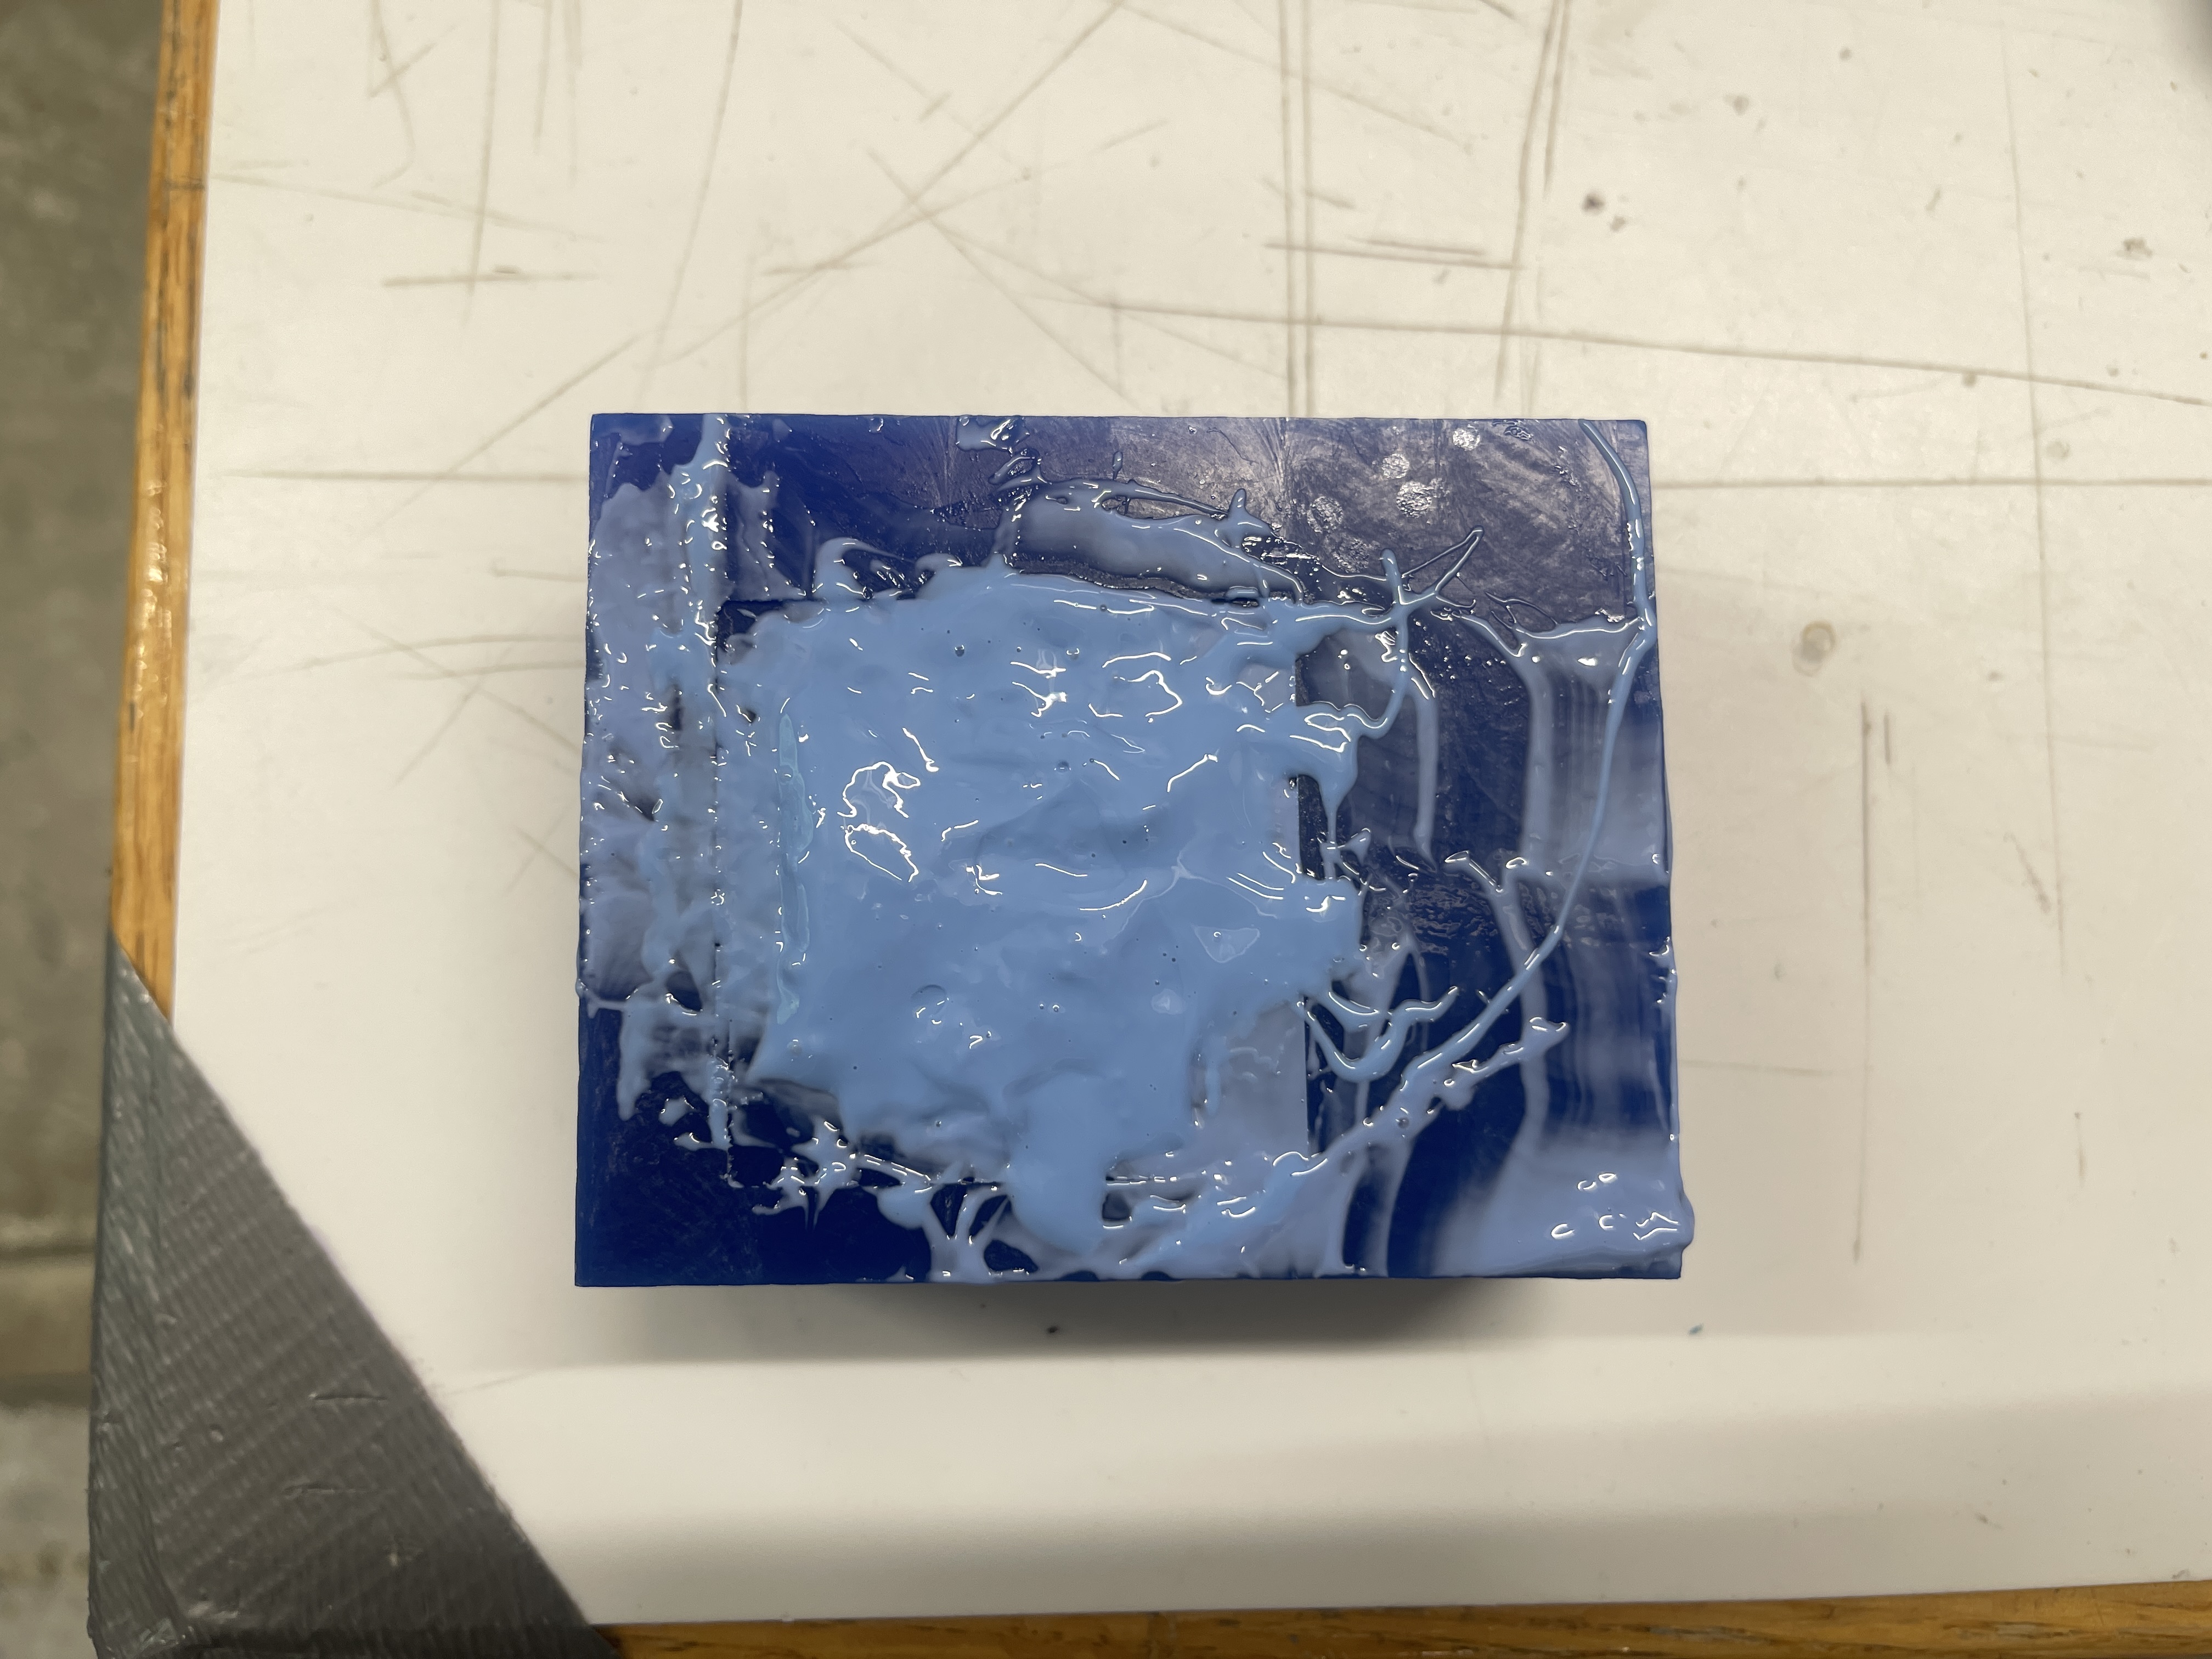
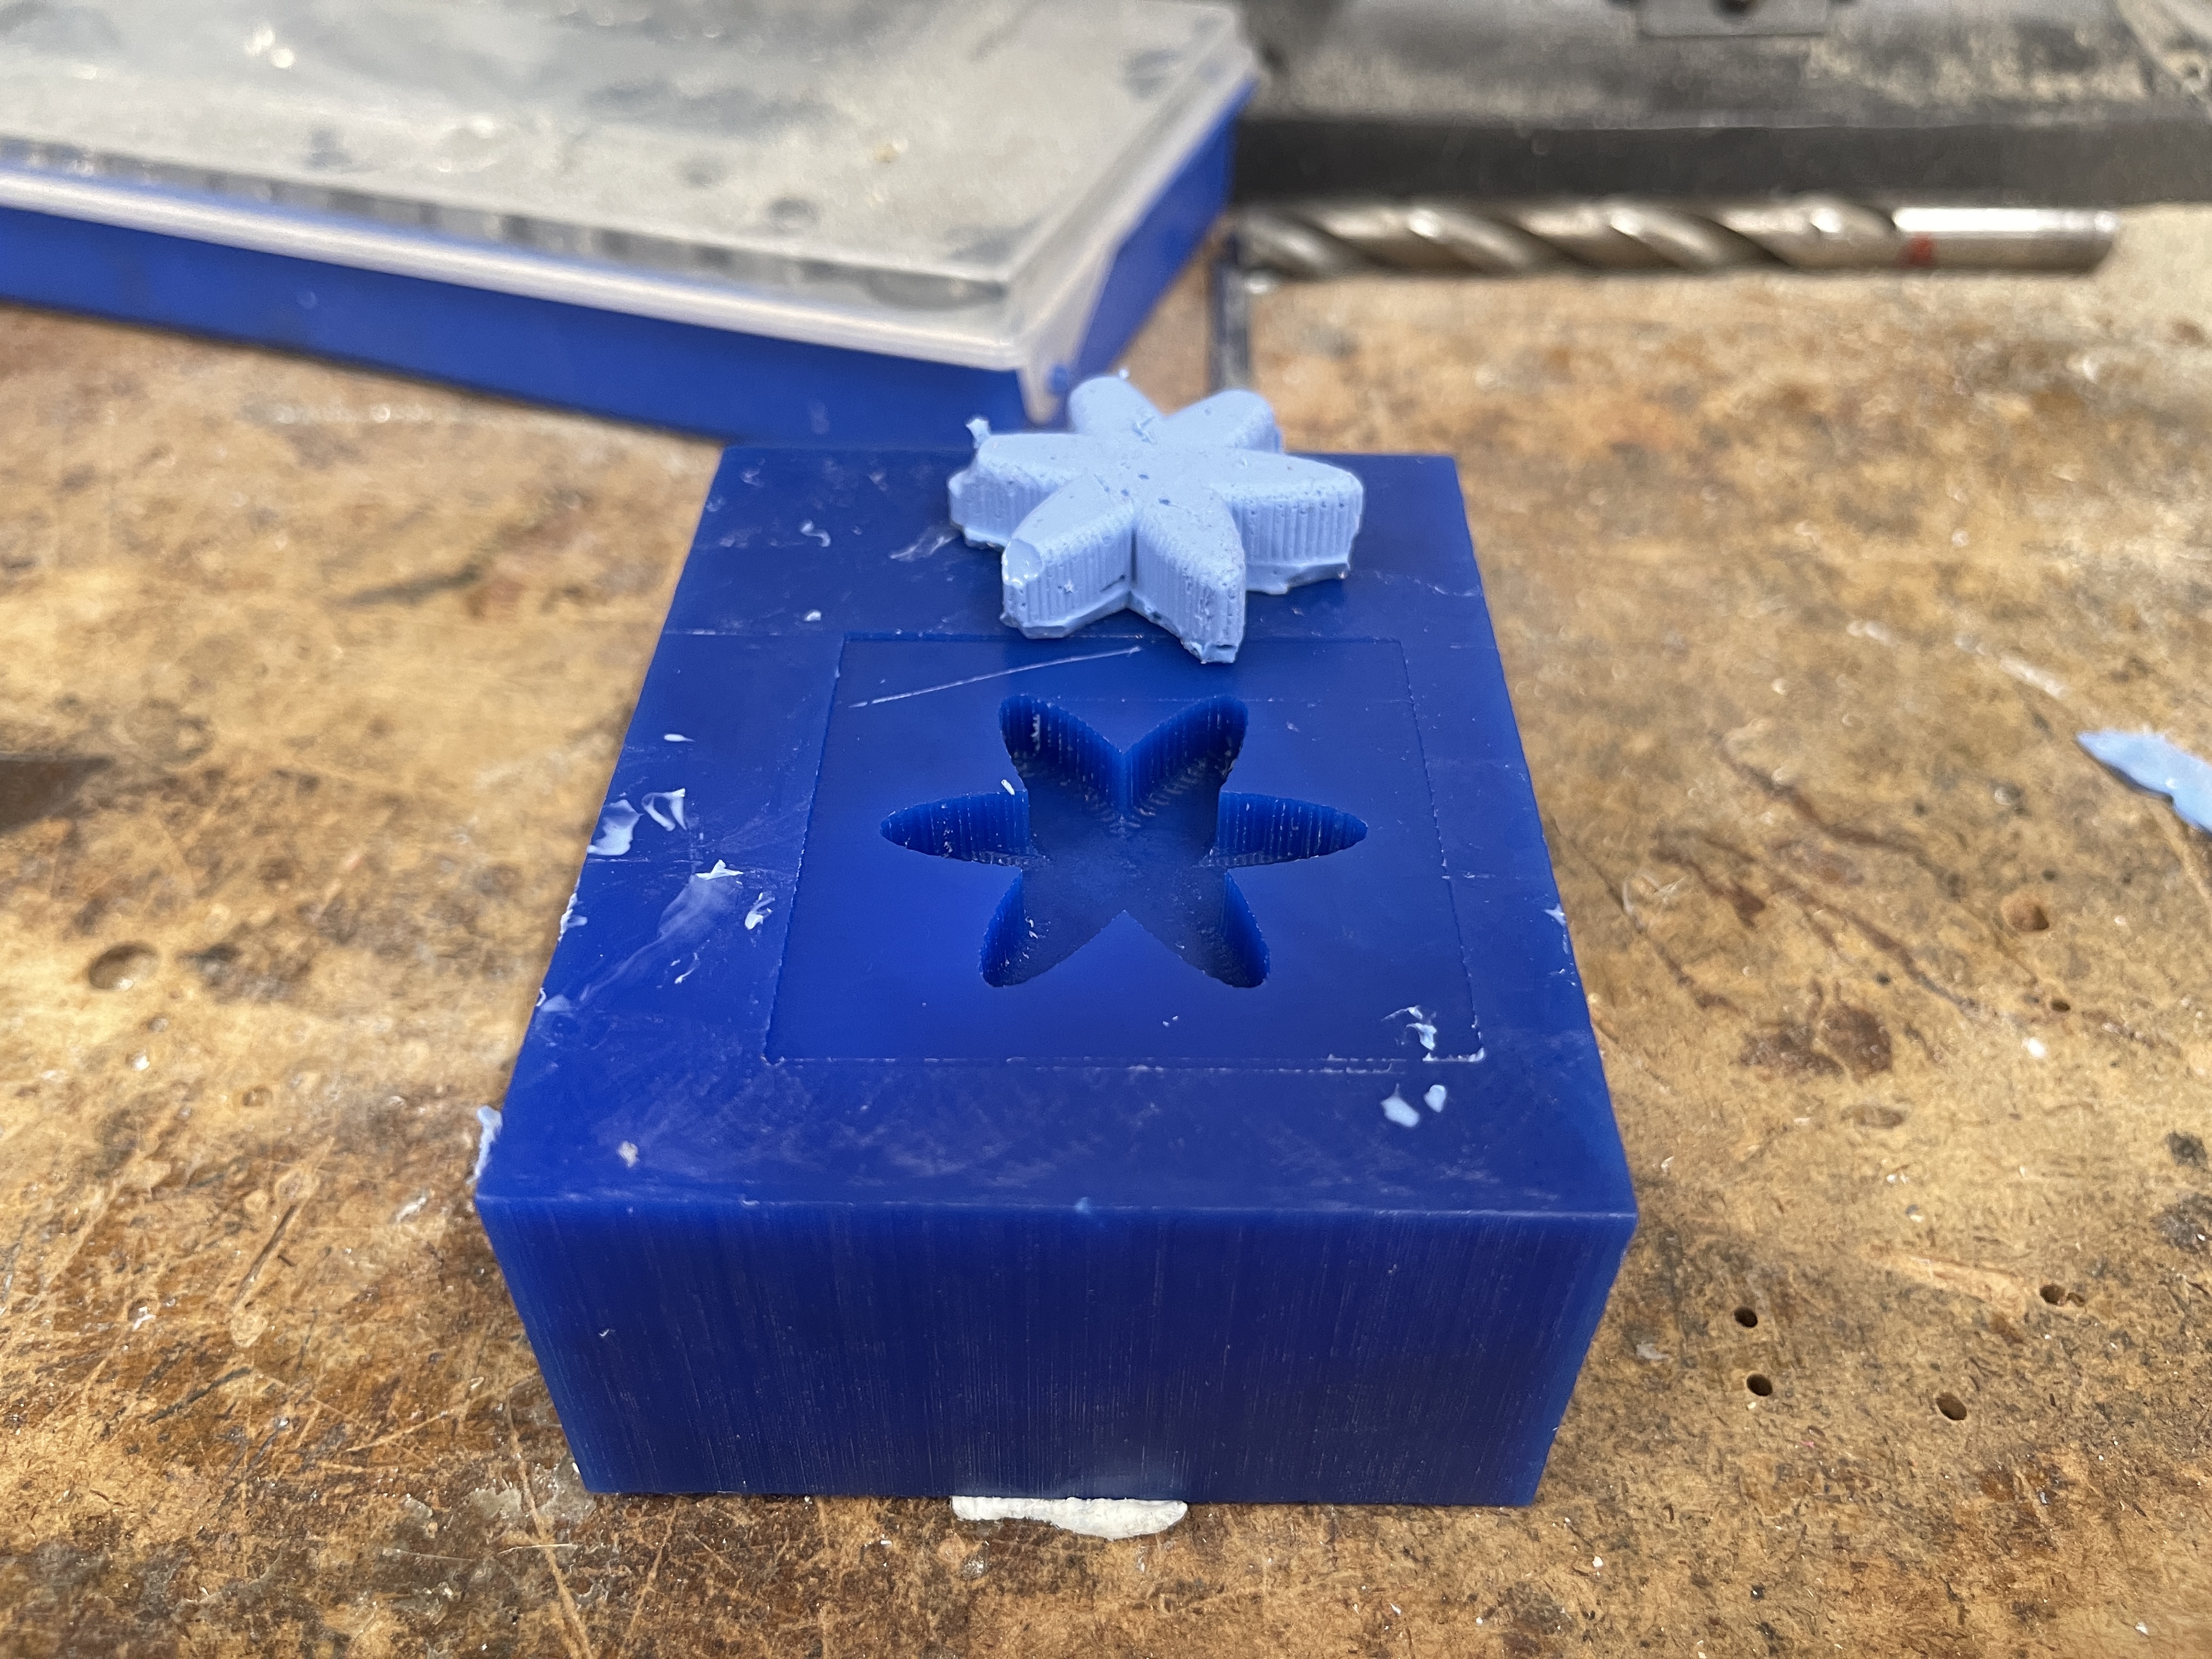
Here is a picture of the final product: